Autumn is a season that blankets the world in warm hues and a comforting crispness in the air. It's a time for cozy sweaters, pumpkin-spiced everything, and crafting decorations that capture the essence of this enchanting time of year. Among the many materials at your disposal for crafting, conkers are a delightful choice that bring a touch of the great outdoors to your interior spaces. In this blog post, we'll guide you through the process of creating a charming conker decoration that's perfect for adding an autumnal vibe to your home.
Foraging for Conkers
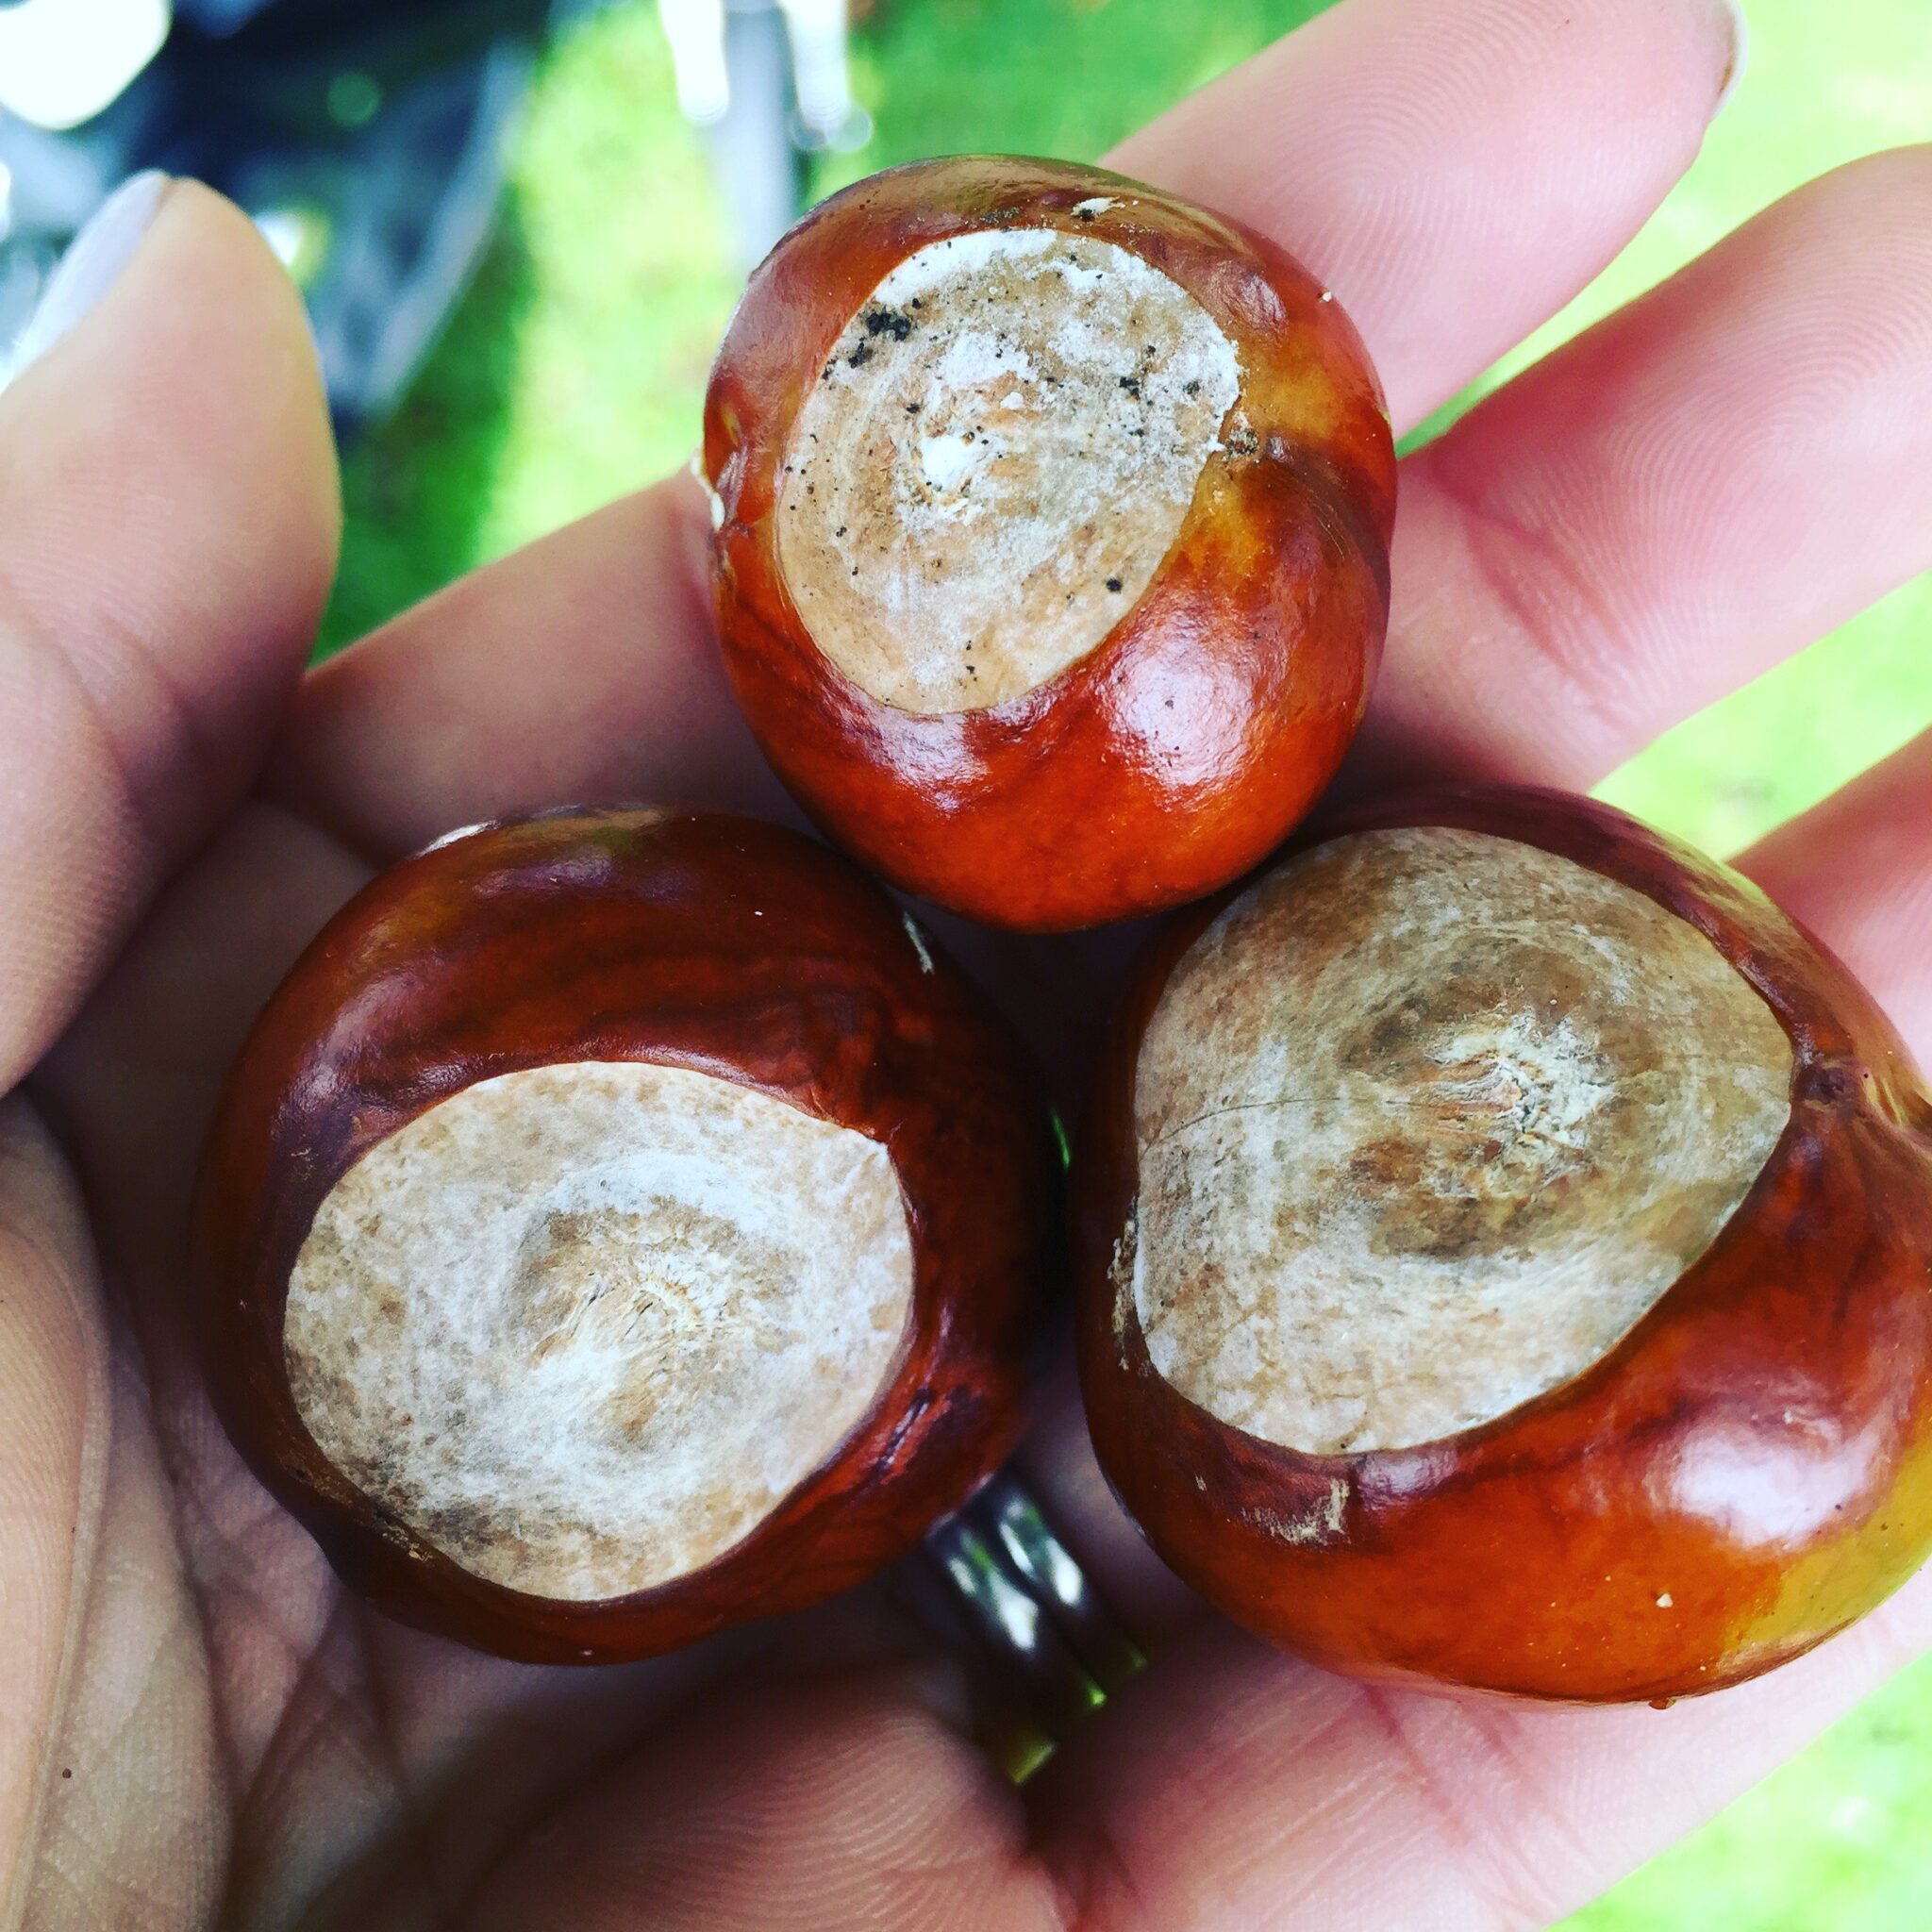
Foraging for conkers is the first step in this delightful crafting journey. Conkers, also known as horse chestnuts, are typically abundant in the early fall. You can find them on the ground under chestnut trees in parks, woodlands, and even in your own backyard if you're lucky enough to have a chestnut tree nearby.

Step 1: Choose Your Foraging Location
Select a location that you think may have conkers. Parks, wooded areas, and areas with chestnut trees are excellent places to start your hunt. You can go foraging on a crisp, sunny autumn day, making it a fun and relaxing outdoor activity.
Step 2: Collect Conkers
Gather your conkers by simply picking them up from the ground. It's a fun activity for both kids and adults, and you'll be surprised at how many conkers you can find once you start looking. Make sure to collect more than you think you'll need, as some may be unsuitable for crafting.
Washing the Conkers
After your foraging adventure, it's time to prepare your conkers for crafting. They may be a little dirty from their time on the ground, so it's essential to clean them thoroughly.

Step 3: Rinse the Conkers
Start by giving the conkers a gentle rinse under cold water. Use a soft brush or your fingers to remove any dirt or debris. Make sure to be delicate, as conkers can be fragile.
Step 4: Dry the Conkers
Lay the washed conkers out on a clean towel or paper towels to air dry for a few hours. Ensure they are completely dry before moving on to the next step. This will prevent any mold or mildew from forming on your conkers during the crafting process.

Drying Conkers in the Oven
To preserve the conkers and make them suitable for decorative purposes, you need to dry them thoroughly. This will also help to prevent them from rotting or becoming infested with insects. Here's how you can do it:
Step 5: Preheat the Oven
Preheat your oven to a low temperature, around 150°F (65°C).
Step 6: Arrange the Conkers
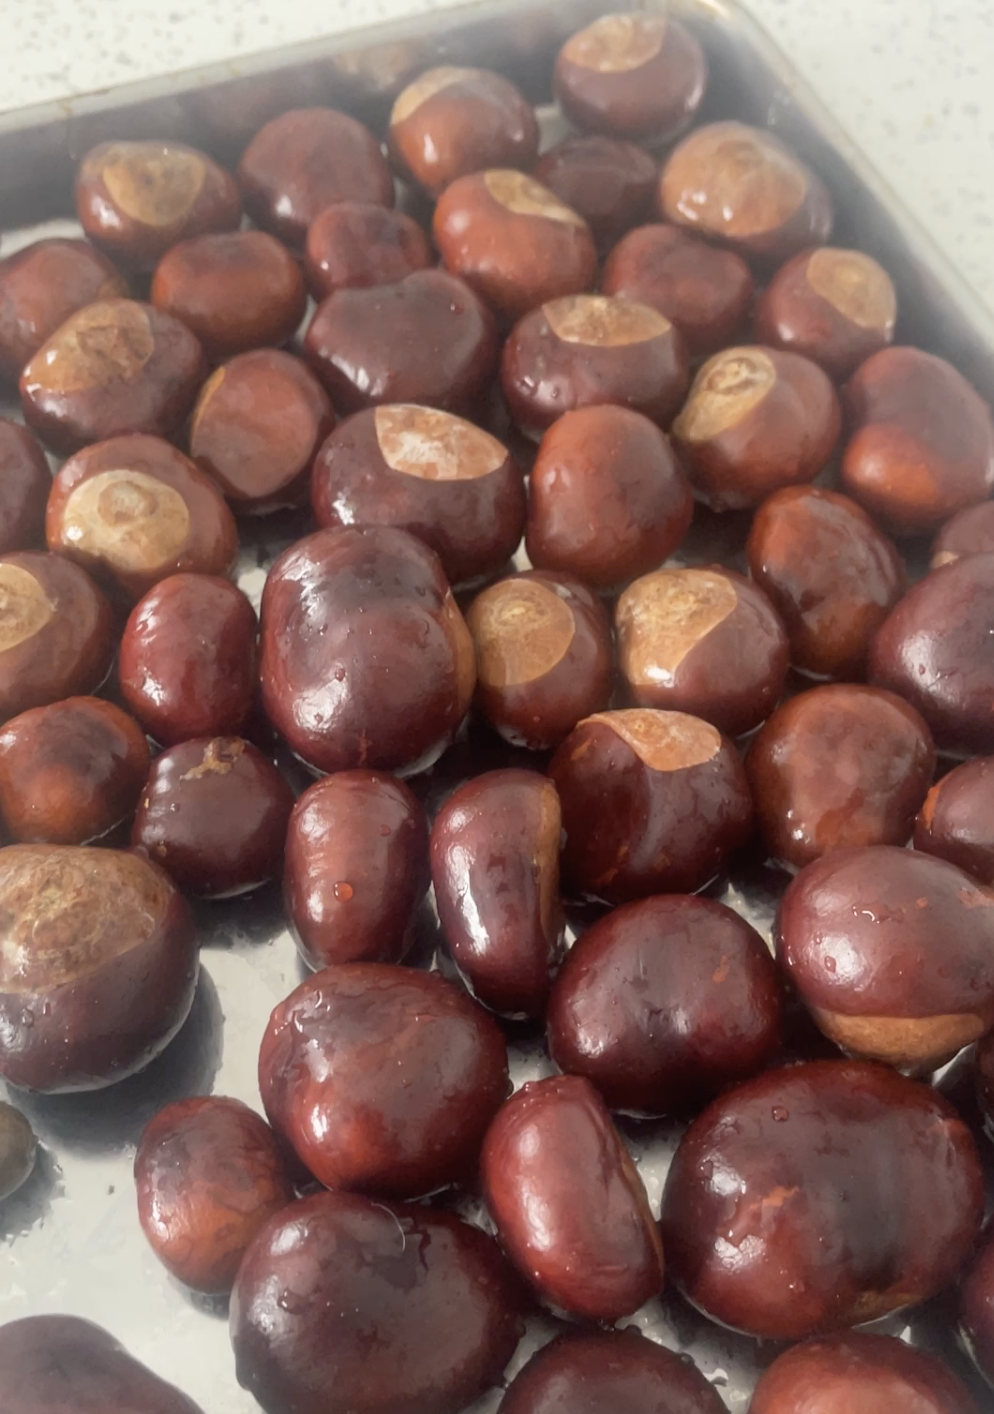
Place your dry conkers on a baking tray lined with parchment paper or a silicone baking mat. Ensure that they are spread out in a single layer, with some space between each one.
Step 7: Bake the Conkers
Put the tray of conkers in the preheated oven and let them bake for about 2-3 hours. This slow, low-temperature drying process will remove any remaining moisture from the conkers and ensure they are ready for your decoration project.
Step 8: Cool the Conkers
Once the conkers have spent their time in the oven, allow them to cool to room temperature before using them in your decor. They should feel hard to the touch and sound hollow when tapped.
Creating Your Conker Decoration
With your freshly dried conkers, you're now ready to create a charming decoration that captures the spirit of autumn.
Step 9: Gather a Vase or Glass Bowl
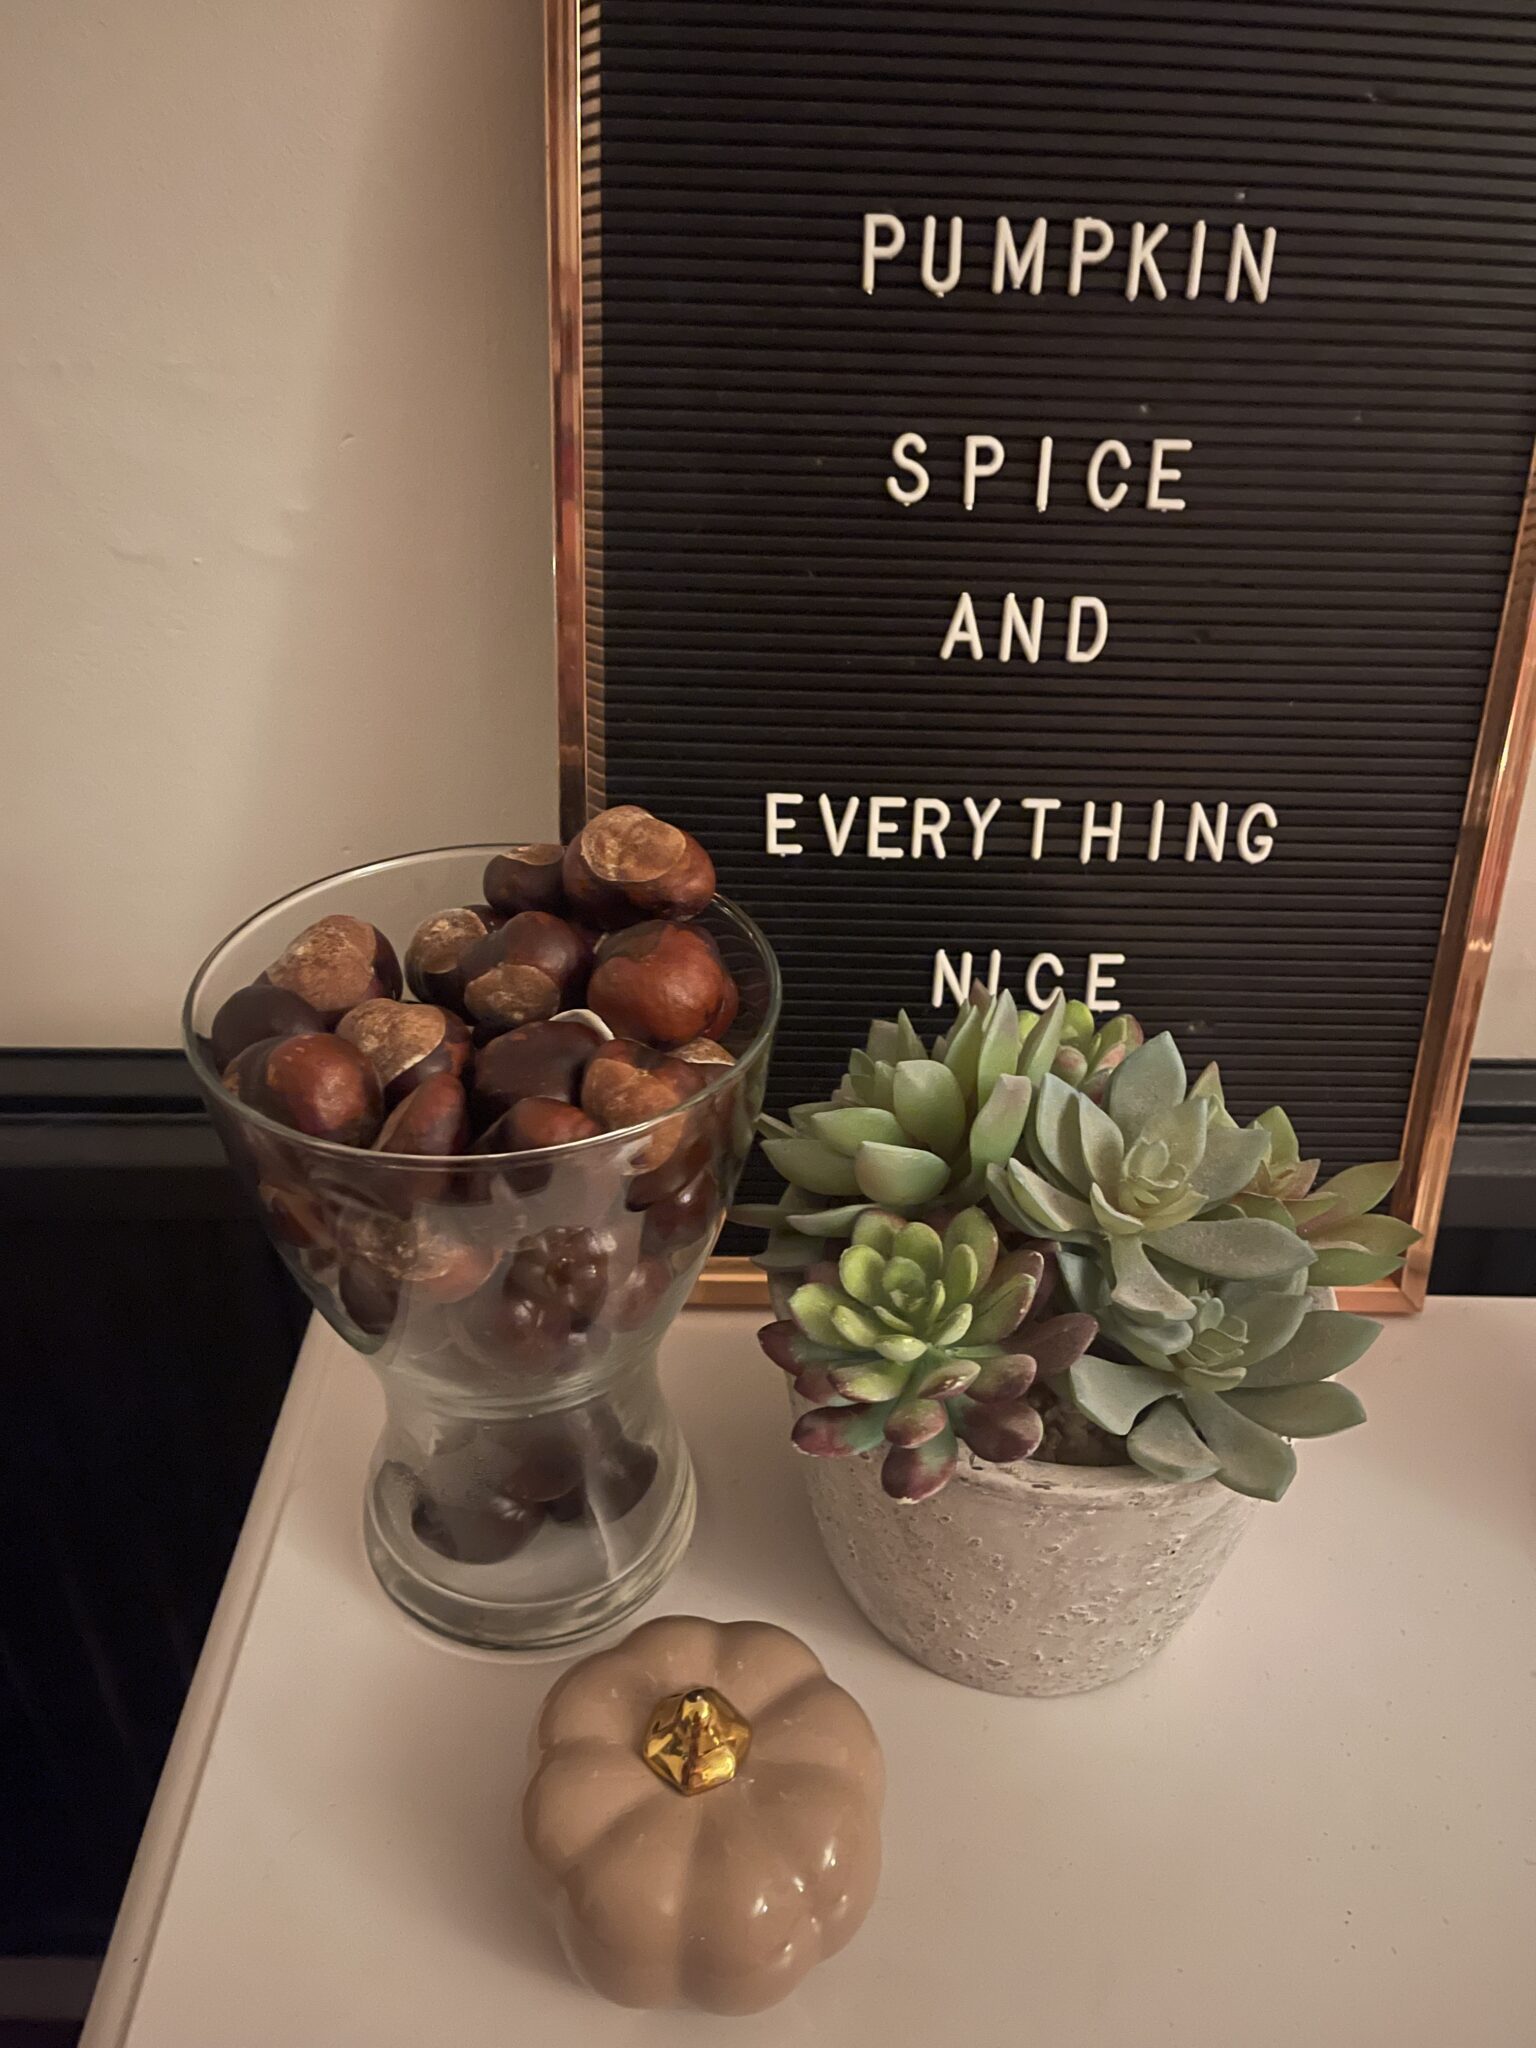
Choose a clear vase or glass bowl to display your conkers. The transparency of the container will allow the conkers to shine, creating a stunning visual effect.
Step 10: Arrange the Conkers
Carefully arrange the dried conkers in the vase or glass bowl. You can play around with different arrangements, mixing conkers of different sizes and colors to create a visually appealing design. Layering the conkers or arranging them in a spiral can add an artistic touch to your decor.

Step 11: Add Seasonal Touches (Optional)
To take your decoration to the next level, you can add other seasonal elements. Dried leaves, pinecones, or even a few sprigs of autumn flowers can enhance the overall appeal of your creation.
Step 12: Display Your Conker Decoration
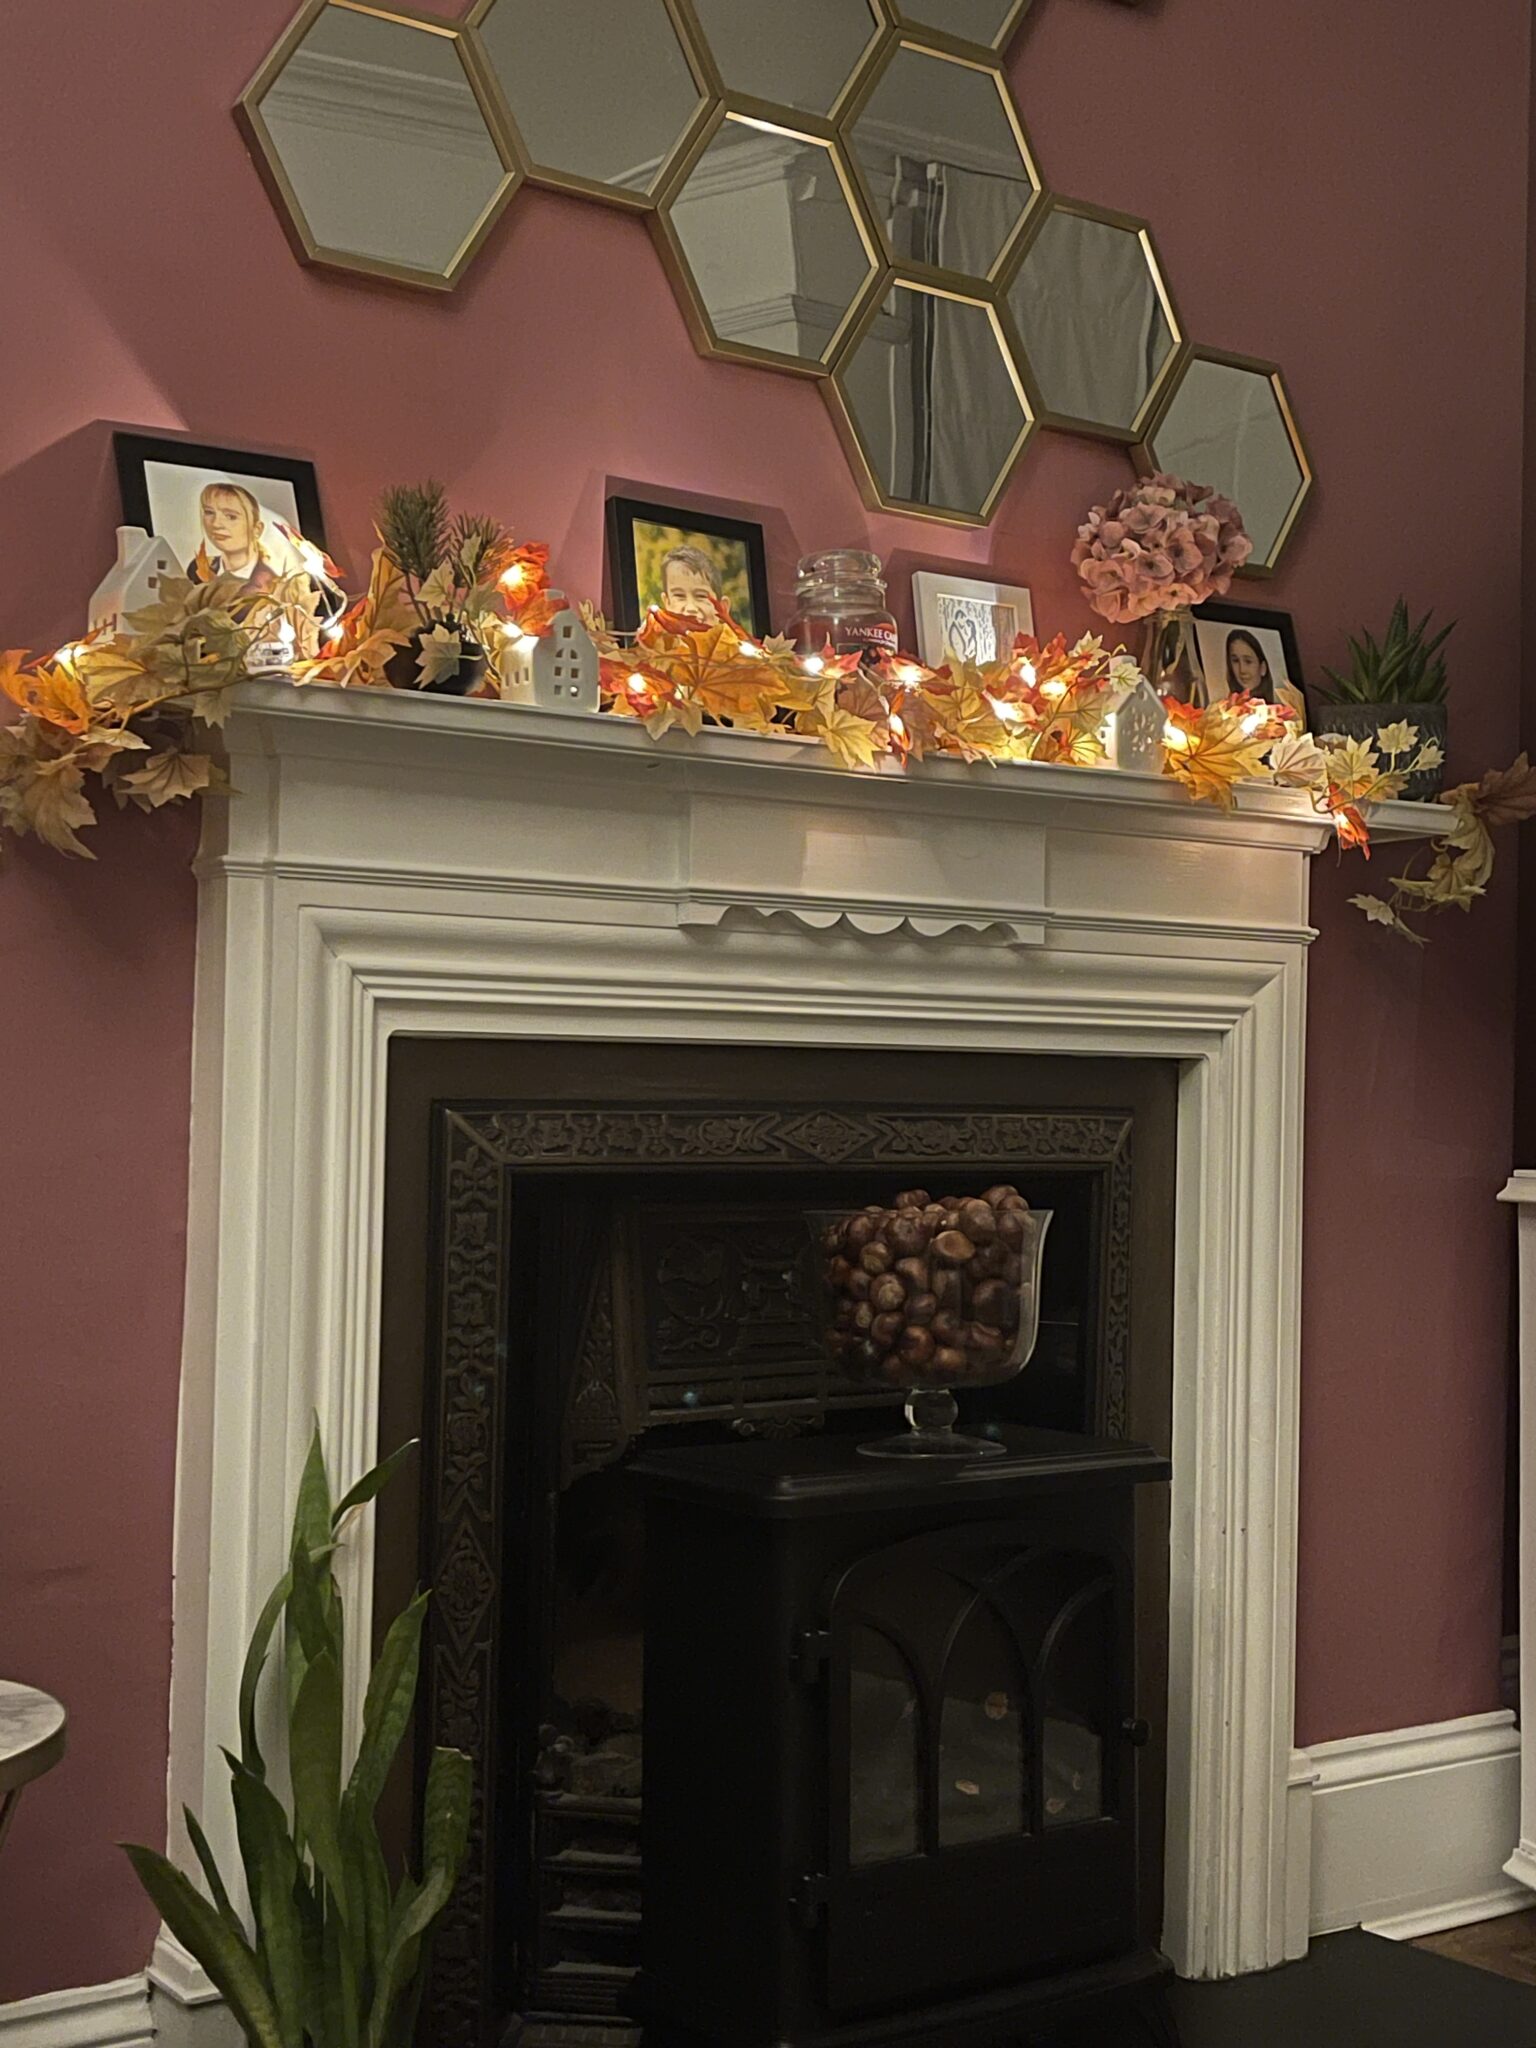
Place your conker decoration in a prominent spot in your home. It could be a centerpiece for your dining table, a decorative accent on your mantel, or even a delightful addition to a side table. The warm colors and natural texture of the conkers will instantly evoke the cozy atmosphere of autumn.
As you complete your conker decoration, you'll find that it not only adds a touch of natural elegance to your home but also serves as a reminder of the beauty of the changing seasons. The simplicity of this craft is part of its charm, and you'll love the way it brings the essence of the outdoors indoors.

Other Homemade Conker Decorations
If you've caught the conker crafting bug and are eager to explore more ways to incorporate these natural treasures into your decor, here are some other exciting ideas to inspire you:
- Conker Wreath: Create a beautiful conker wreath to hang on your door. Combine conkers with other natural elements like acorns and pinecones for a unique and festive look.
- Conker Garland: Craft a conker garland to drape along your fireplace mantle or stair railing. String the conkers together with twine or ribbon, and add some seasonal foliage for a lovely effect.
- Conker Candle Holders: Hollow out conkers and place tealight candles inside. These charming conker candle holders will cast a warm, cozy glow in your living space.
- Conker Place Cards: For your autumn dinner parties, use conkers as place card holders. Simply slice a small section from the bottom of each conker to create a flat surface, and then attach a name card.
To explore these ideas in more detail, check out these fantastic tutorials from fellow crafters:
- Conker Wreath Tutorial
- Conker Garland How-To
- Conker Candle Holder Guide
Embrace the beauty of the season and let your creativity shine by incorporating conkers into your autumn decor. Whether you're just starting with a simple conker vase or trying your hand at more intricate projects, the warmth and charm of these natural decorations will infuse your home with the spirit of autumn. Happy crafting!


Leave a Reply