Learn how to decorate boiled eggs for Easter with this step-by-step guide. From dyeing to painting and adding decorative elements, discover fun and creative ways to make your Easter eggs stand out. Get inspired and create beautiful eggs that will impress your family and friends this holiday season.
This post contains affiliate links and I may receive a small commission if you visit a link and buy something. Purchasing via an affiliate link doesn’t cost you any extra, and I only recommend products and services I trust. I may have been sent some of the products in this post free of charge or paid to feature them here. Thank you for supporting this blog.
The Easter Egg Decorating Tradition
Easter egg decorating is a tradition that dates back to ancient times and is still widely practiced today. The egg has long been a symbol of new life and rebirth, making it an ideal symbol for the Christian holiday of Easter, which celebrates the resurrection of Jesus Christ.
In many cultures, eggs were decorated with symbols and colors that represented fertility, prosperity, and good fortune. For example, in ancient Persia, eggs were painted with vibrant colors and designs to celebrate the start of spring. In other cultures, eggs were exchanged as gifts during the spring equinox as a symbol of new beginnings.
The tradition of decorating eggs for Easter became popular in medieval Europe, where eggs were often given as gifts during the holiday. Over time, the practice evolved to include a variety of techniques and designs, including dyeing, painting, and adding decorative elements like stickers, glitter, and sequins.
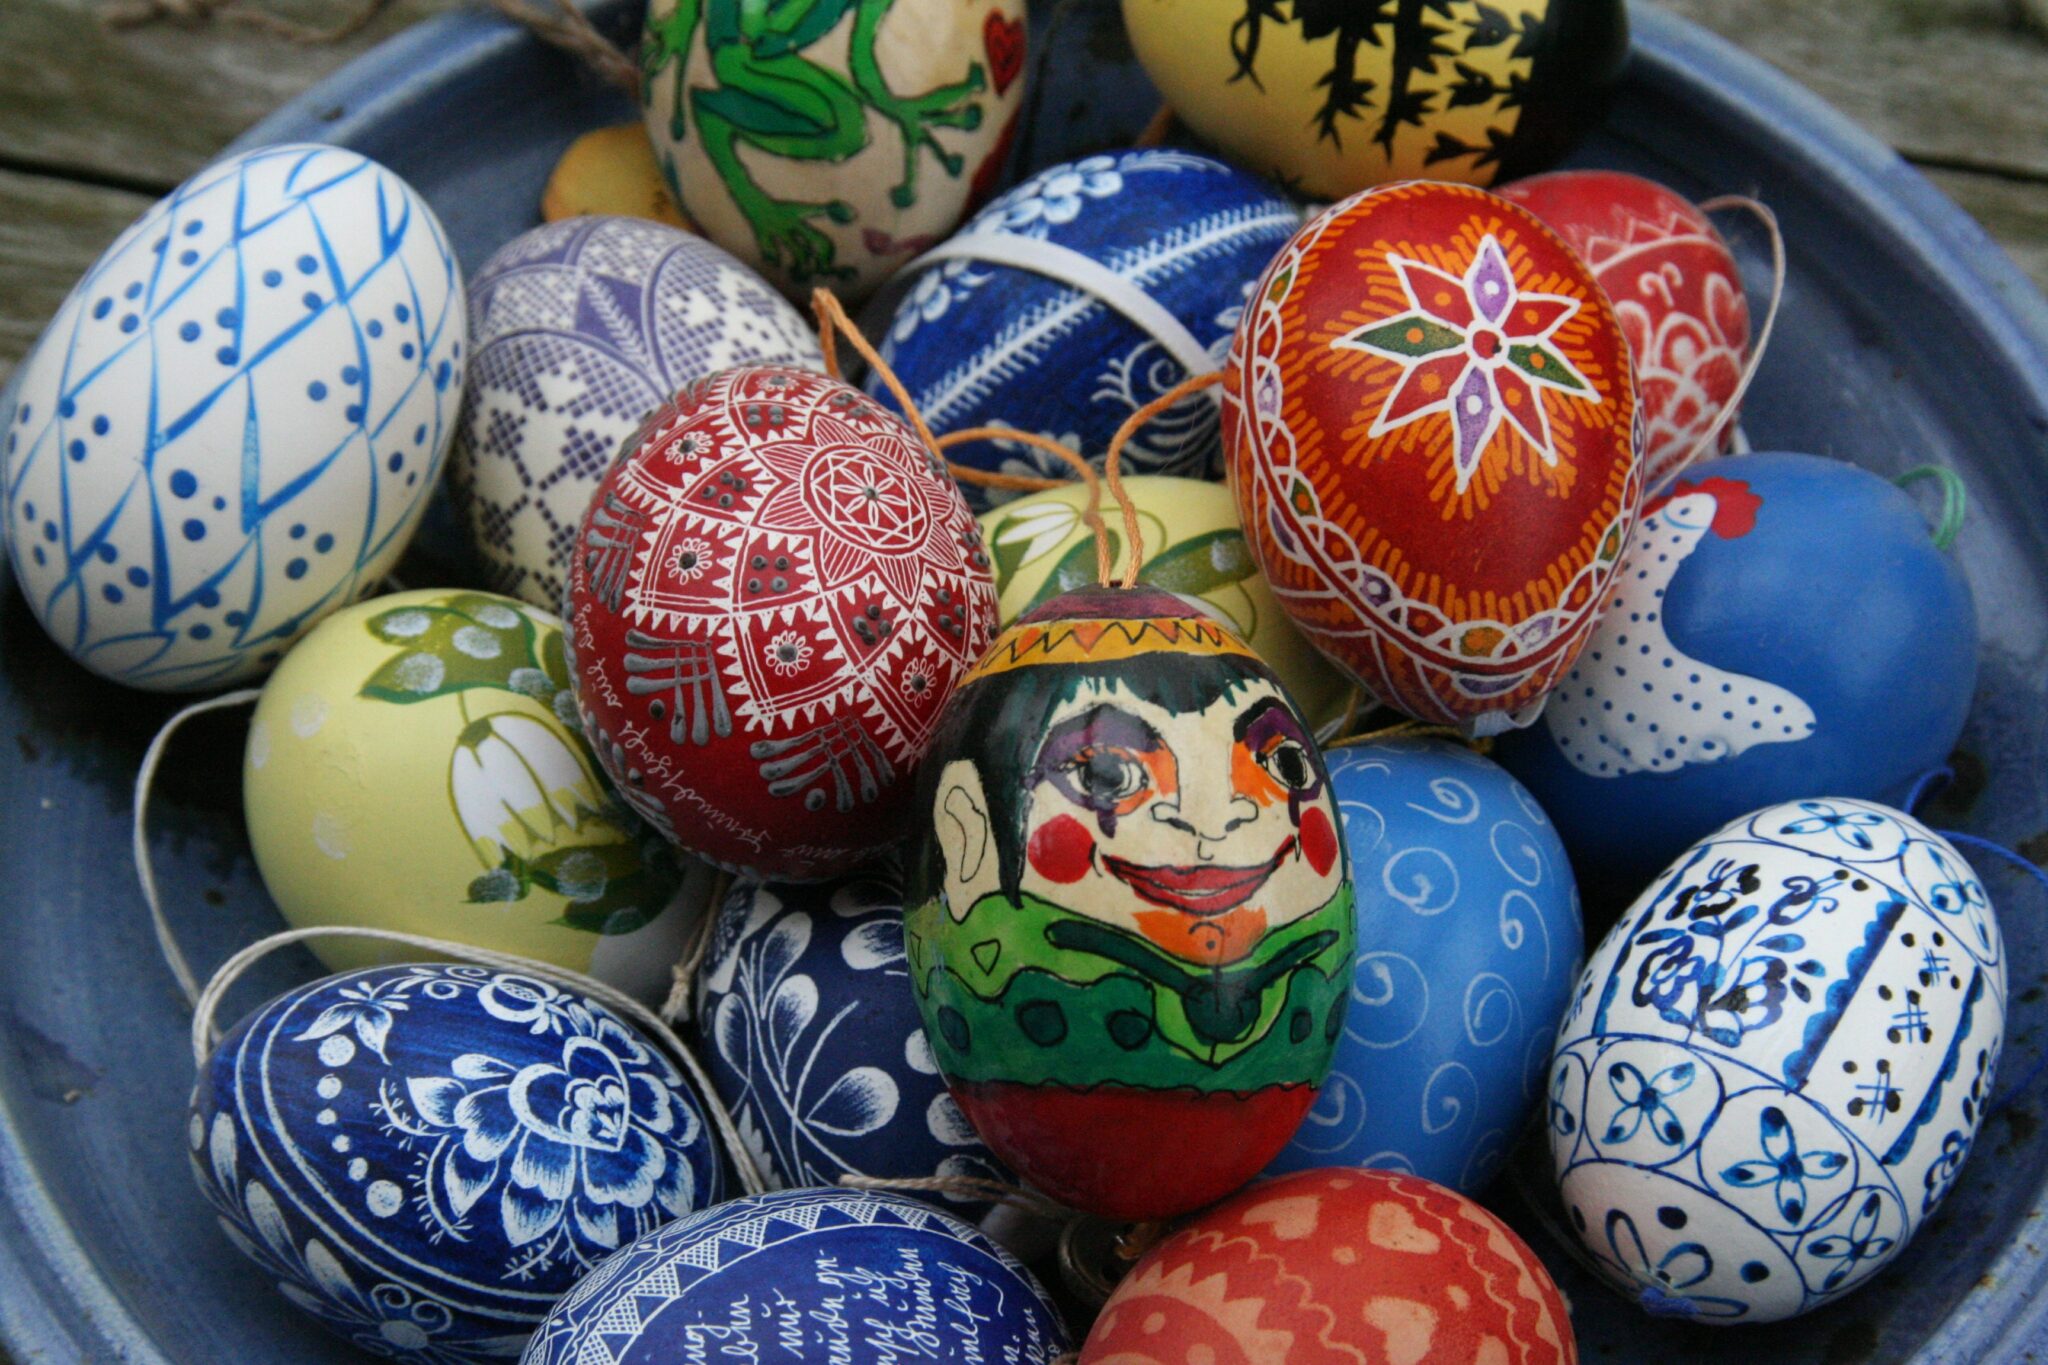
Today, Easter egg decorating remains a beloved tradition in many cultures around the world. Families gather to decorate eggs together, often creating unique designs and patterns that reflect their own creativity and cultural heritage. The decorated eggs are then used in Easter egg hunts and other festive activities, serving as a reminder of the renewal and new life that the holiday represents.
How To Prepare Eggs For Decorating
You will want to decorate hard-cooked eggs for Easter. Don't be tempted to skip this step and use raw uncooked eggs as if you break them it will be really messy! Here is how to hard boil an egg for decorating...
- Place eggs in a single layer in a pot and cover with cold water, making sure there is at least an inch of water above the eggs.
- Place the pot on the stove over medium-high heat and bring the water to a rolling boil.
- Once the water is boiling, remove the pot from the heat, cover it with a lid, and let it sit for 10-12 minutes.
- Drain the hot water and rinse the eggs under cold running water until they are cool enough to handle.
Tips for creating the perfect hard-boiled egg for decorating
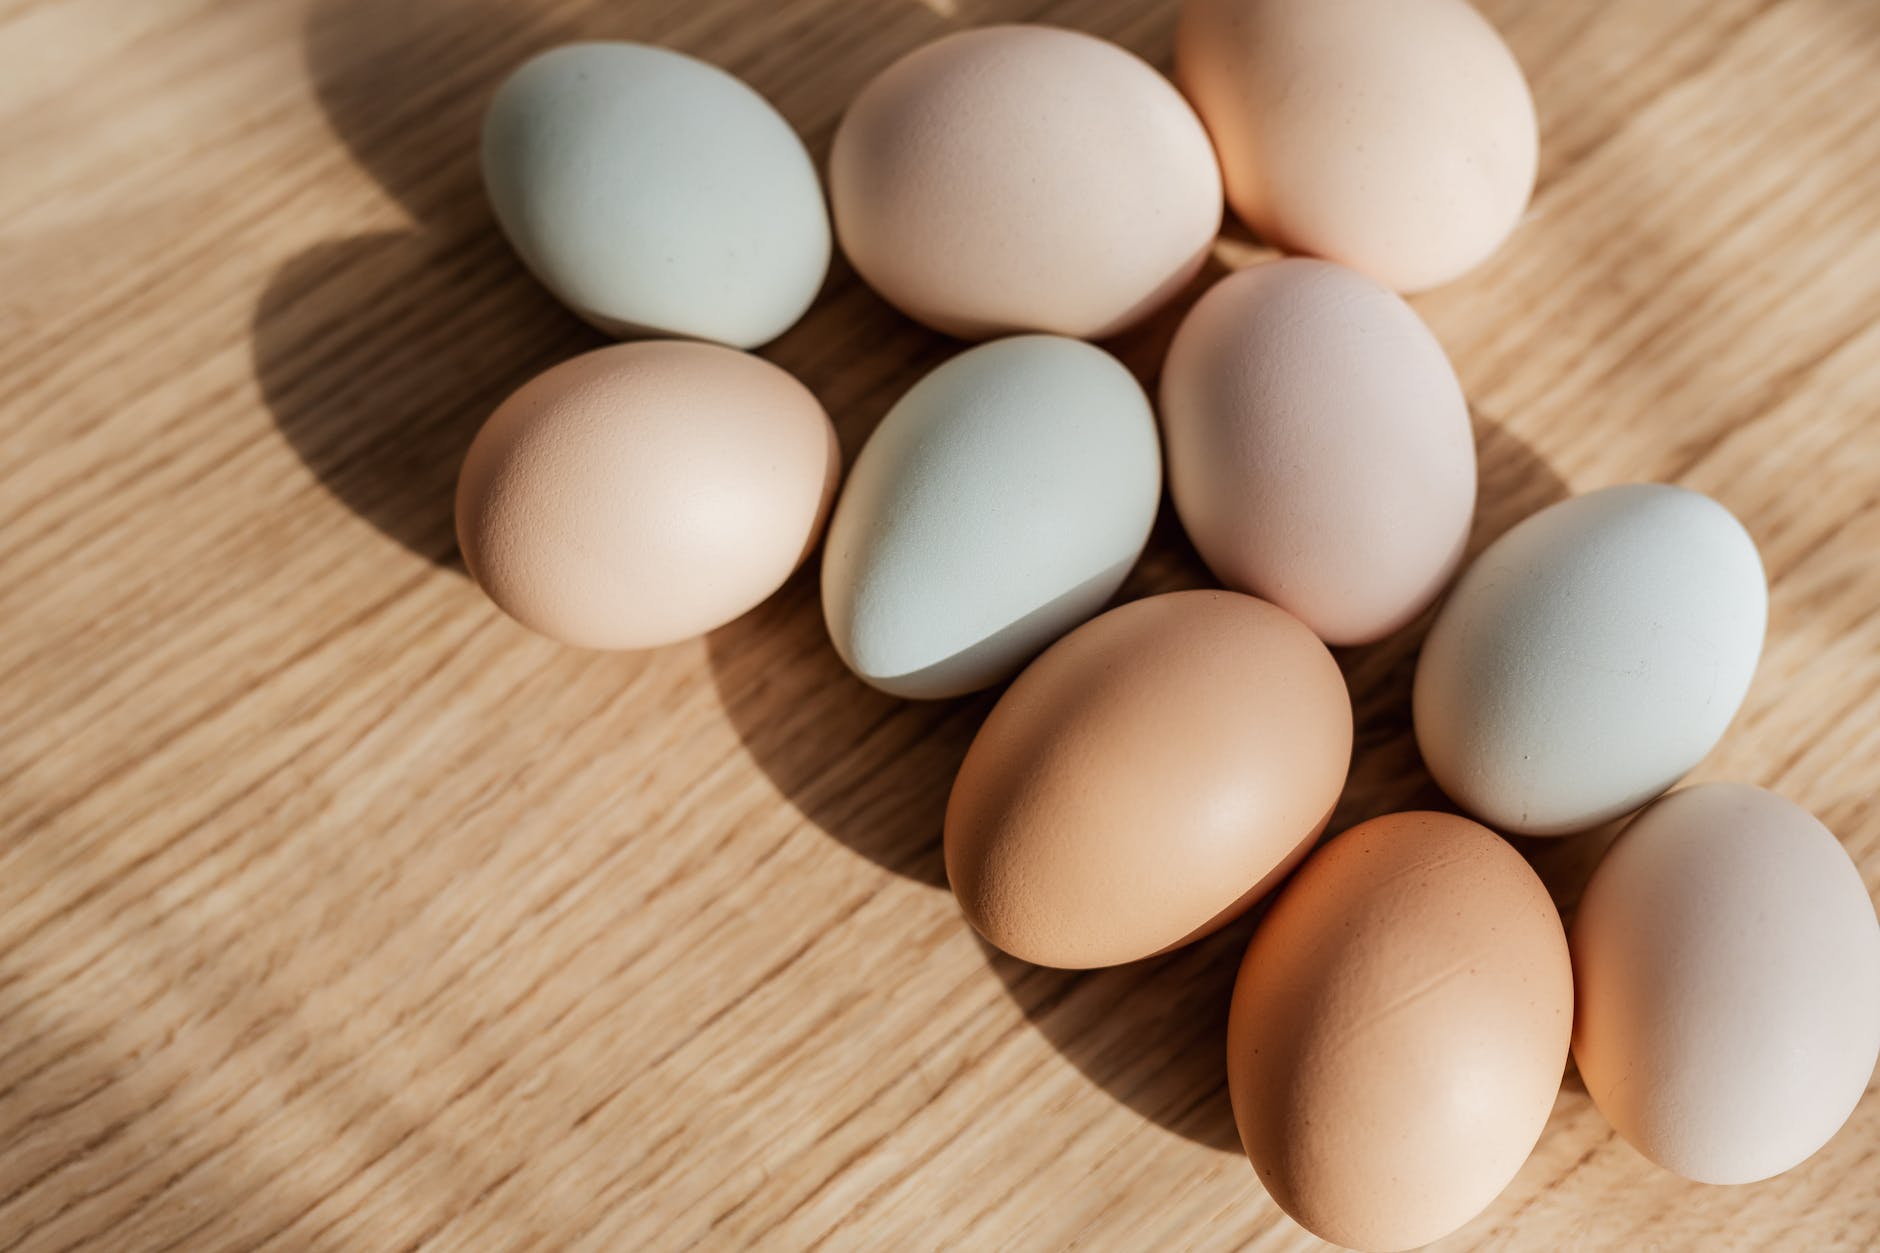
Hard boiling an egg for decorating is slightly different to boiling one for eating. For decorating we want to make sure that the shell stays intact and the egg is nice and firm to make it easier to decorate.
- Use fresh eggs
- To prevent the cooking eggs from cracking during boiling, let them sit at room temperature for about 30 minutes before boiling.
- If using the stove-top method, add a teaspoon of vinegar or salt to the water to prevent the eggs from cracking and leaking out.
Different Methods and Techniques for Decorating Eggs
Swirly Egg
Egg designs are provided by TheSoul Publishing
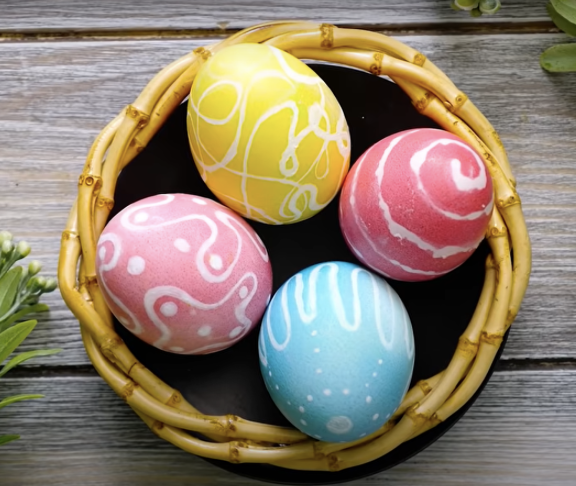
For a unique and beautiful egg design, try the swirly egg technique. First, use a hot glue gun to place swirls of hot glue onto your hard-boiled egg, starting from the top and working your way down. Allow the hot glue to dry completely before gently placing the egg into a large bowl of your chosen dye color, making sure there is enough water to completely cover the eggs. Leave for 10 minutes in the dye and remove with a slotted spoon. Once the hard boil eggs have absorbed the dye and dried, carefully peel off the hot glue to reveal a stunning white swirl pattern on your colored egg. This technique is quick, easy, and produces beautiful results that are sure to impress your friends and family during Easter festivities - they would look great as a centrepiece on the table at an Easter celebration.
Nail Polish Tie Dye Eggs
Egg designs are provided by TheSoul Publishing
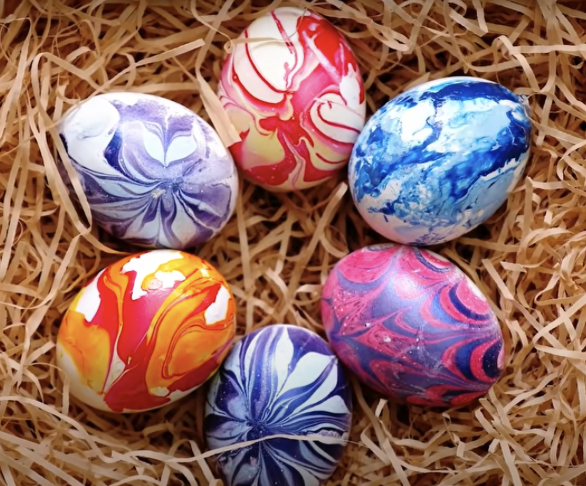
For a funky and colorful twist on traditional Easter eggs, try creating nail polish tie dye eggs. Start by filling a bowl with room-temperature water and adding drops of your favorite colored nail polish into the water. Use a toothpick or skewer to gently swirl the colors together and create a unique design. You can add as many colors as you like and create different patterns for each egg.
Once you have your nail polish design, carefully drop a hard-boiled egg into the water and use a spoon to gently swirl the egg around, making sure it is fully coated in the nail polish mixture. Let the egg sit in the mixture for a few seconds before carefully lifting it out of the water with a spoon or tongs.
Allow the nail polish to dry on the egg for a few seconds before placing it on a paper towel or egg carton to dry completely. The end result will be a beautifully tie-dyed egg with a glossy finish.
This technique is easy to do and can produce a variety of unique designs and colors. Try experimenting with different color combinations and patterns to create your own personalized nail polish tie dye Easter eggs.
Simple dyed eggs
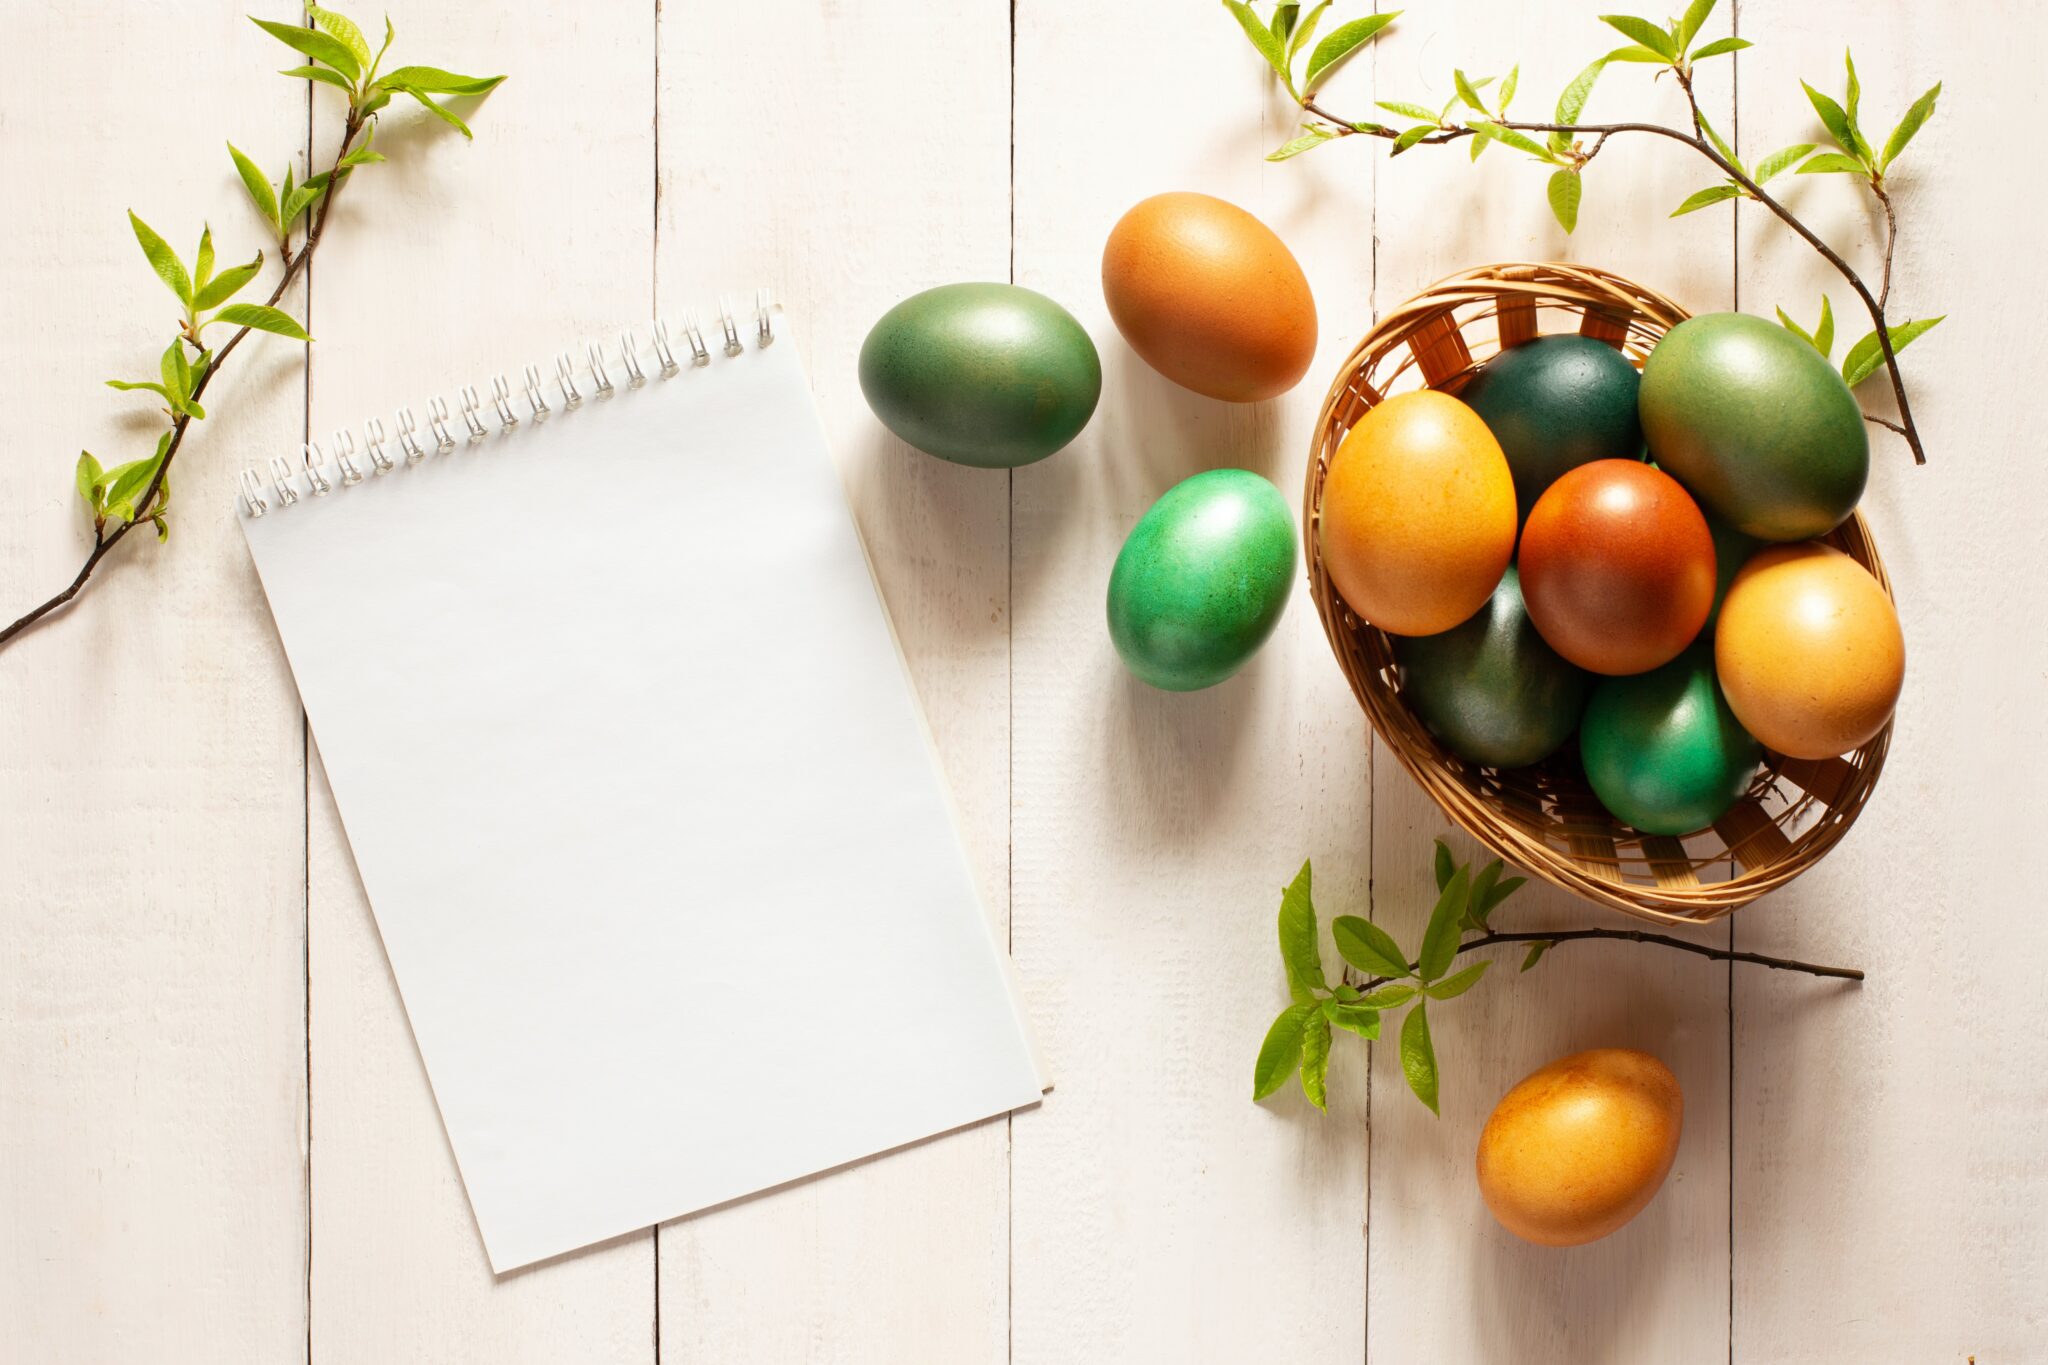
Photo by Elena Leya on Unsplash
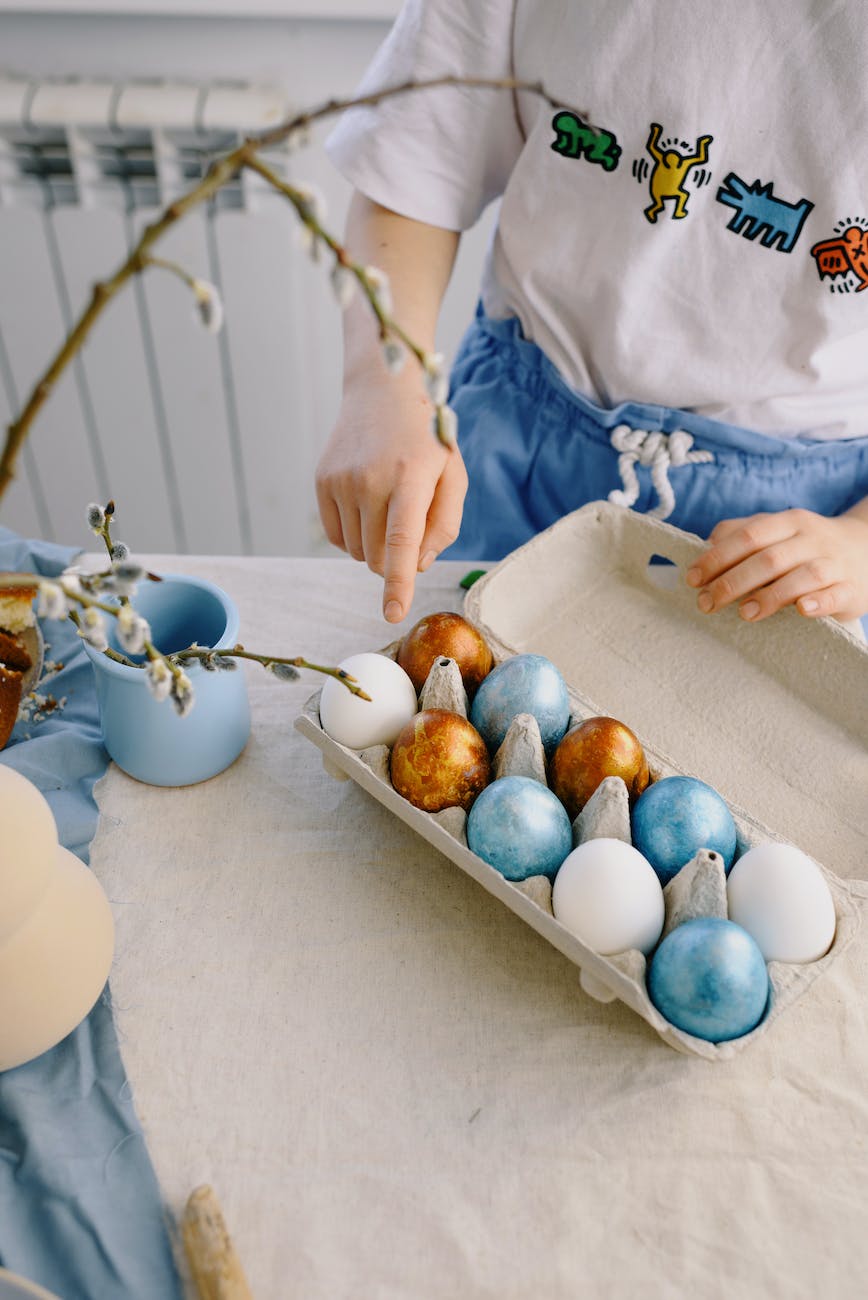
Dyeing hard-boiled eggs is a fun and creative way to celebrate Easter. To get started, first prepare your workspace by laying down newspaper or a plastic tablecloth to protect surfaces from any spills or stains. Next, hard boil your eggs and let them cool to room temperature. Once they are cool, mix together a dye solution by combining a teaspoon of white vinegar and food colouring / food dye in a bowl of boiling water.
Place your eggs in the dye solution and let them sit for 5-10 minutes, or longer if you want a deeper color. If you want to create patterns or designs on your egg shell, use stickers, rubber bands, or wax crayons to create a resist effect before placing them in the dye.
After dyeing, carefully remove the eggs from the dye and let them dry completely. With a little creativity and experimentation, you can create beautiful and unique Easter eggs to enjoy with family and friends.
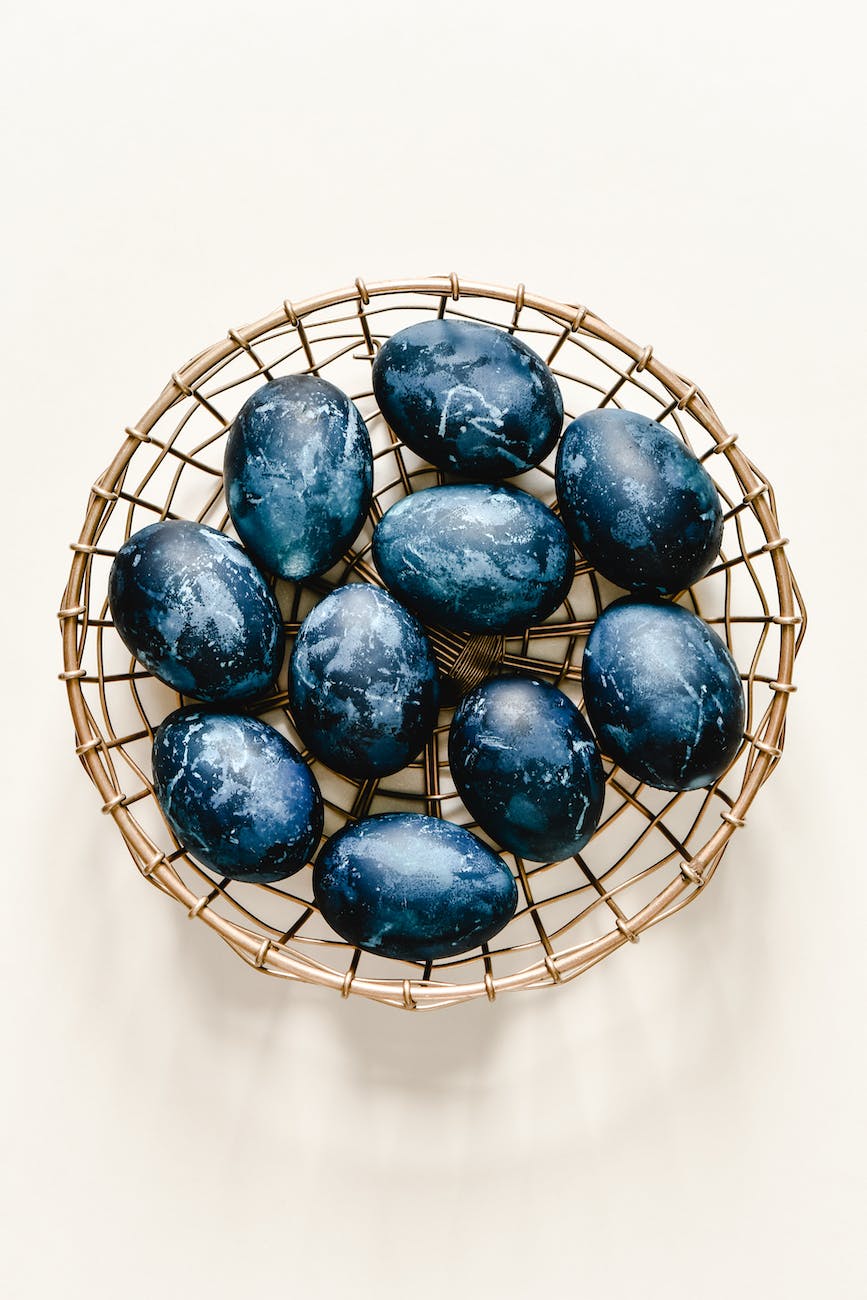
You can also use natural dyes such as onion skins, beets, or turmeric. Use the same technique as above but the eggs might need to stay in the solution a bit longer for the dye to take.
Painted eggs


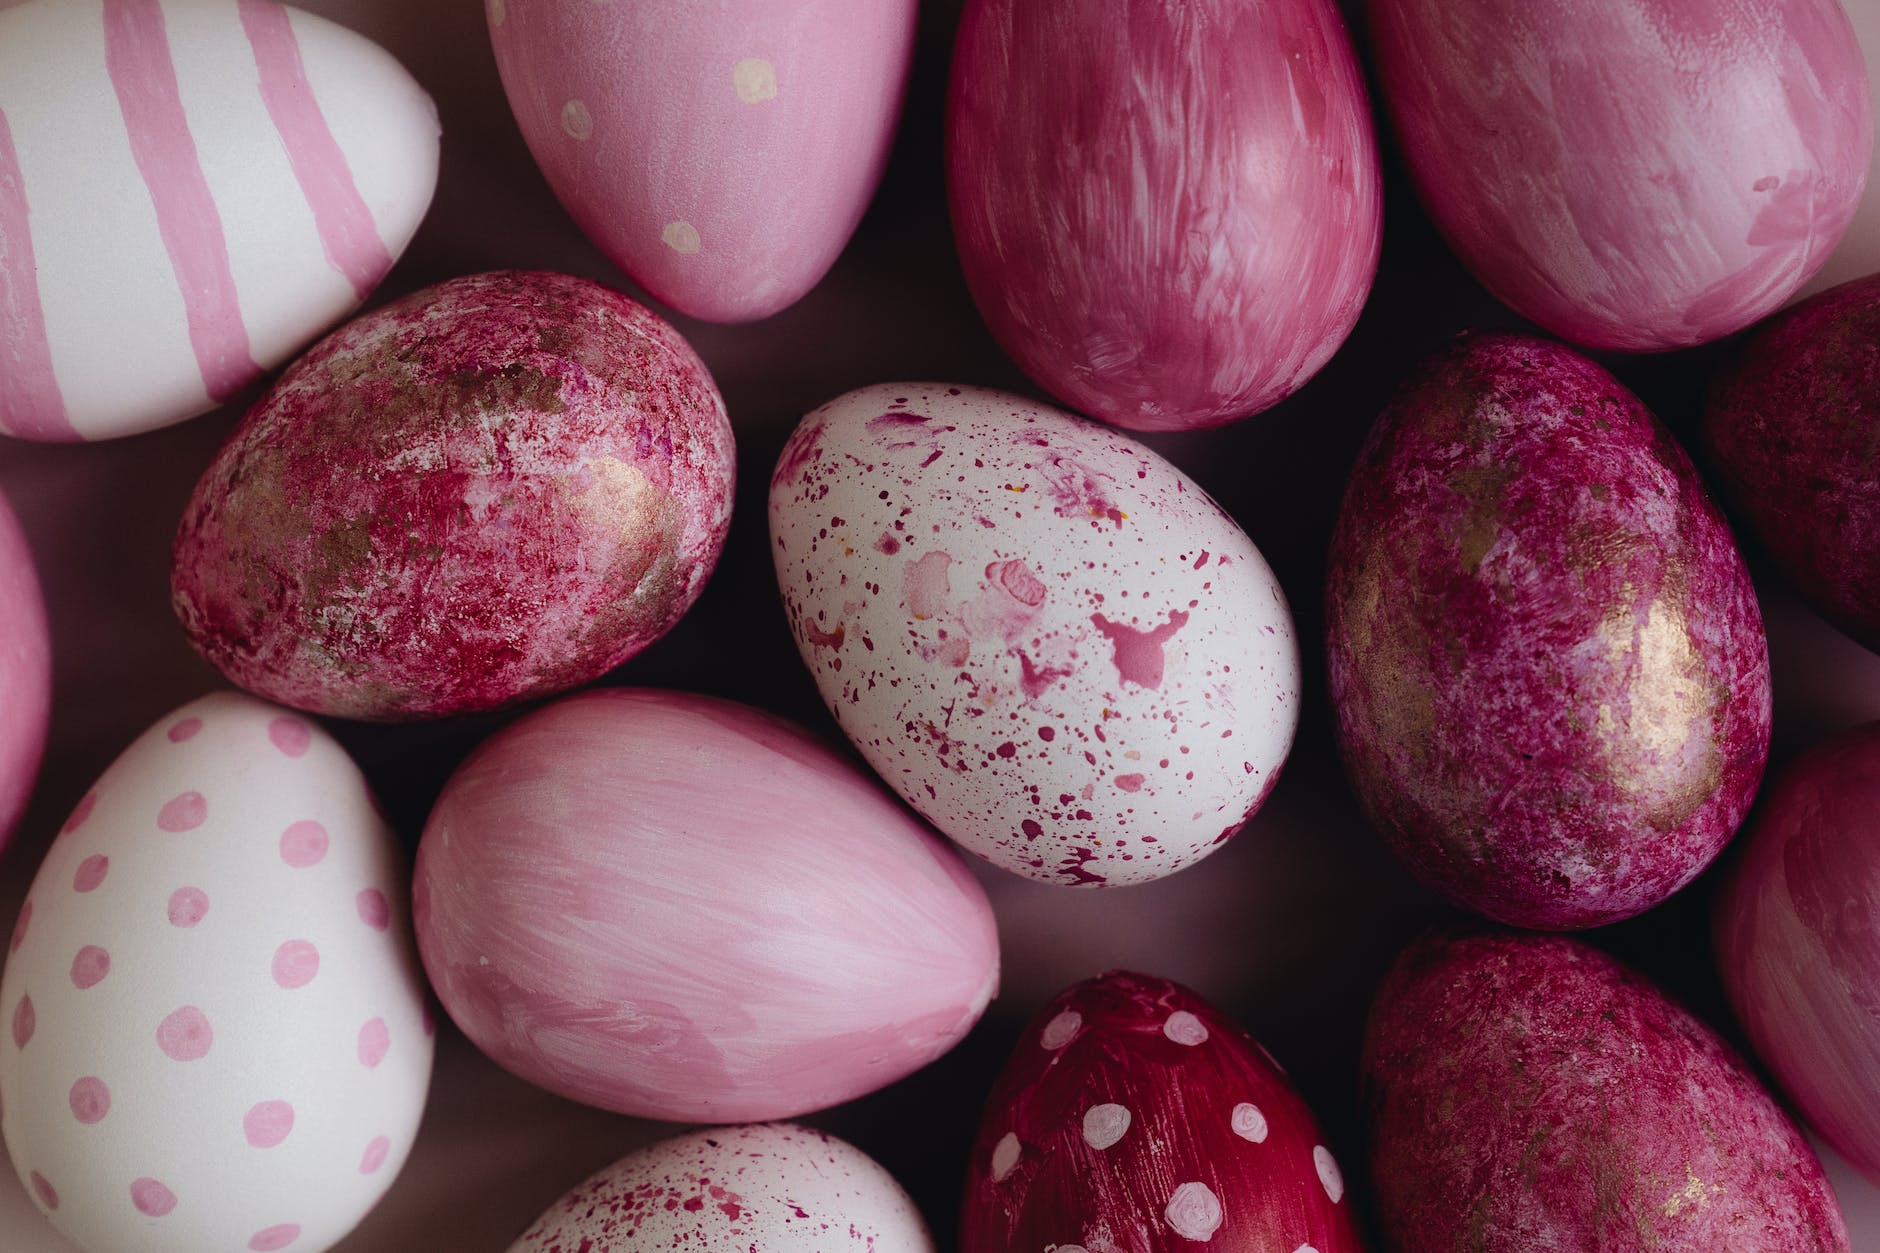
Painting hard boiled eggs is a fun and easy Easter activity that the whole family can enjoy. First, start by hard boiling your eggs and letting them cool to room temperature. Using white eggs rather than brown eggs is preferable as your painted designs will stand out more.
Then, gather your supplies, including non-toxic acrylic, craft paint or poster paints, paint brushes, paper towels, and a palette or paper plate for mixing colors.
To begin, you can either paint the entire egg one color or create a design using different colors. For painting a single color, start by holding the egg with one hand and painting with the other. Use long strokes to cover the entire egg, and use a paper towel to wipe off any excess paint. Allow the egg to dry before handling it.
If you want to create a design, start by drawing the design on the egg with a pencil. Then, use a small brush or paint pen to paint in the details. You can also use a toothpick or cotton swab to create small polka dots or lines.
Once you've finished painting your eggs, let them dry completely. If you want to add a glossy finish, you can brush on a layer of clear nail polish or acrylic sealer. Painting hard boiled eggs is a fun and creative way to celebrate Easter, and with a little practice and creativity, you can create beautiful and unique eggs to display, give as gifts or use in an easter egg hunt.
Sharpie faces
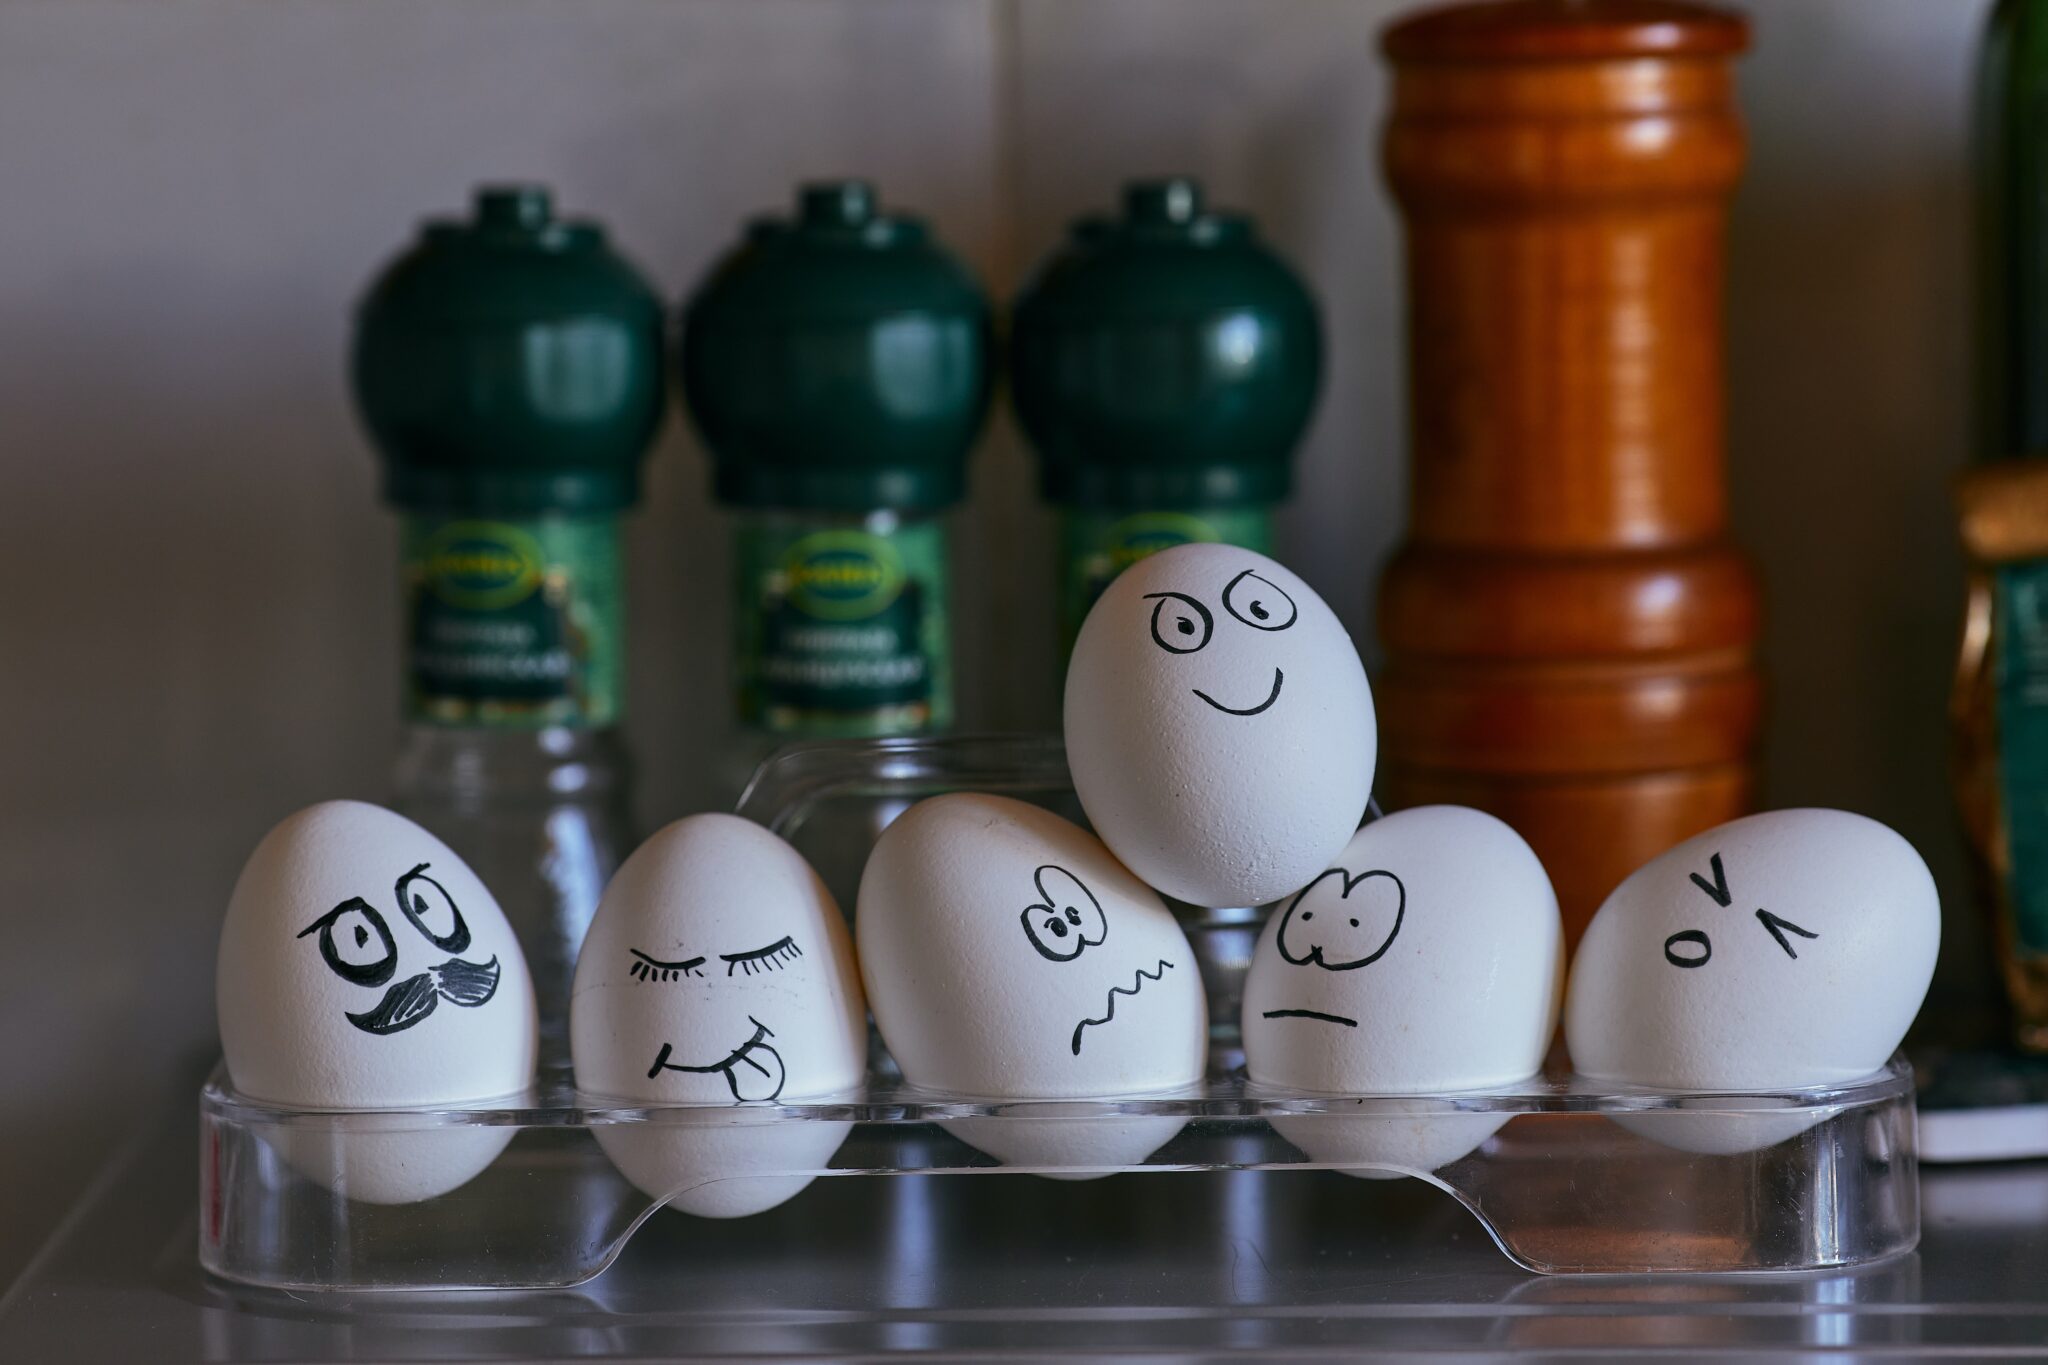
Your designs don't have to be elaborate when decorating eggs. There are plenty of simple decorating ideas you can use. Permanent markers or a simple black sharpie is a great idea for drawing faces onto eggs and you can use flowers or other craft materials to dress up your egg. This is an easy way to get the less craft minded involved in this activity. Easter crafts like this can be as complicated as you make them.
Decoupage eggs
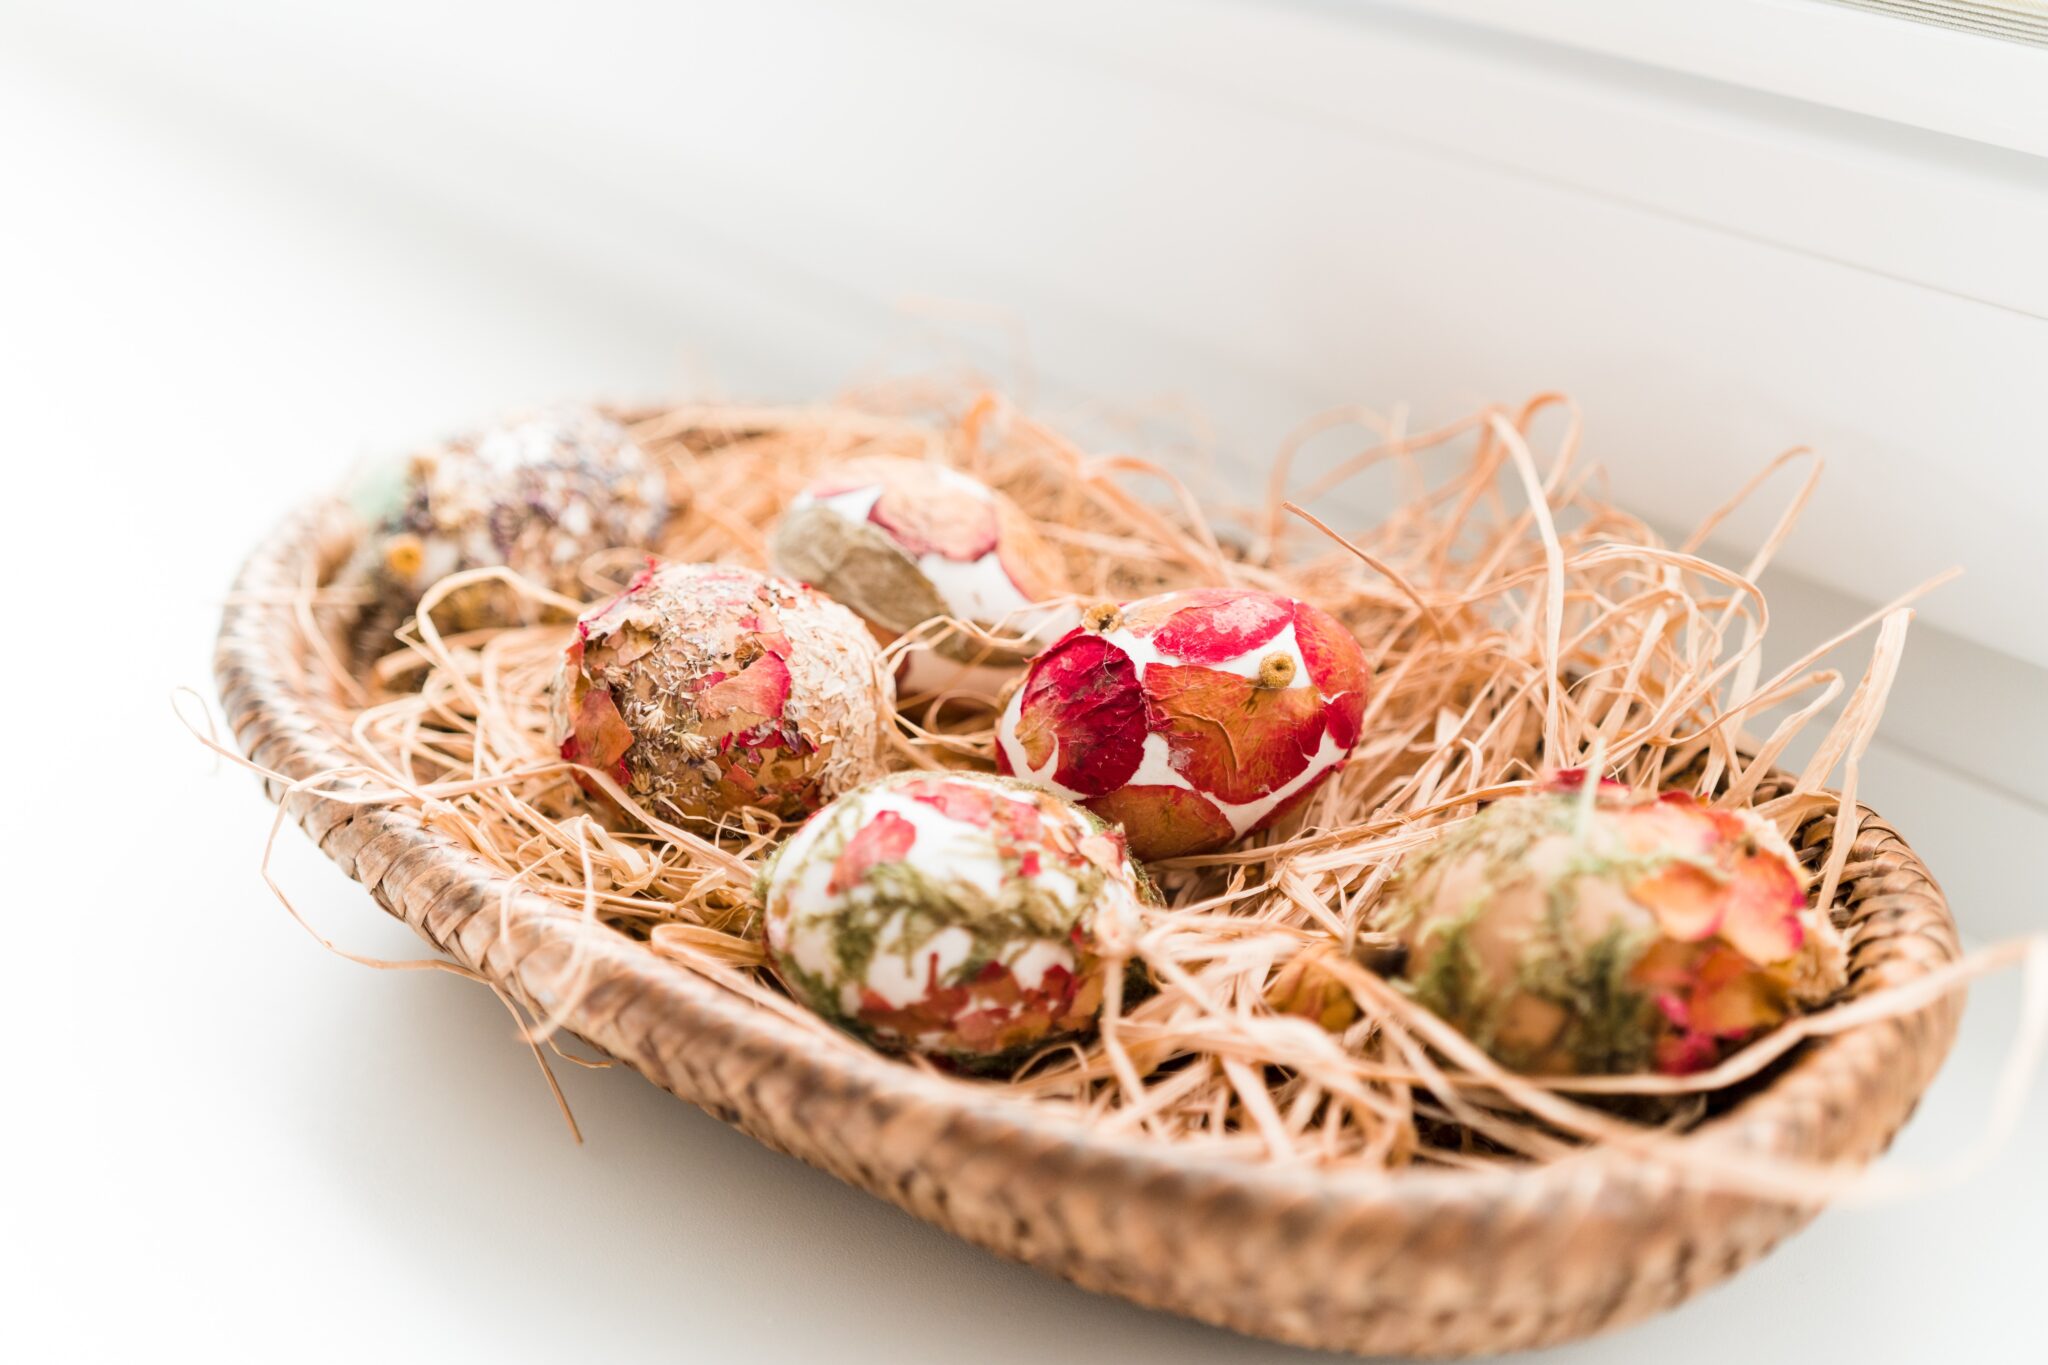
Decoupaging hard boiled eggs is a fun and unique way to decorate eggs for Easter. To begin, gather your supplies, including hard boiled eggs, decorative napkins or tissue paper, Mod Podge or other decoupage glue, paintbrushes, and scissors.
First, choose the napkins or tissue paper you want to use and cut out small pieces or shapes. You can also tear the paper for a more textured look. Then, apply a thin layer of Mod Podge or decoupage glue to a small section of the egg. Place a piece of the paper onto the glue and smooth it down with your fingers or a brush. Repeat this process, working in small sections until the entire egg is covered.
After applying the paper to the egg, use a brush to apply another thin layer of Mod Podge over the entire egg to seal it. This will help protect the paper and give the egg a glossy finish. Let the egg dry completely before handling it.
If you want to add additional decorations, you can use stickers, dried flowers, ribbon, or paint to create a personalized touch. Decoupaging hard boiled eggs is a fun and creative way to make unique Easter decorations that can be enjoyed year after year. With a little bit of creativity and some simple supplies, you can create beautiful and memorable Easter eggs that will delight friends and family.

Decorating hard boiled eggs for Easter is a fun and creative way to celebrate the holiday and spend time with loved ones. Whether you choose to dye, paint, or decoupage your eggs, there are endless possibilities for creating unique and beautiful designs. By following these tips and techniques, you can make a fun and colorful Easter display that will be sure to impress. So gather your supplies, let your imagination run wild, and have fun decorating your eggs for Easter!
I hope that you enjoyed this post about how to decorate a boiled egg for Easter. Share it with your friends and Pin it for later...
You might also like these posts...


















Leave a Reply