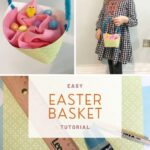
Looking to add a personal touch to your Easter celebrations this year? Dive into our easy Easter basket tutorial! In this blog post, we'll guide you through simple steps to create charming Easter baskets that are not only adorable but also customizable to suit your style and preferences. Whether you're crafting for your little ones, friends, or even yourself, this tutorial to make your own easter baskets will make the process a breeze. Let's get crafting and make this Easter extra special!
This post contains affiliate links and I may receive a small commission if you visit a link and buy something. Purchasing via an affiliate link doesn’t cost you any extra, and I only recommend products and services I trust. I may have been sent some of the products in this post free of charge or paid to feature them here. Thank you for supporting this blog.
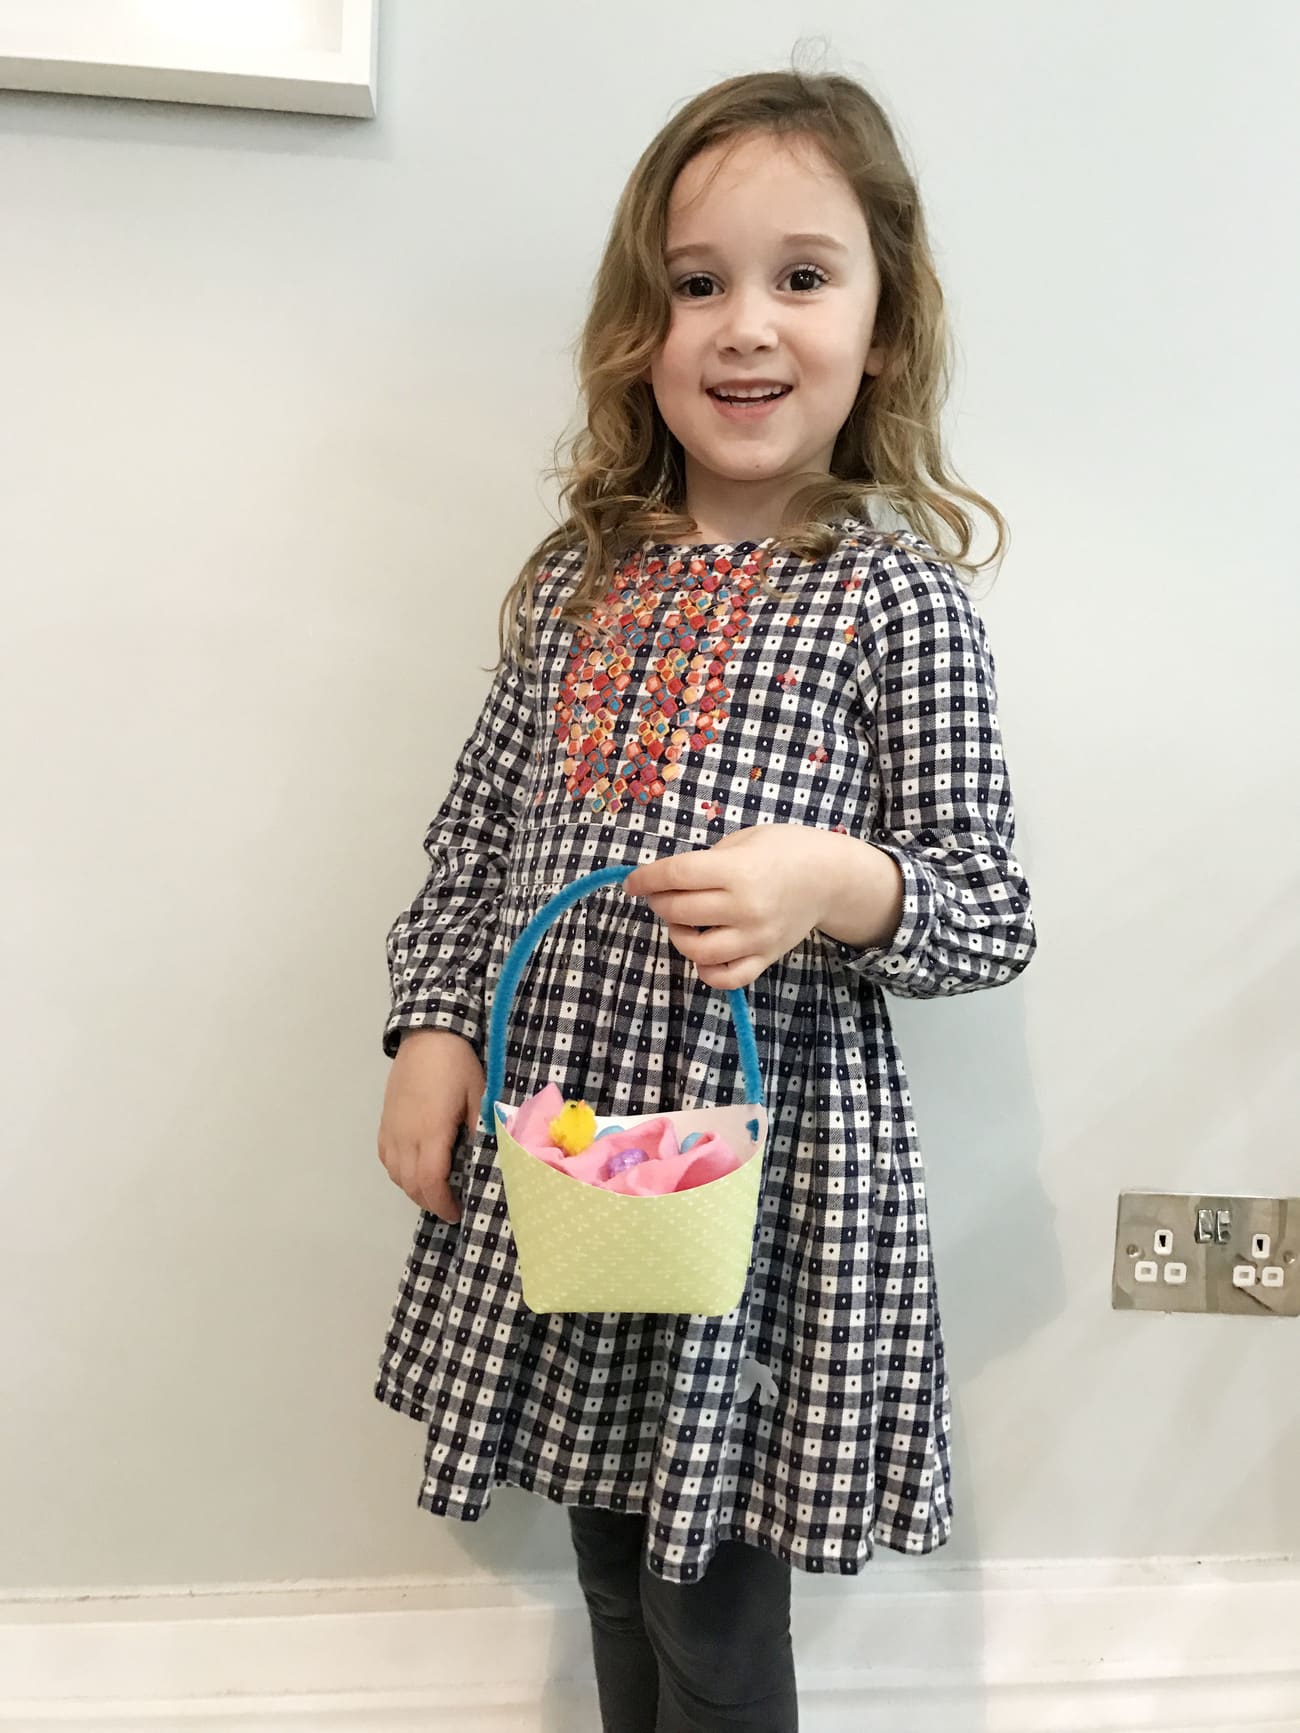
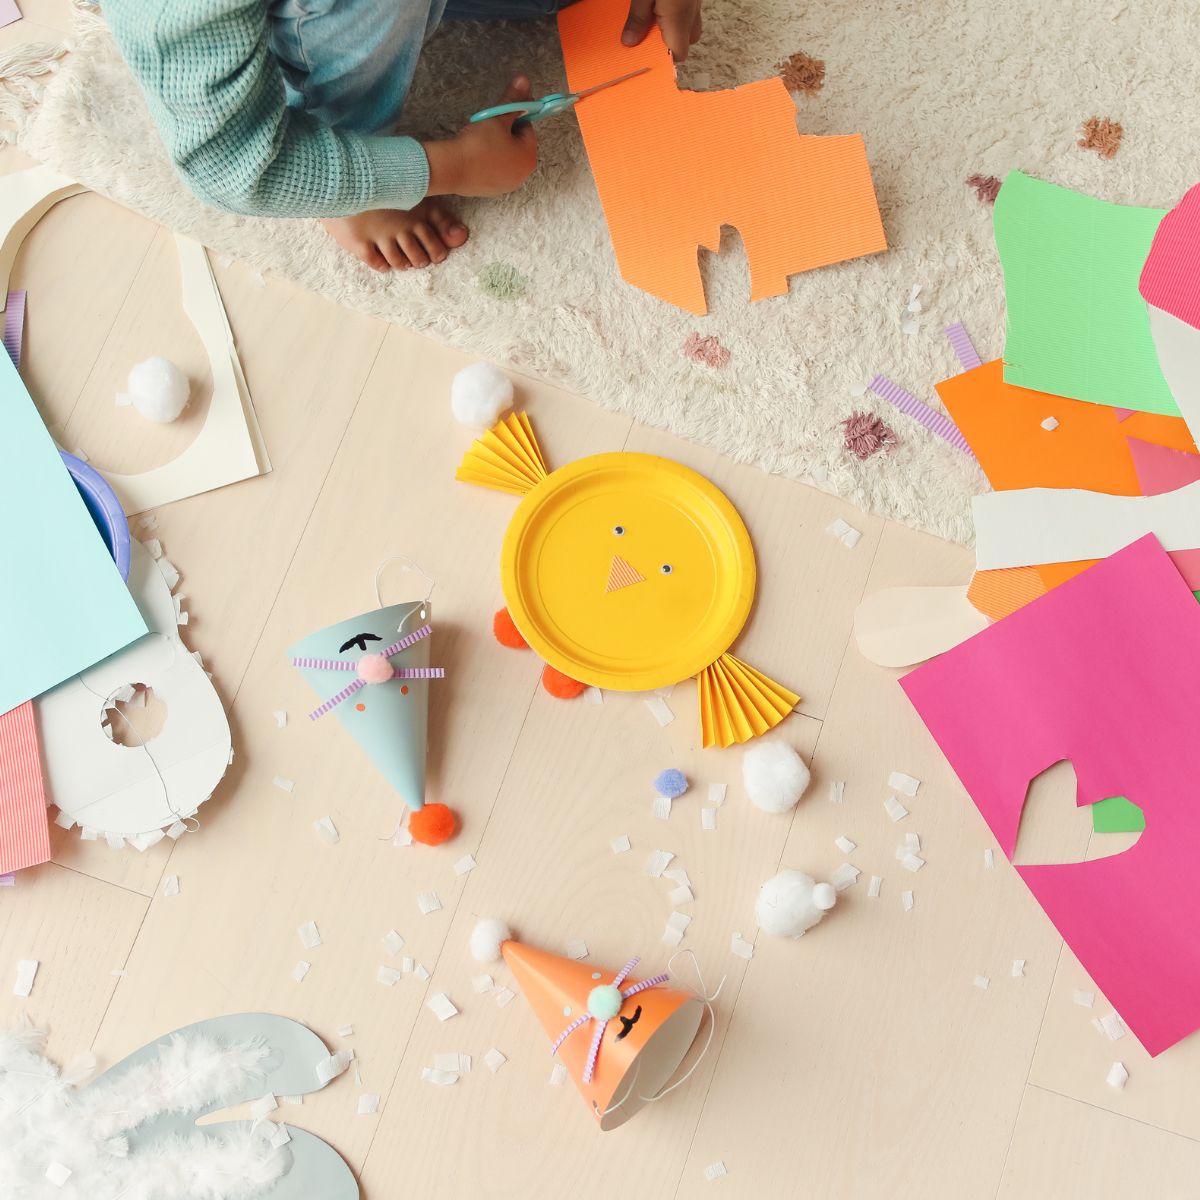
Little Miss J absolutely loves arts and crafts so she was really pleased that we were chosen to be Bostik Bloggers this year. For Easter they sent us a big box of craft supplies and we decided to use them to make an Easter card which we will send to our old neighbour and also to make a really easy Easter Basket. You don't actually need a big box of craft supplies to make this - just a sheet of A4 card and some glue. It honestly couldn't get any simpler.
For more easter basket ideas you can also find more easy easter basket tutorials here...
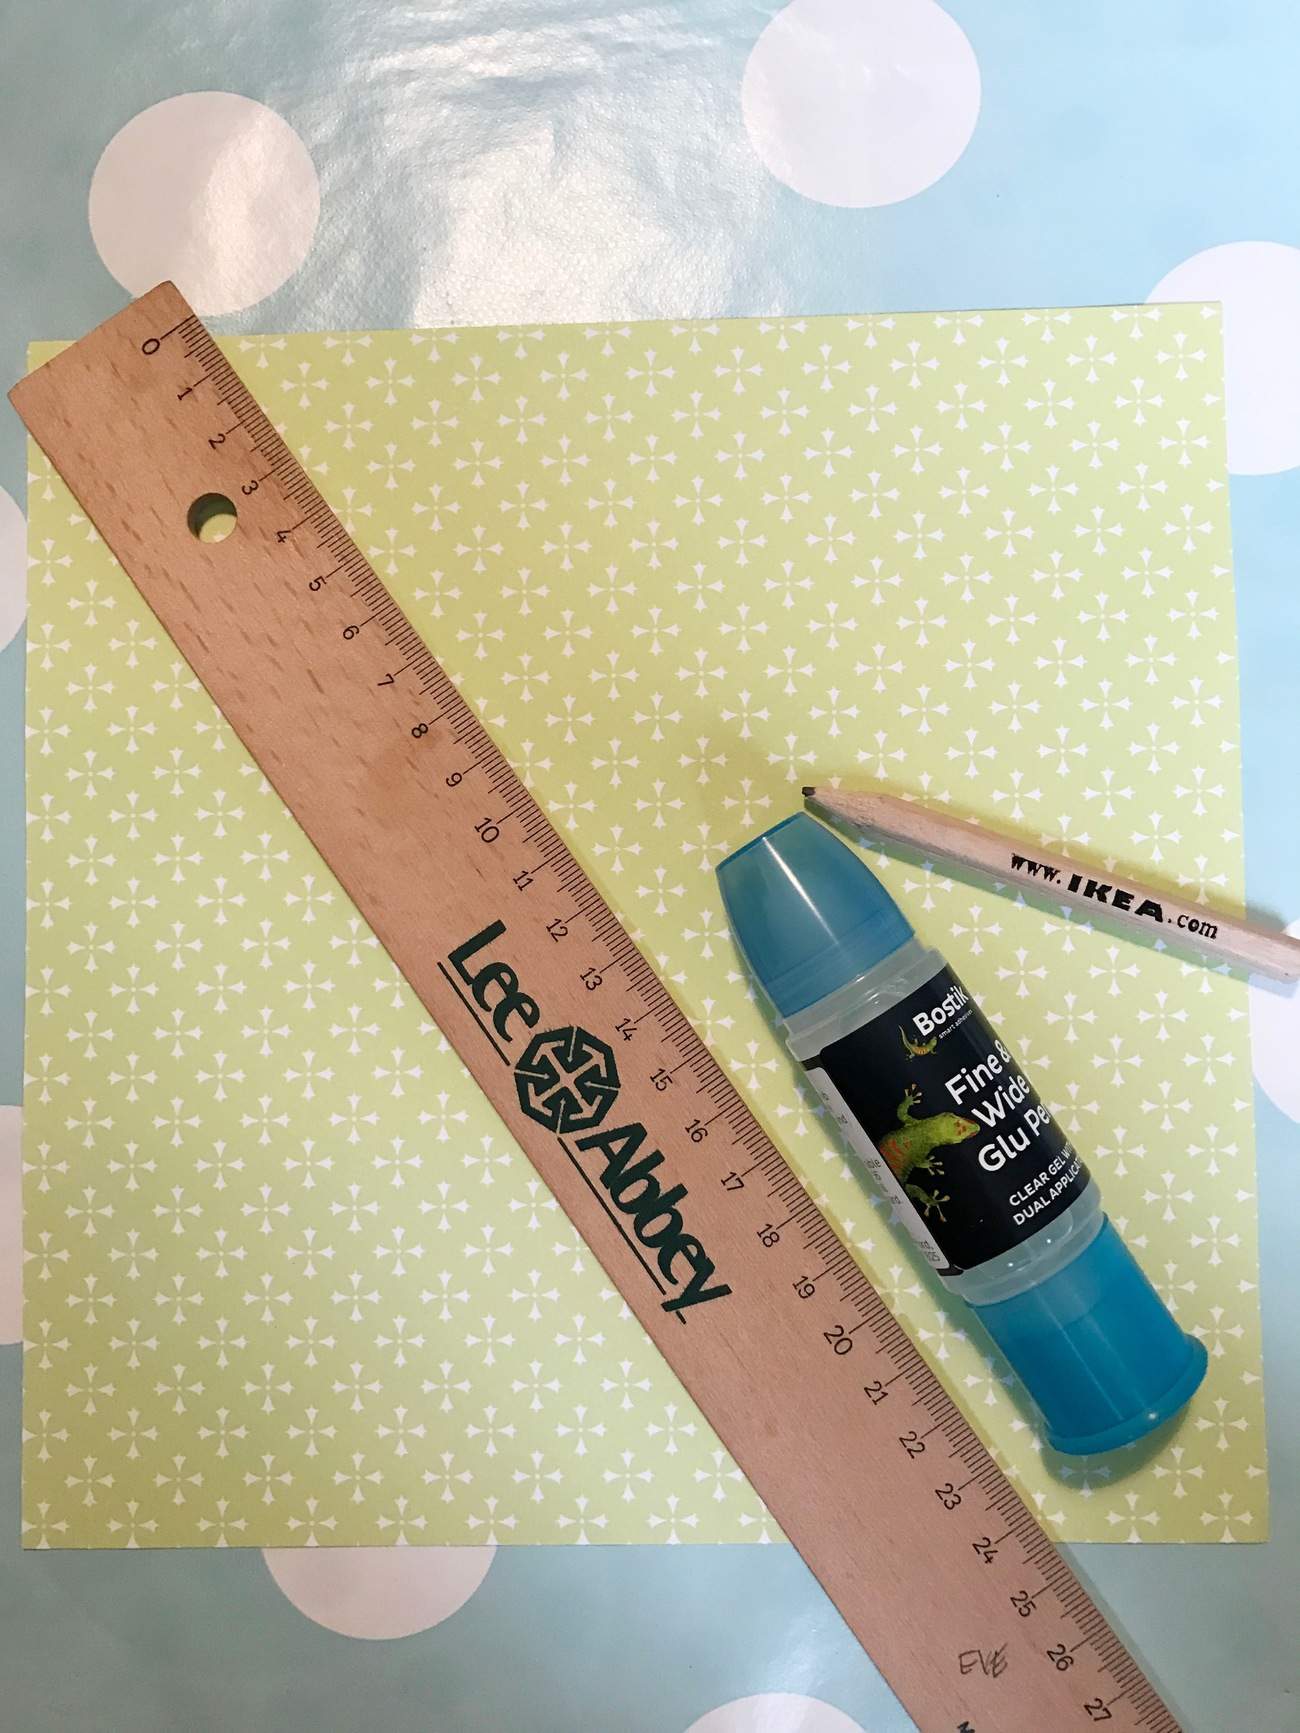
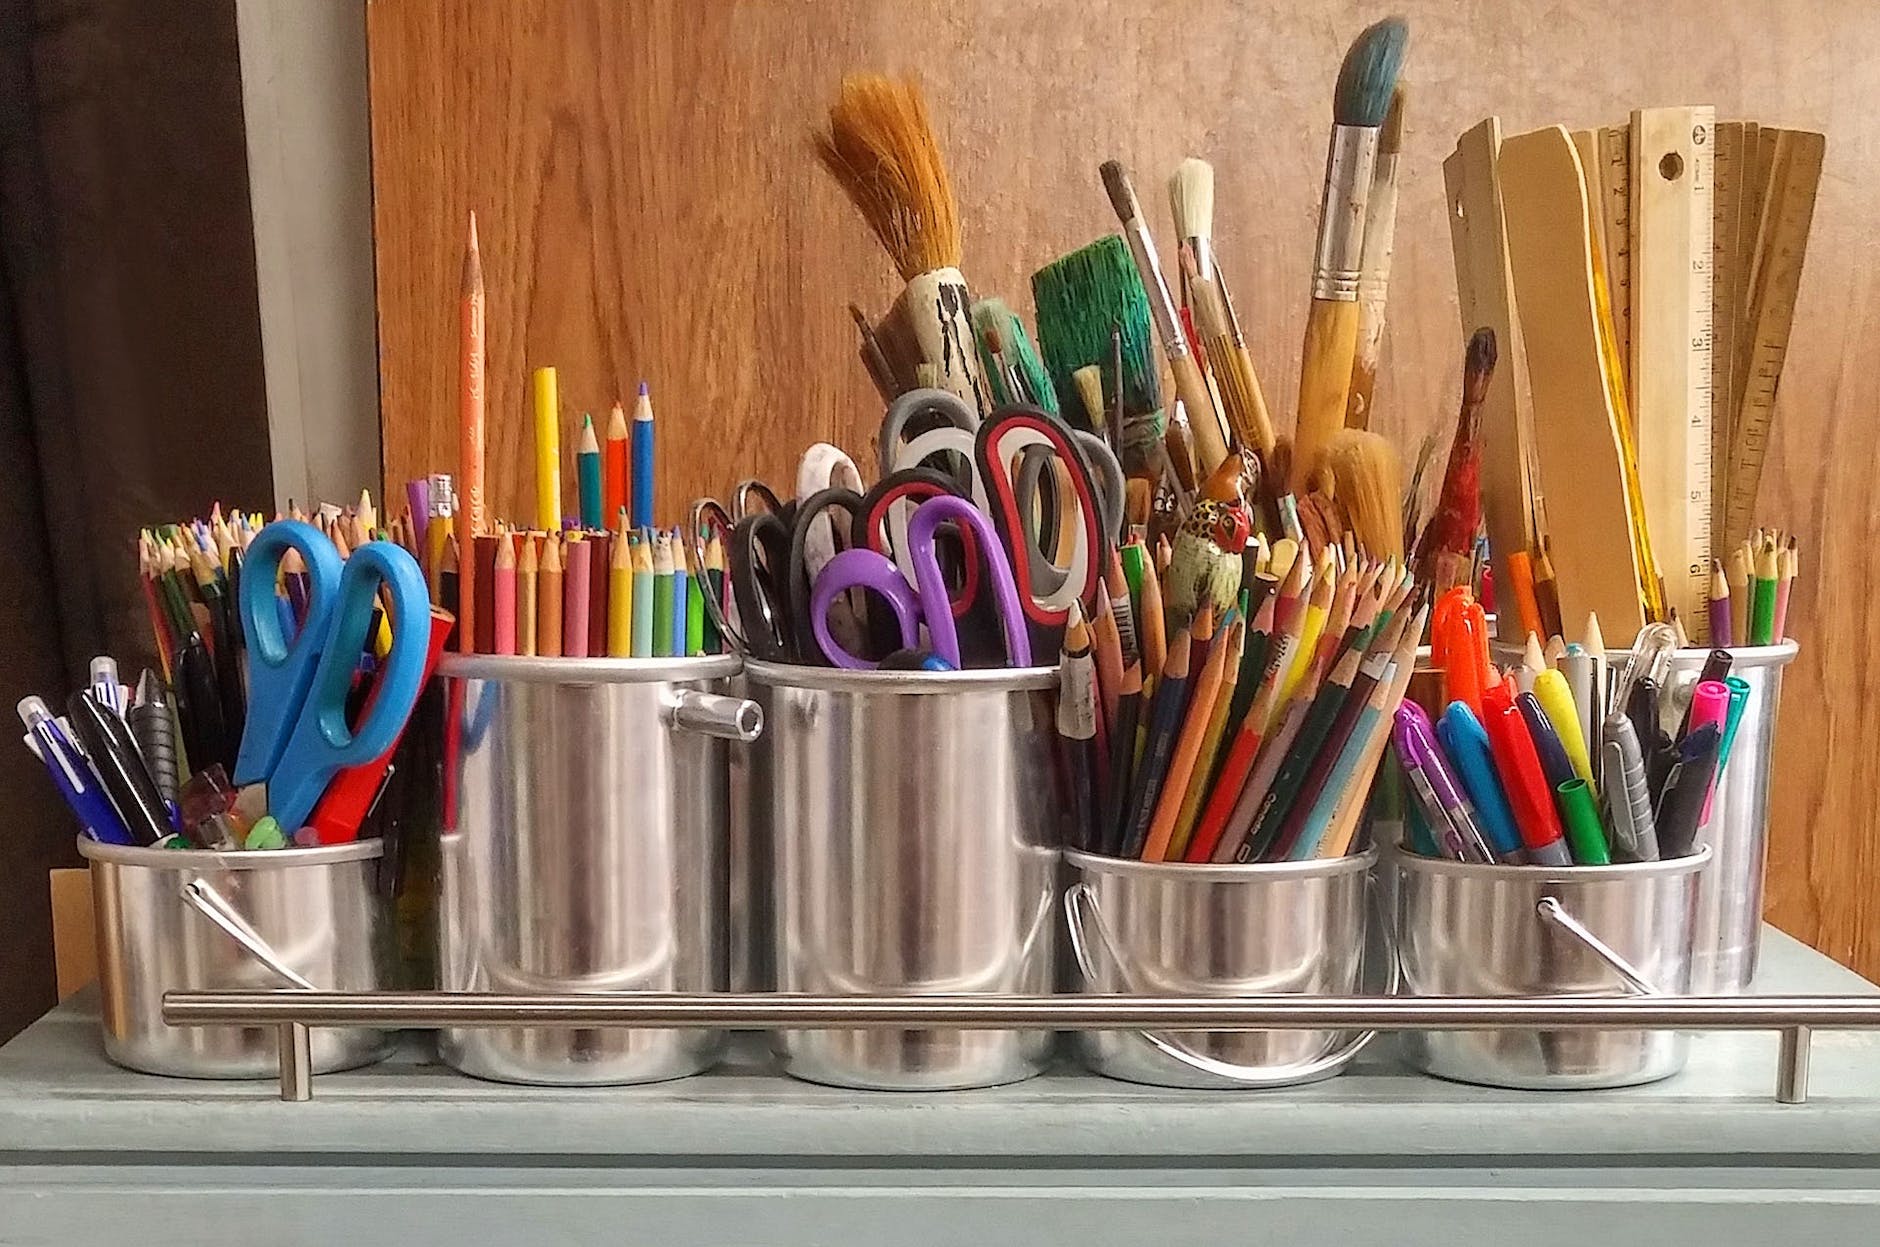
What you will need...
- A4 card
- Glue
- Pencil
- Ruler
- Scissors
- Paperclip (to hold glue in place)
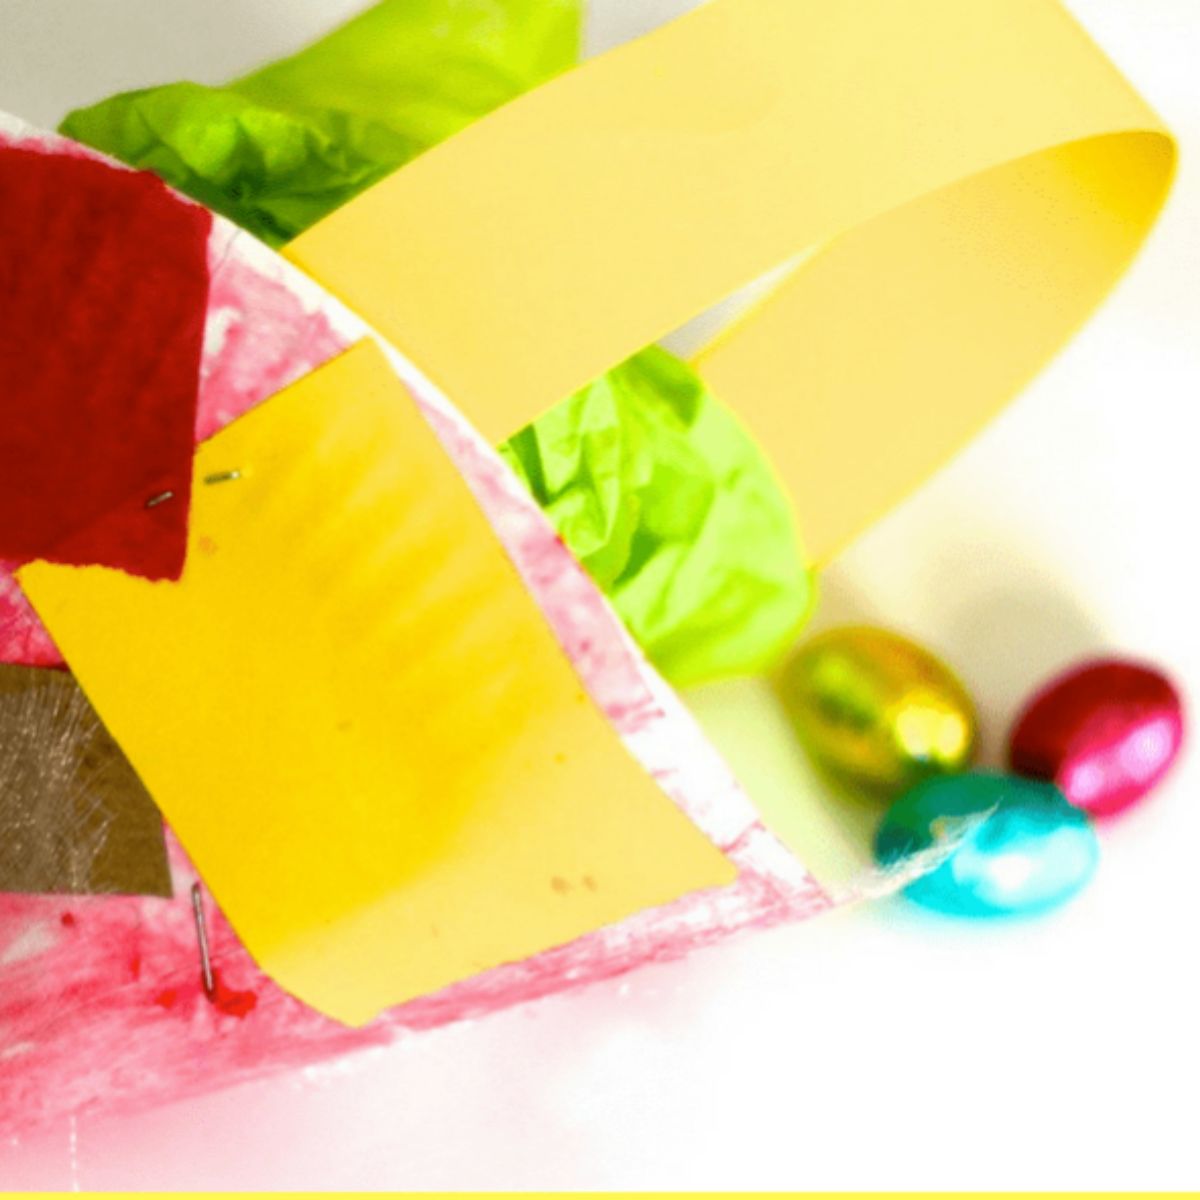
I have used cardboard that is patterned on one side to make these simple easter baskets but you could use plain card that you have drawn on or painted, or plain card that and decorate the outside of the basket afterwards with stickers, pictures, gems etc. If you have a colourful cardboard box that would be perfect to reuse for this cardboard easter baskets project.
Instructions
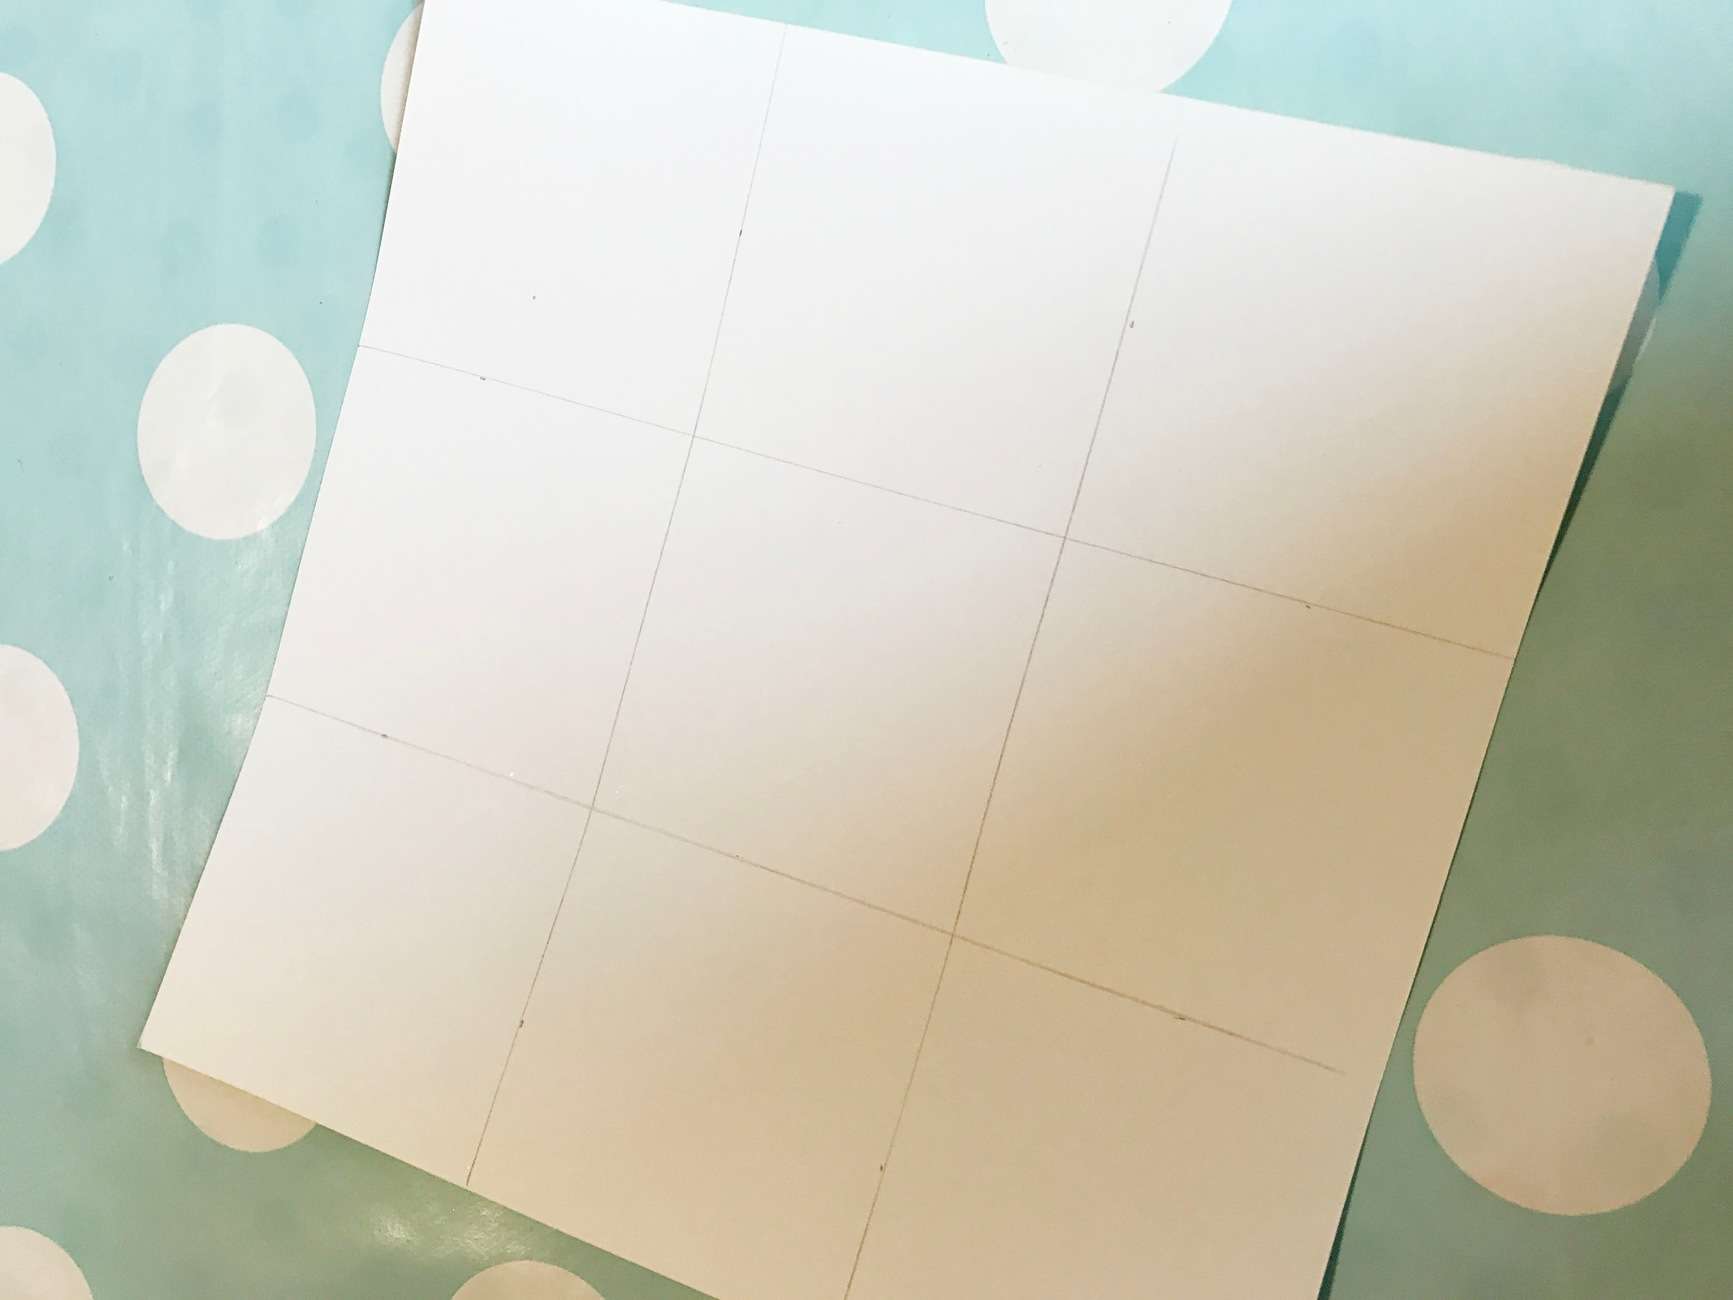
Turn the card over to the plain side (which will be the inside of the basket) and cut it into a square. You can keep the cut off to make the handle of the basket. Then with the pencil and the ruler divide the square paper into 9 equal boxes.
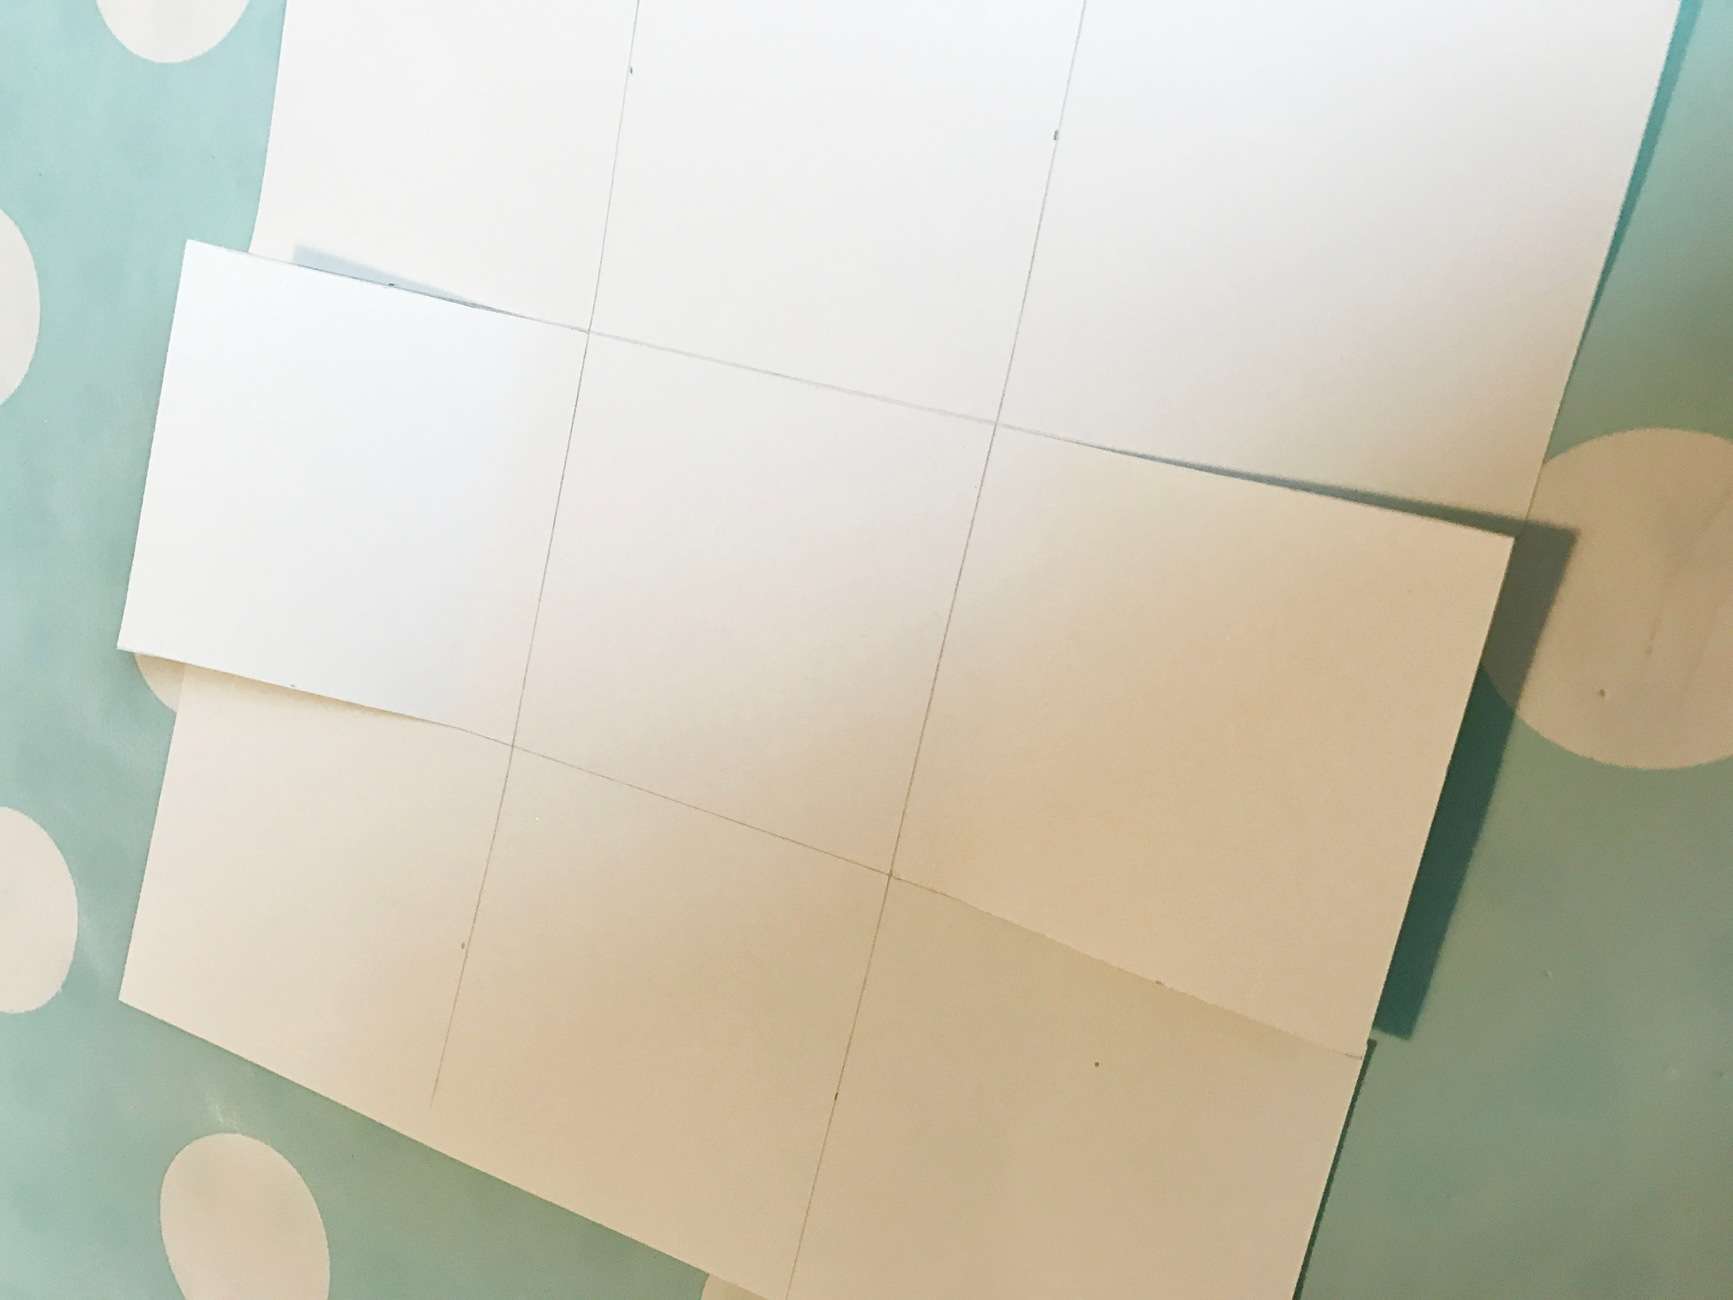
Cut along the middle two lines on two opposite edges...cut lines like in the photo.
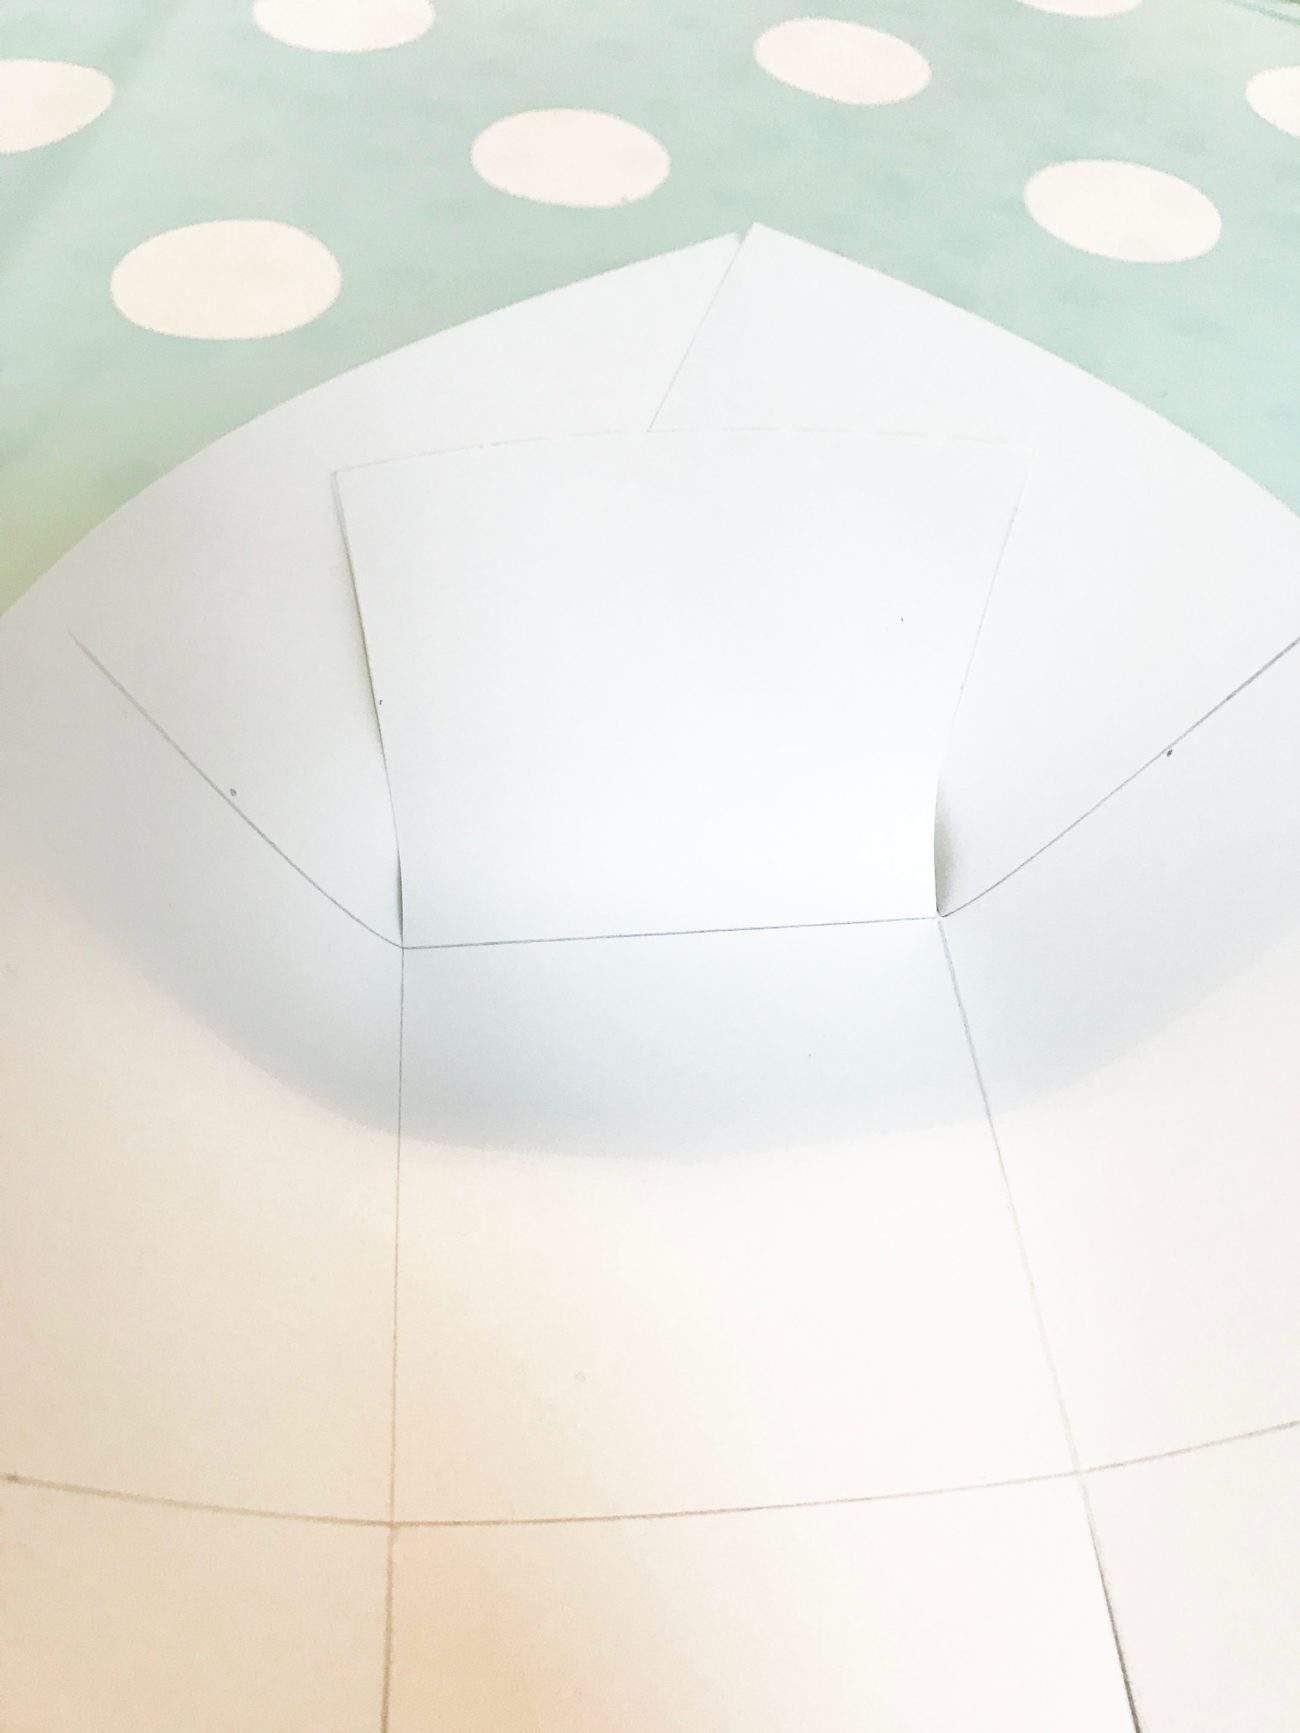
Then you fold the cut piece up and fold over the sides. This creates the sides of the basket.
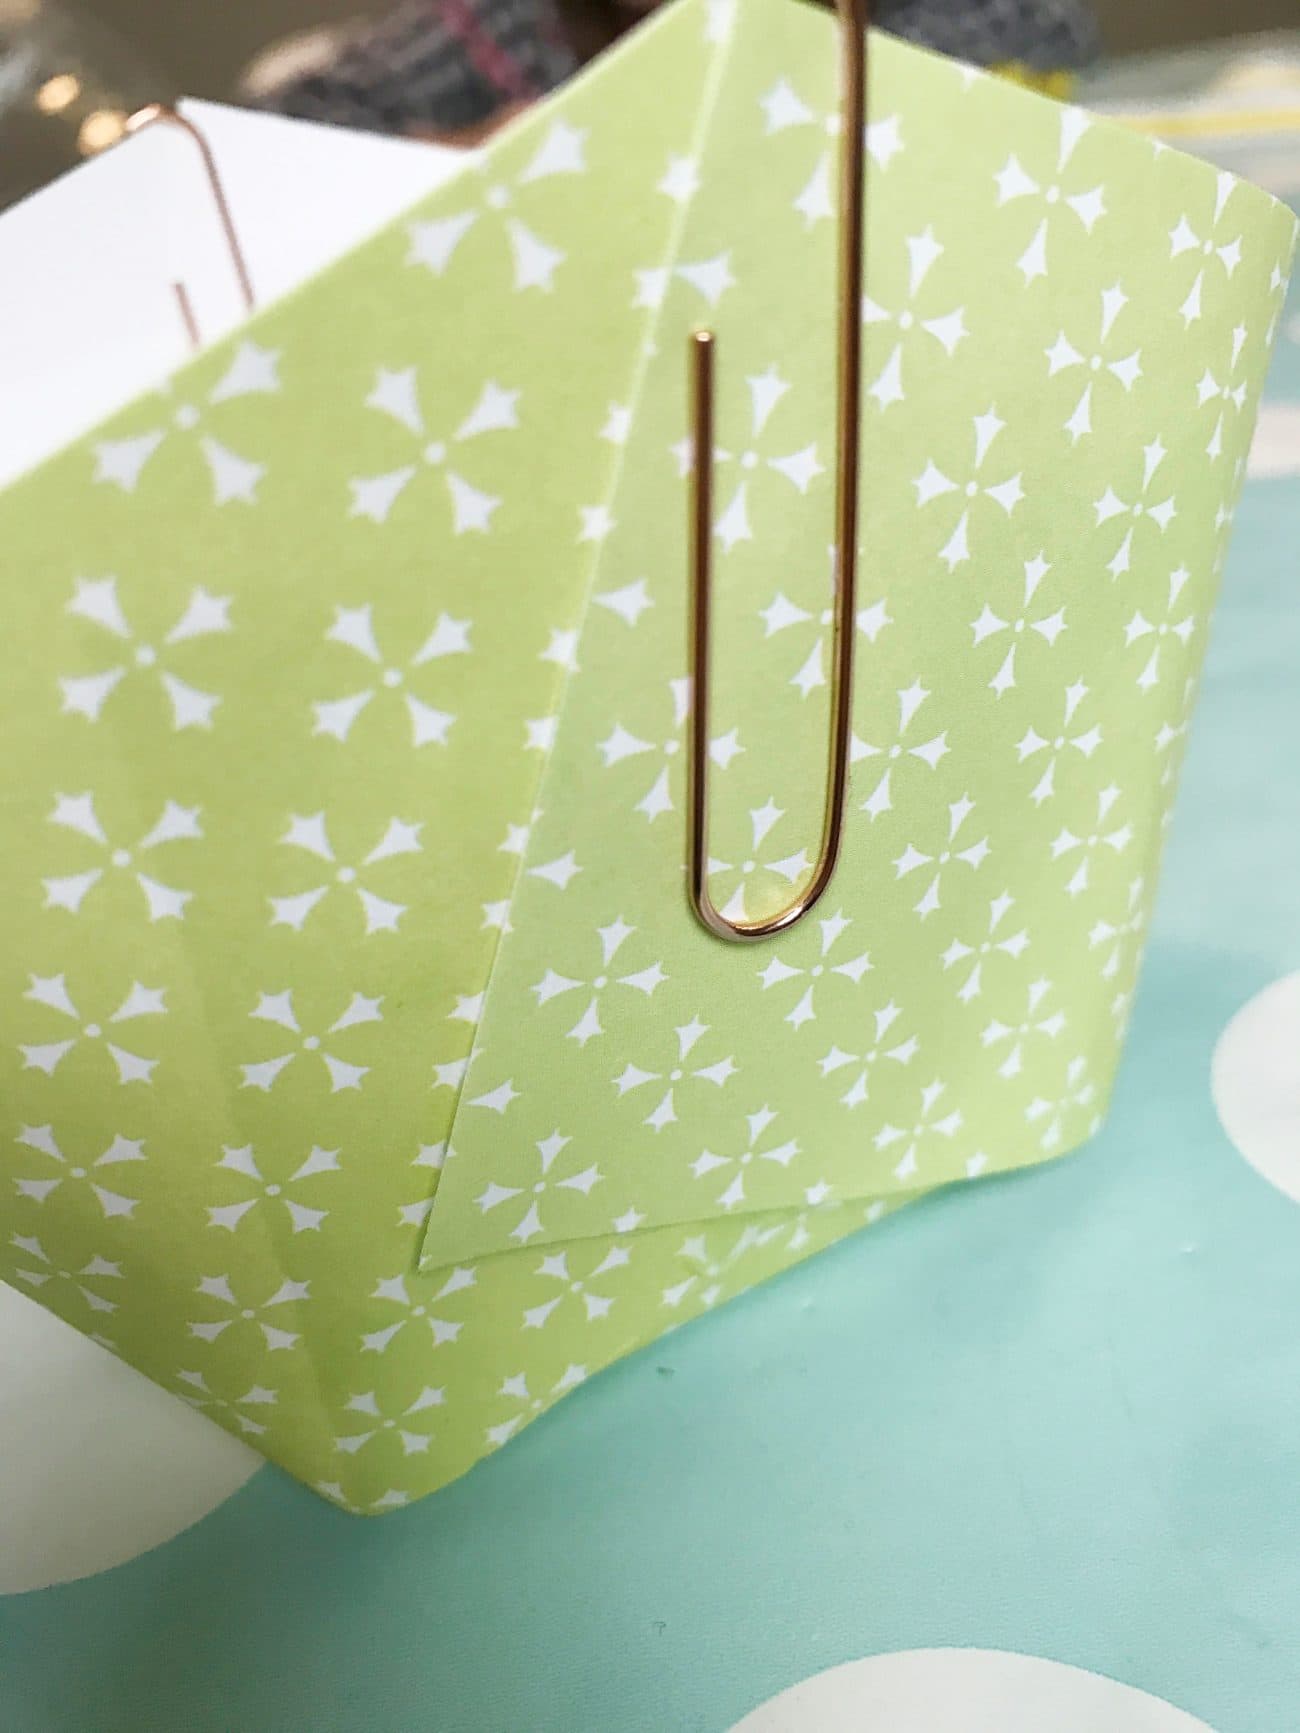
Glue and hold in place with a paperclip until the glue is dried. Repeat on the opposite side. You will see it has made a basket shape! If you have a hot glue gun you could also use that to glue the sides of this simple paper basket together - then there won't be so much waiting for it to dry.
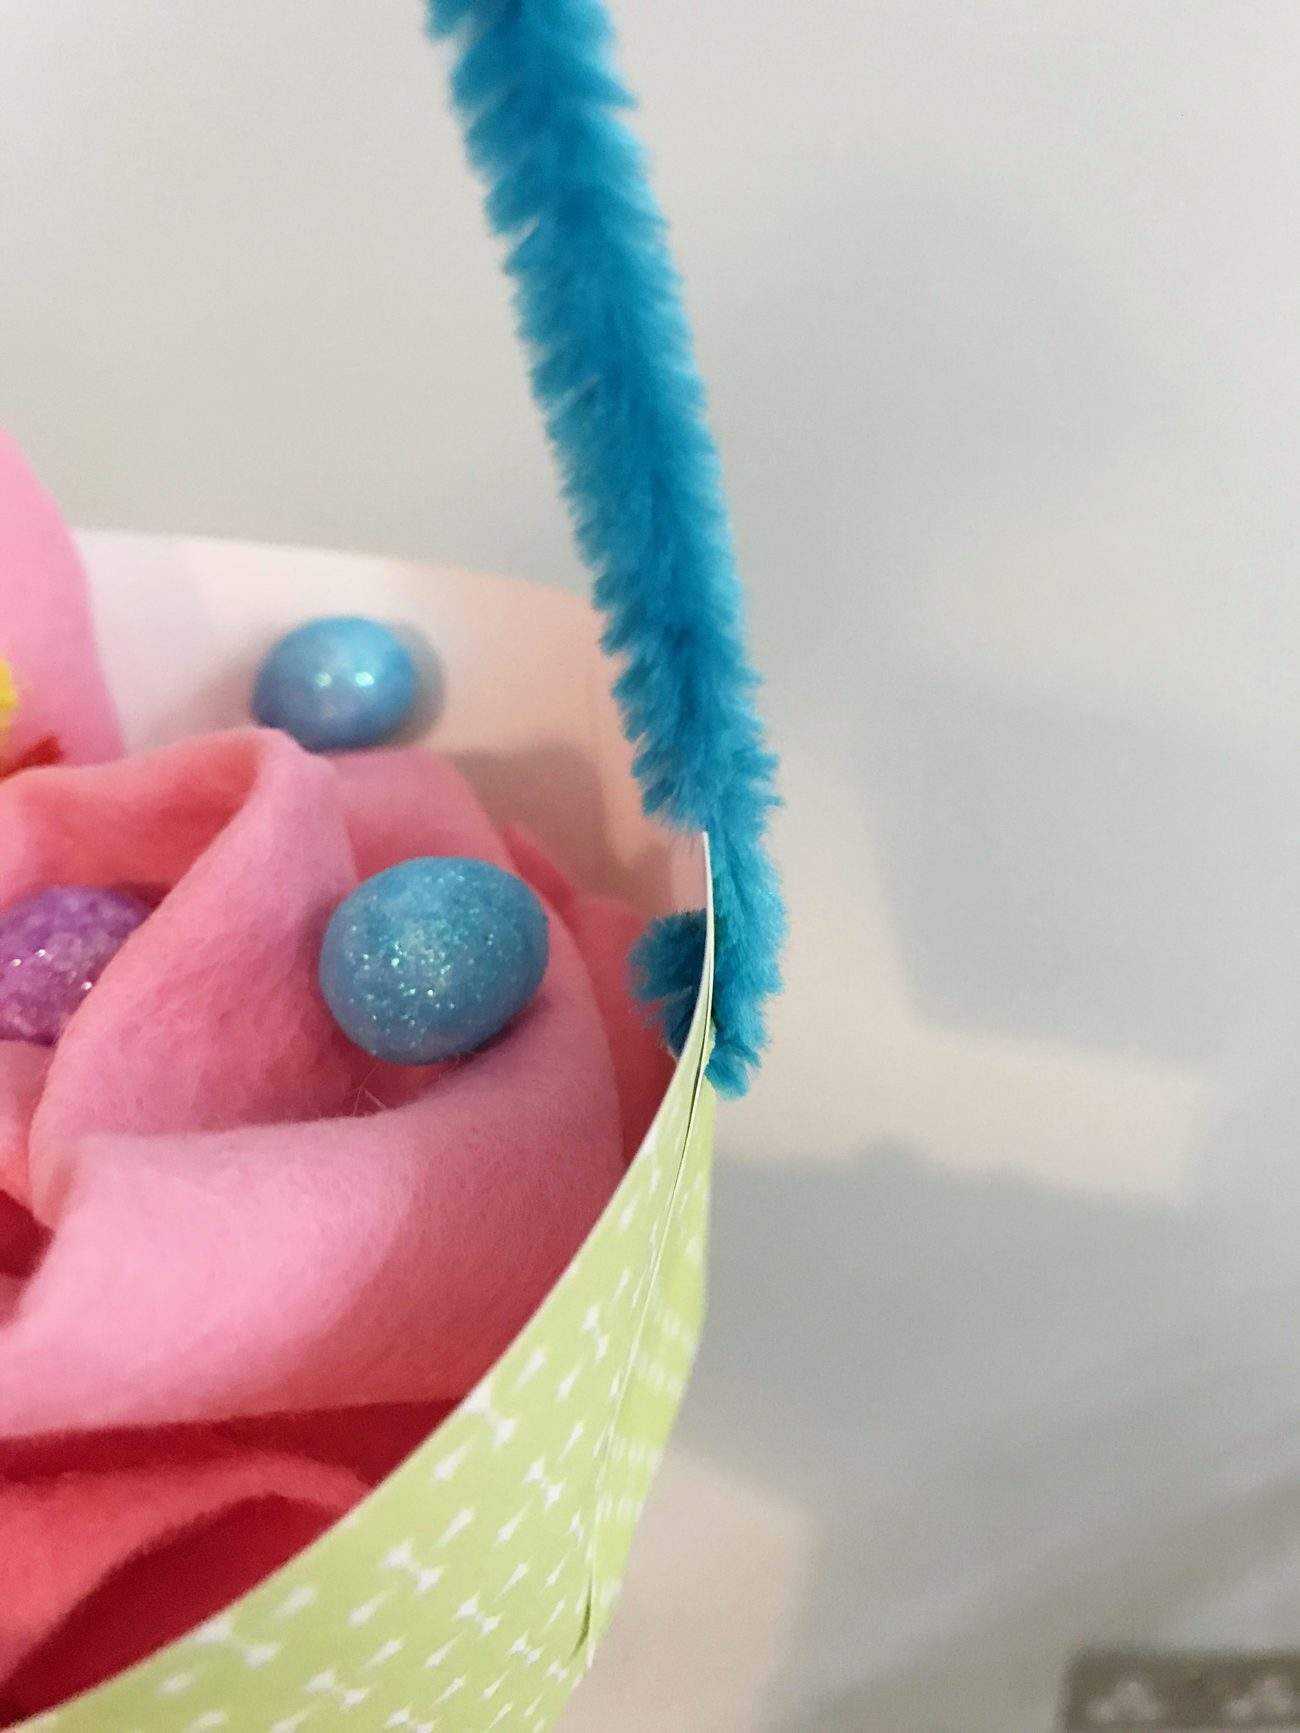
I made holes in the sides and used a pipe cleaner for a handle but you could cut your spare card into a long strip and glue that on for a handle too.
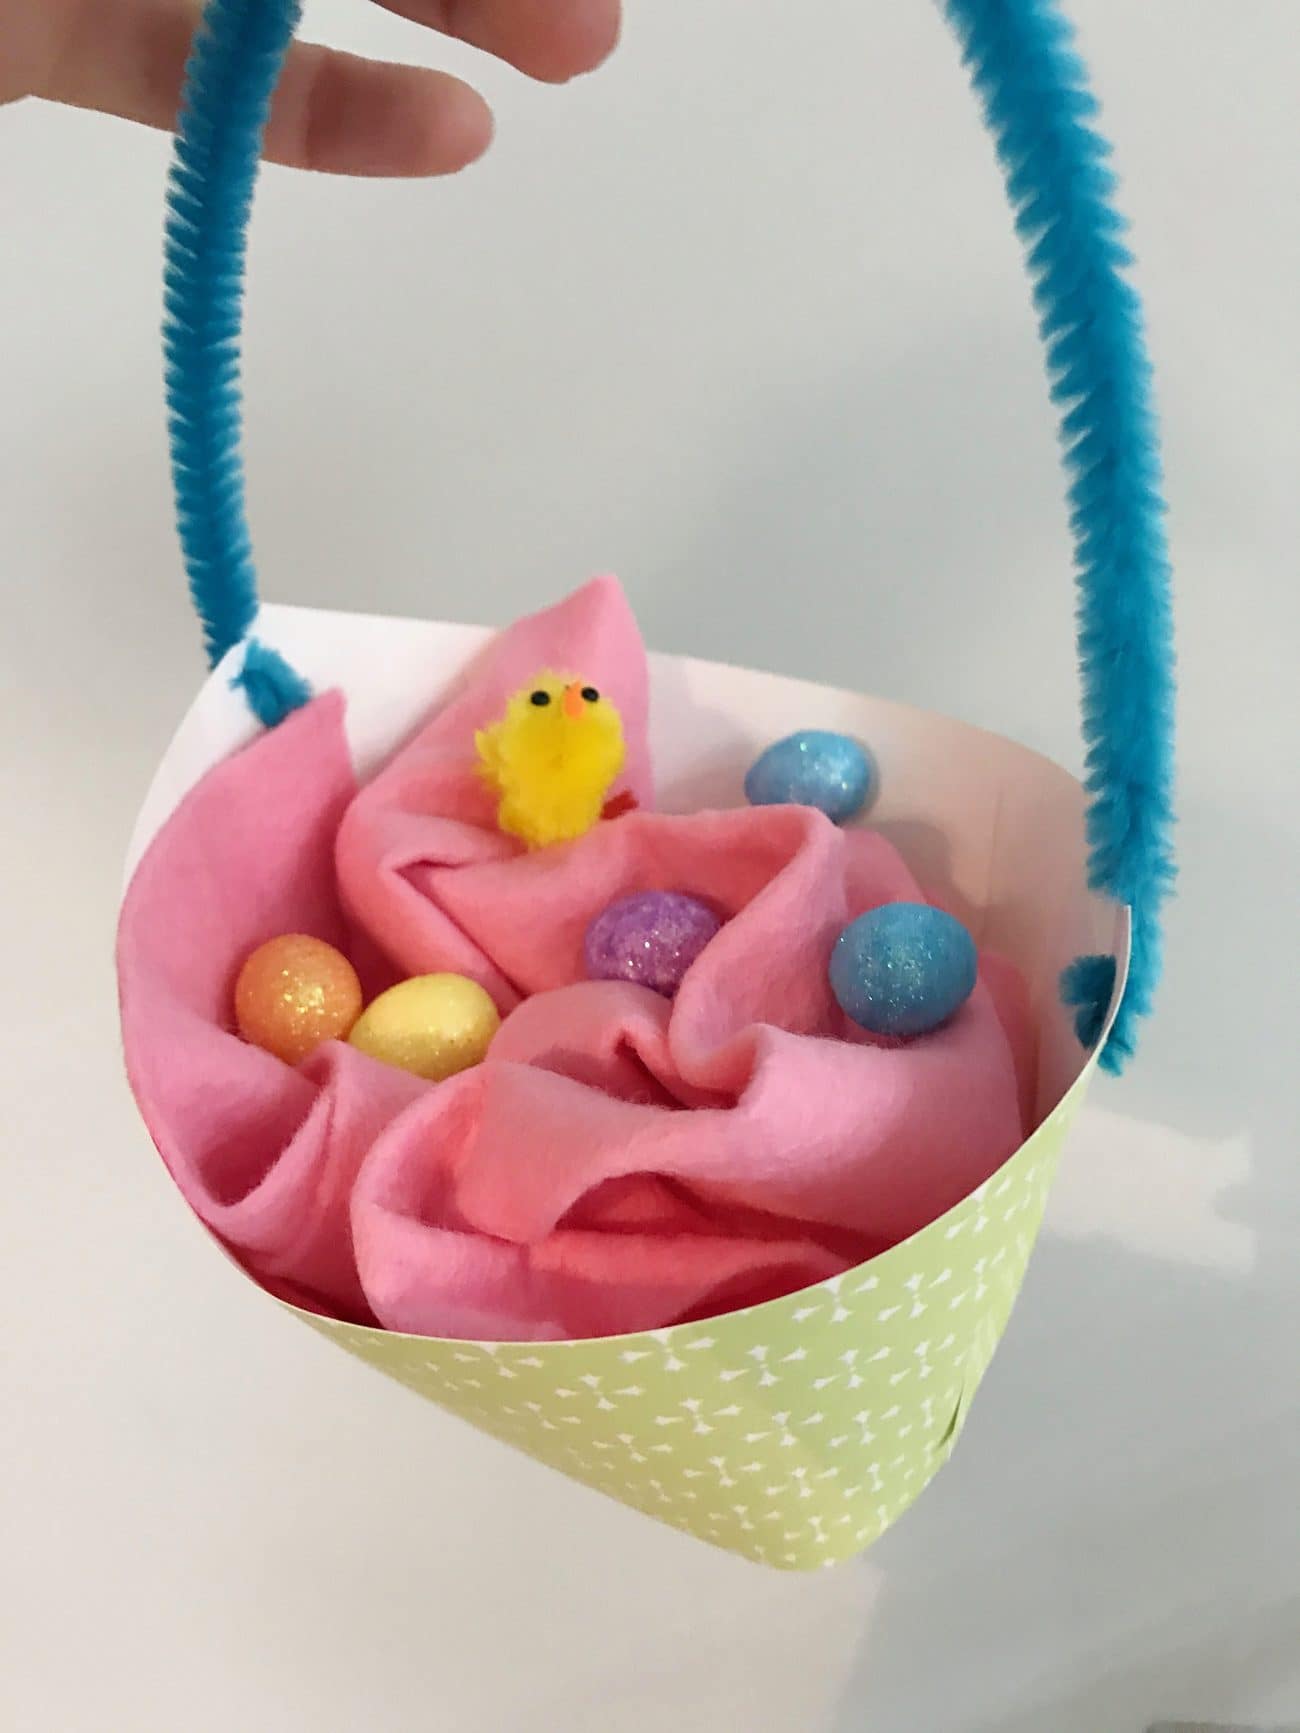
Then all is left to do is fill the inside of these little baskets with easter grass, tissue paper, easter goodies like easter eggs, easter candy, chocolate eggs or to use it for an easter egg hunt! Little Miss J was really pleased with how this simple basket turned out and honestly it was so easy, anyone can do it!
If a video tutorial is easier for you to follow, look no further!

Shop this post
 Buy Now →
  Buy Now →
  Buy Now →
  Buy Now →
  Buy Now →
  Buy Now →
 If you liked this post feel free to share it with your friends or Pin it for later. You might also like these Easter posts...
Or for more craft ideas check out these posts...
- Crafting Projects That Bring Personality to Your Home Décor
- Top 10 Must-Have Knitting Accessories for Every Knitter
- How to Choose the Right Size Flatback Crystal for Your Project
- DIY Tips for Turning Memorabilia and Other Trinkets Into Art
Thanks to Bostik for the craft supplies to make this project.







Leave a Reply