Soft, squishy, and storage-friendly, say goodbye to traditional store-bought playdough as we share with you how to make easy homemade playdough and other helpful playdough DIY hacks.
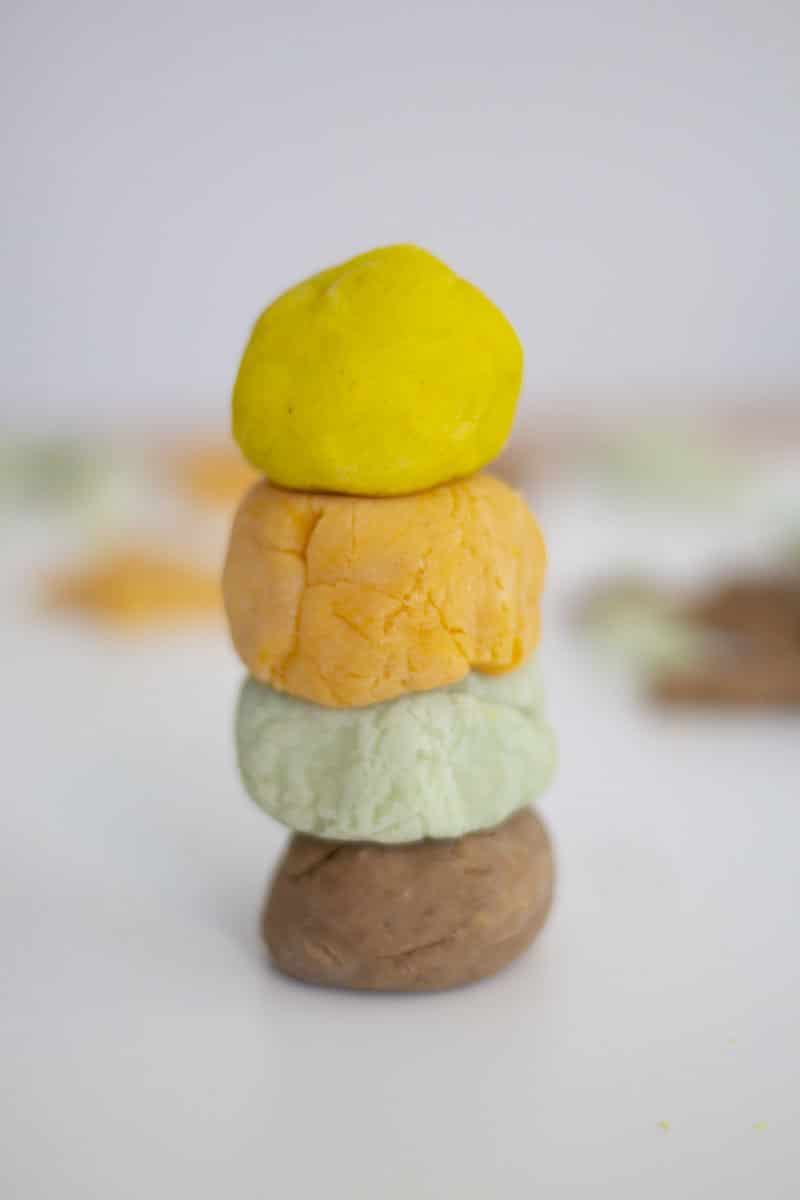
Playdough is to the children as guilty pleasures are to adults- an extremely attractive object necessary for coping with everyday life. Seriously, the dough like clay capable of flexing into various forms and attaching to objects of all kinds is something that kids can't get enough of, and if you're tired of dishing out wads of cash to fuel this fixation, then we have just the thing for you- DIY Homemade Playdough!
How to make your own playdough is searched so many times throughout the day that it's a wonder that the Play-Doh corporation is still in business. Quite simply, playdough is made with flour, water, salt, and a few extra ingredients.
Whether you're looking for edible homemade playdough or one that's sturdy enough for your daughter's Eiffel Tower recreations, they all incorporate these baseline ingredients with minor tweaks.
Ingredients
To make this easy soft homemade playdough you will need...
Water
Food colouring
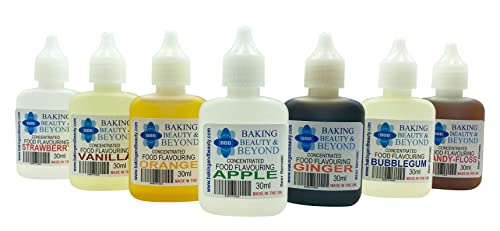
Food flavouring
For our playdough recipe, we infused flour, water, and salt with a bit of food coloring, vegetable oil, and cream of tartar. Vegetable oil helps the dough be soft, squishy and flexible alongside the cream of tartar which is used to help make the playdough bendable without falling apart.
Often, parents choose to make their own playdough because of the benefit of creating a more elastic and sticky paste, while others prefer to do so for chemical-free playtime. Whatever the reason, homemade playdough is magical, with a little going a very long way.
Step by step instructions
Combine the dry ingredients in a microwave safe bowl. Add the water and vegetable oil and mix to combine. If you want the whole batch of playdough to be the same colour / scent you can add the food colouring and essence to the water at this point.
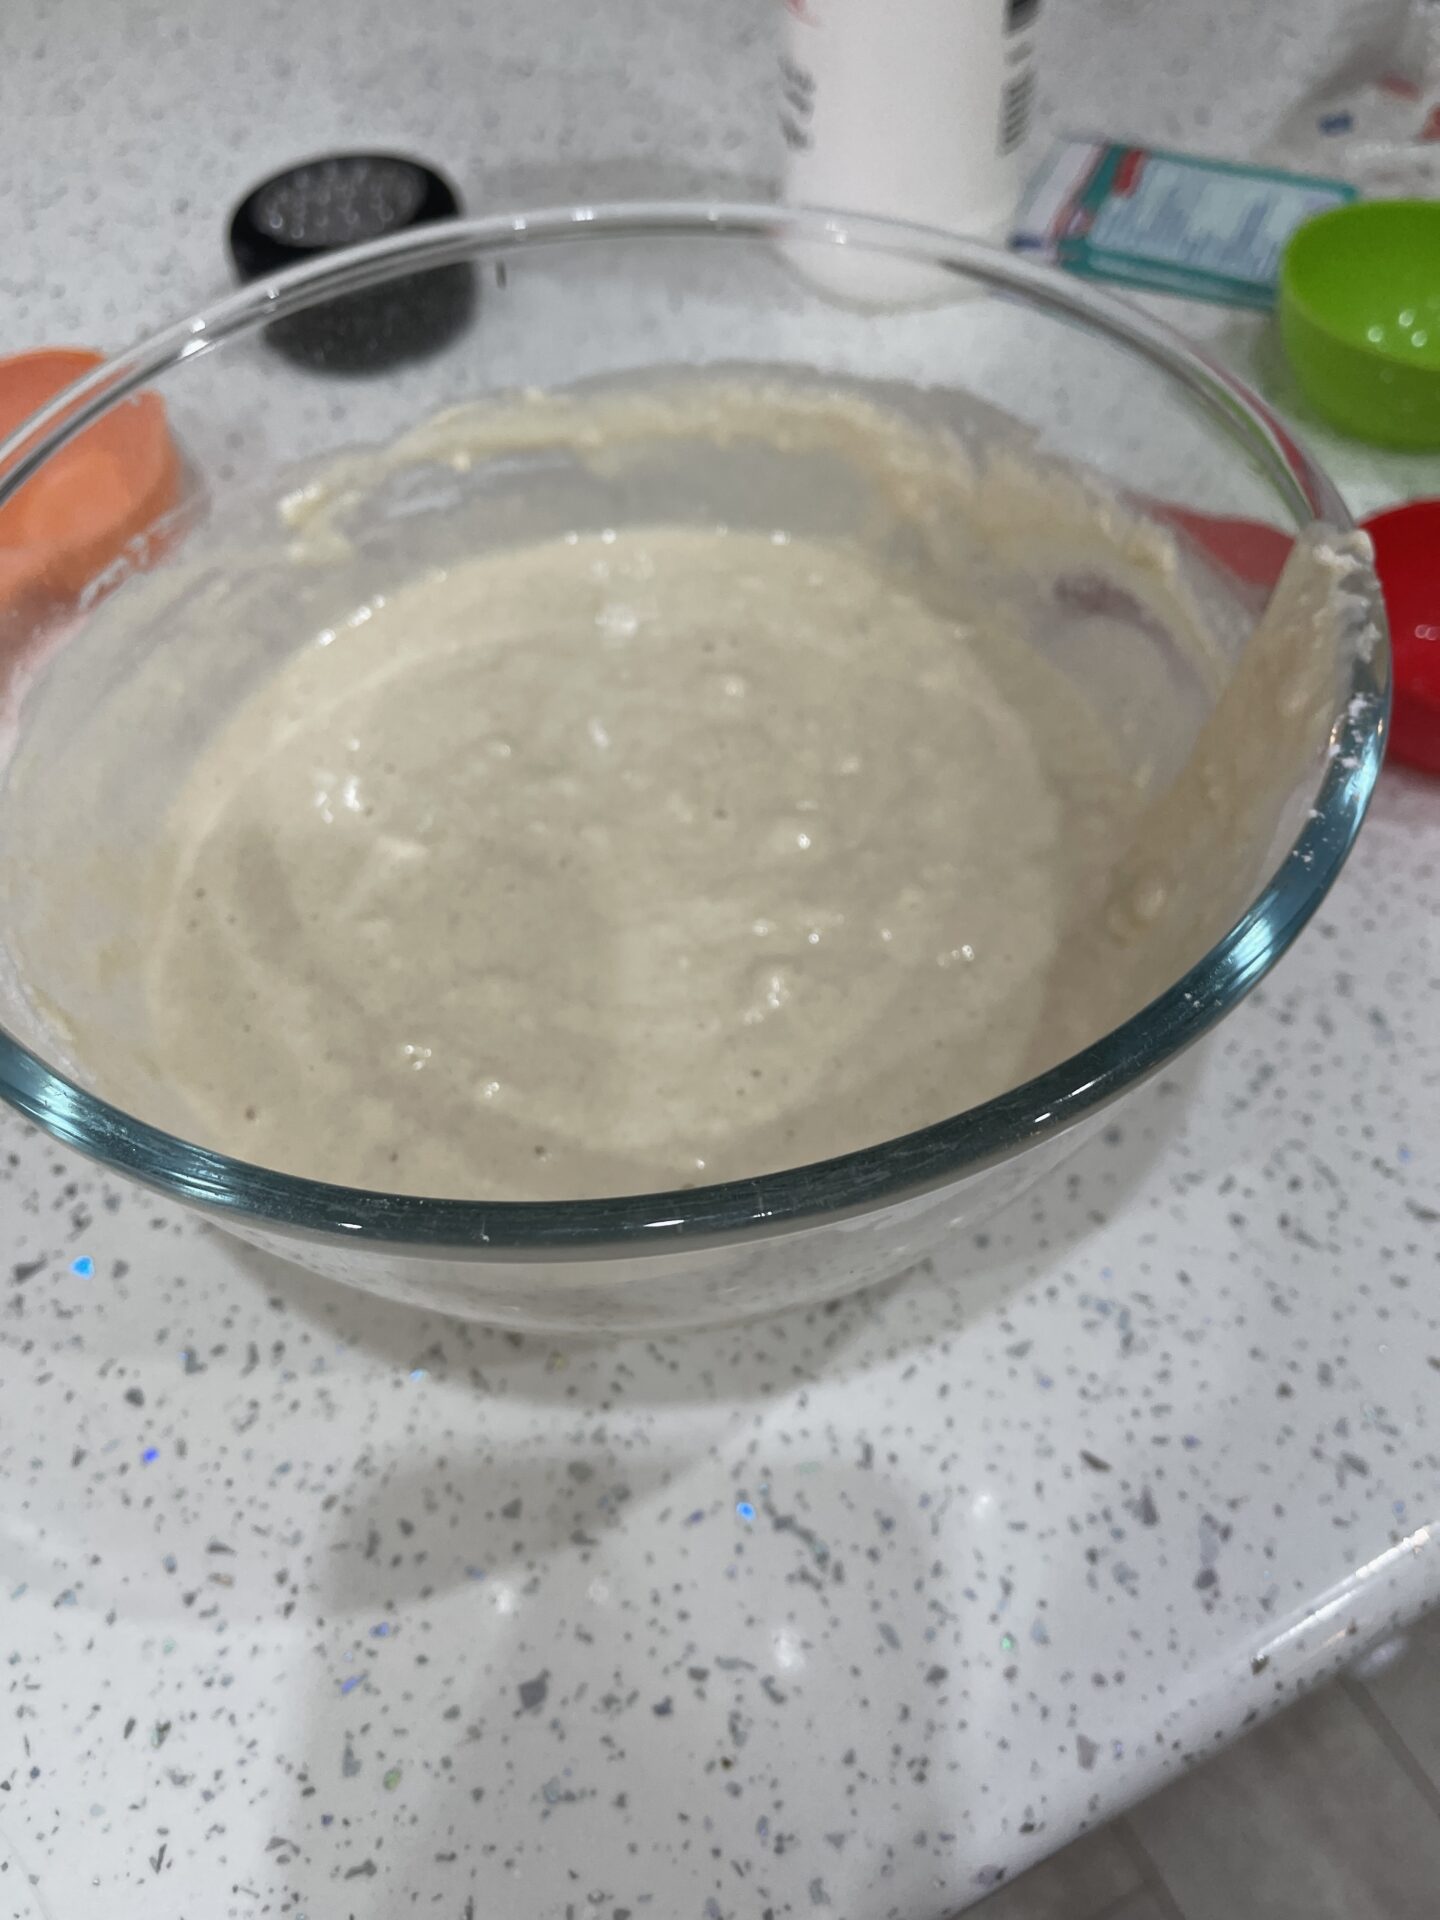
Cook on high in the microwave for 1 minute at a time, taking it out to stir each time.
As the mixture starts to heat up it will form into a dough.
Stop microwaving when it is almost come together as a dough.
Wait until it is cool enough to handle and take it out of the bowl and knead it until it is smooth and pliable.
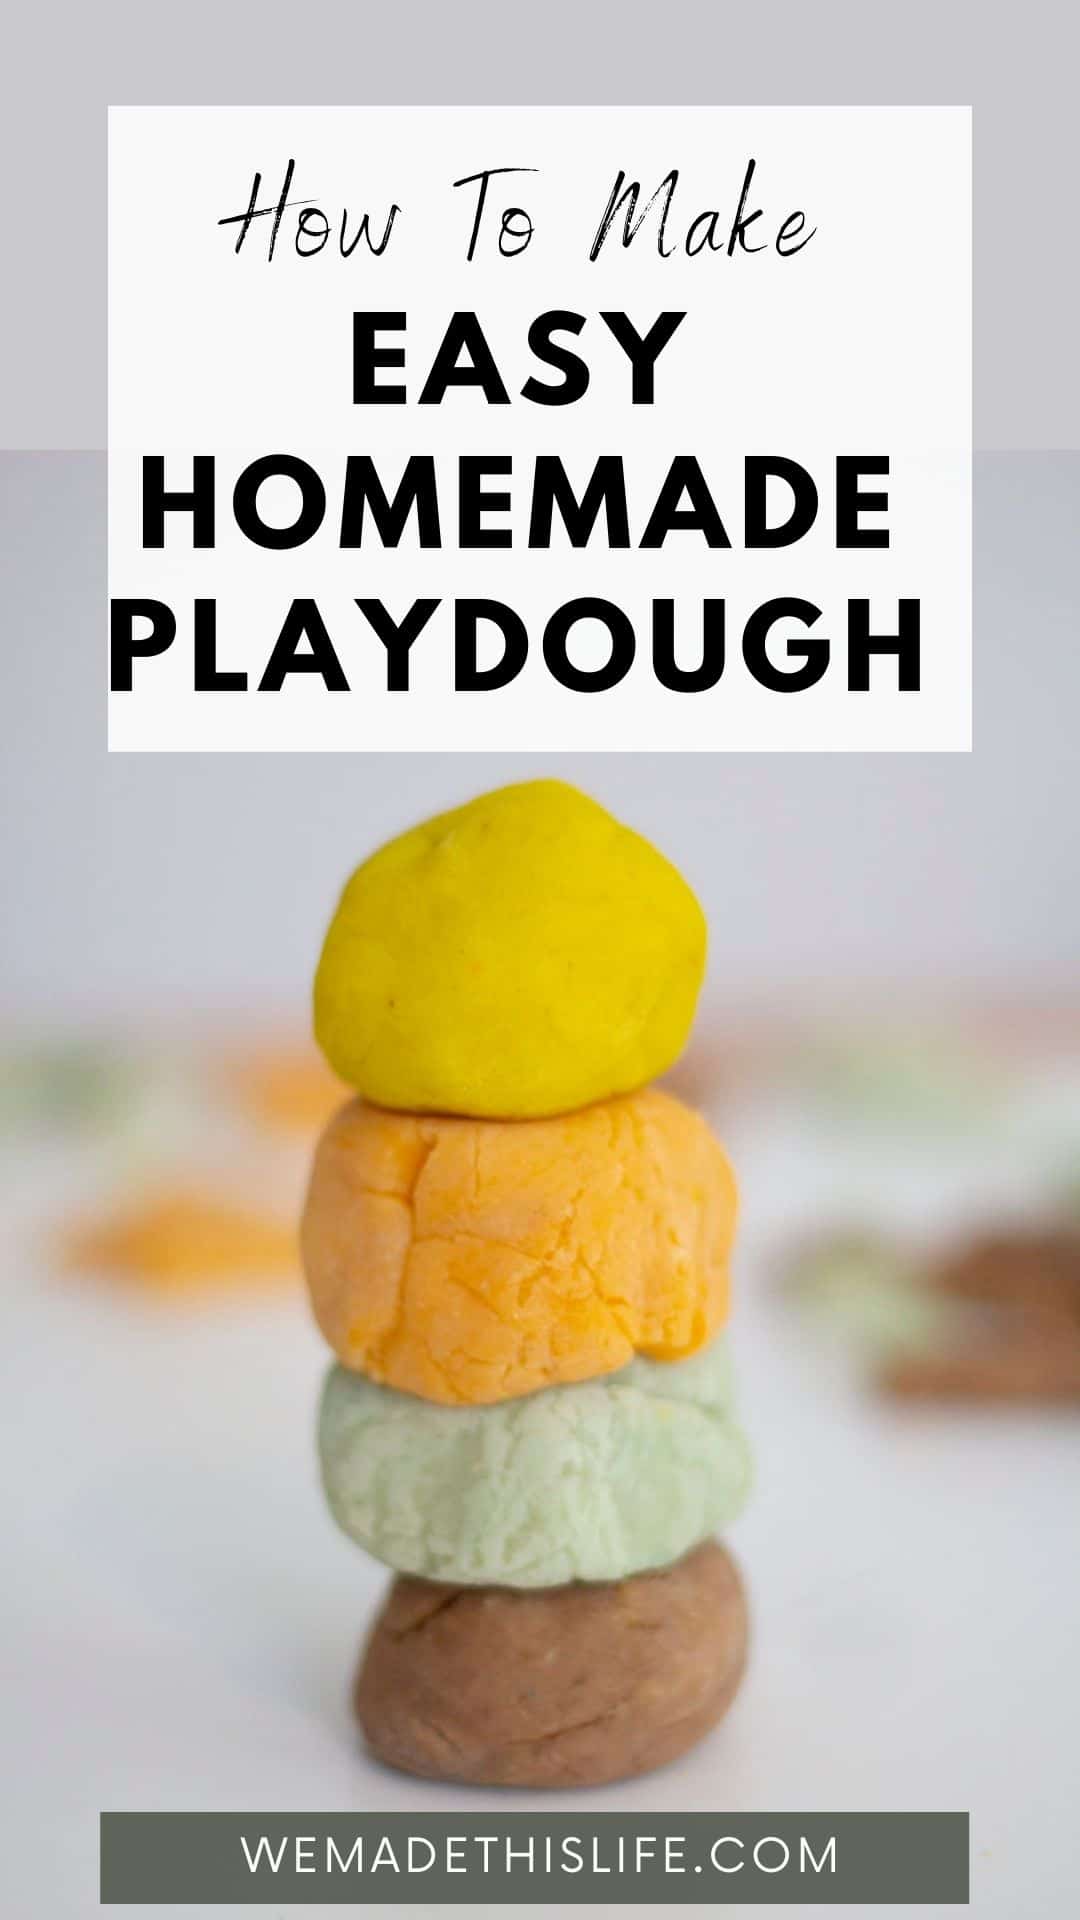
If you want to make several colours of playdough you can divide this dough into four, roll it into a ball, make a well in the middle and add a few drops of colouring. Fold it over and knead until the colouring has spread evenly through the playdough. You can also add a scent at this point.
The key to forming the perfect playdough "dough" is to ensure that you continuously stir the dough during the cooking process. After mixing the ingredients, the dough will often quickly form and needs to be stirred every minute until it starts to come together.
We choose the microwave option for our recipe as it is quick and easy and involves less washing up. Everything from the flour to the food colouring works well in the microwave and cuts down on preparing the dough in traditional recipes. I also enjoy the microwave method when whipping up seasonal playdough because you can heat it in short bursts and it will not burn. It's nice and quick compared to hob cooked or baked playdough too.
Same for scented and multi-coloured playdough. Extracts come in various fragrances and can range from 100% purity to ones with many additives. The latter may be of concern as the additives may conflict with your batter throwing off your texture and making you start back at step one. We recommend if you can swing it to use 100% extracts or ones without a heavy alcohol base. Extracts closer to their pure form tend to last longer in the dough and retain their aroma against the heavy smell of wet flour. Extract flavourings such as almond essence, peppermint, ground cinnamon, vanilla extract, and orange pair perfectly well with playdough and are incredibly long-lasting.
Homemade Playdough
An easy homemade playdough recipe
Ingredients
- 280 g plain flour
- 240 ml water
- 2 tablespoon cream of tartar
- 150 g table salt
- 2 tablespoon vegetable oil
- food colouring
- food flavouring
Instructions
-
Combine the dry ingredients in a microwave safe bowl.
-
Add the water and vegetable oil and mix to combine.
-
If you want the whole batch of playdough to be the same colour / scent you can add the food colouring and essence to the water at this point.
-
Cook on high in the microwave for 1 minute at a time, taking it out to stir each time.
-
As the mixture starts to heat up it will form into a dough.
-
Stop microwaving when it is almost come together as a dough
-
Wait until it is cool enough to handle and take it out of the bowl and knead it until it is smooth and pliable.
-
If you want to make several colours of playdough you can divide this dough into four, roll it into a ball, make a well in the middle and add a few drops of colouring. Fold it over and knead until the colouring has spread evenly through the playdough. You can also add a scent at this point.
Benefits of homemade playdough
There are many benefits to creating homemade playdough over store-bought commercial brands. These include using chemical-free ingredients, having more control over volume, fragrance and textures, and making edible playdough for other valuable cost-saving purposes. Plus, I found that parents become more relaxed with homemade playdough in terms of scraping it off walls or separating it from other toys - this playdough is non toxic and easy to clean up.
Activities to do with playdough
- Make play food
- Cut out shapes
- Practice rolling
- Make animal shapes
- Press into it to make patterns
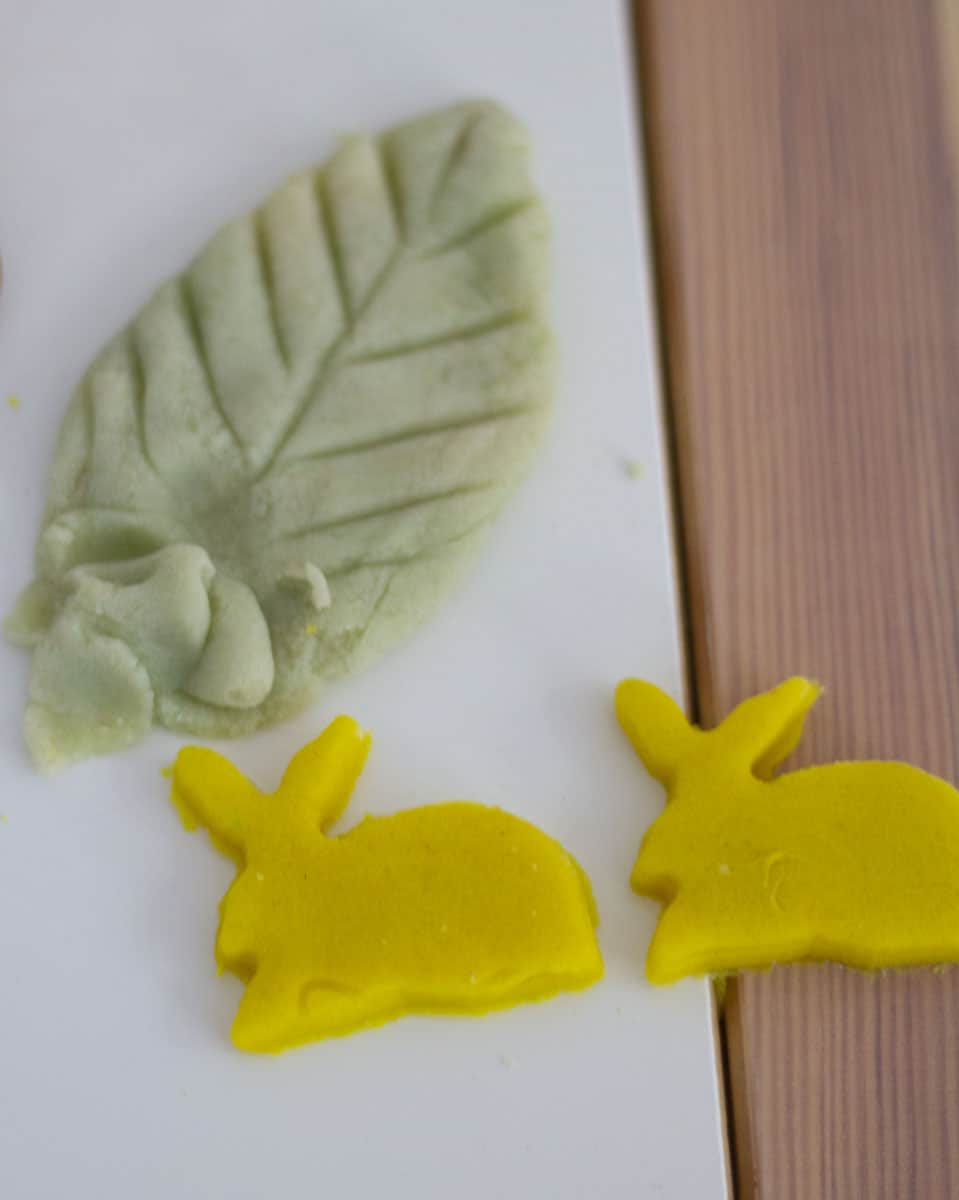
And should you want to know about the best activities to do with homemade playdough, consider making play food that incorporates sensory learning alongside motor skills training. Other fun activities to try are cutting out shapes and making animal shapes, practicing rolling and kneading, sculpting letters to use later for pronunciation and sound work, and modelling numbers to practice math and counting. Playing with playdough provides excellent exercise for the little muscles in toddler's hands, making them stronger which will in turn help with writing when they are older. It is a great playdough recipe for pre-school playdough play - you can make a big batch with enough for everyone and keeping it relatively inexpensive.
Seasonal playdough
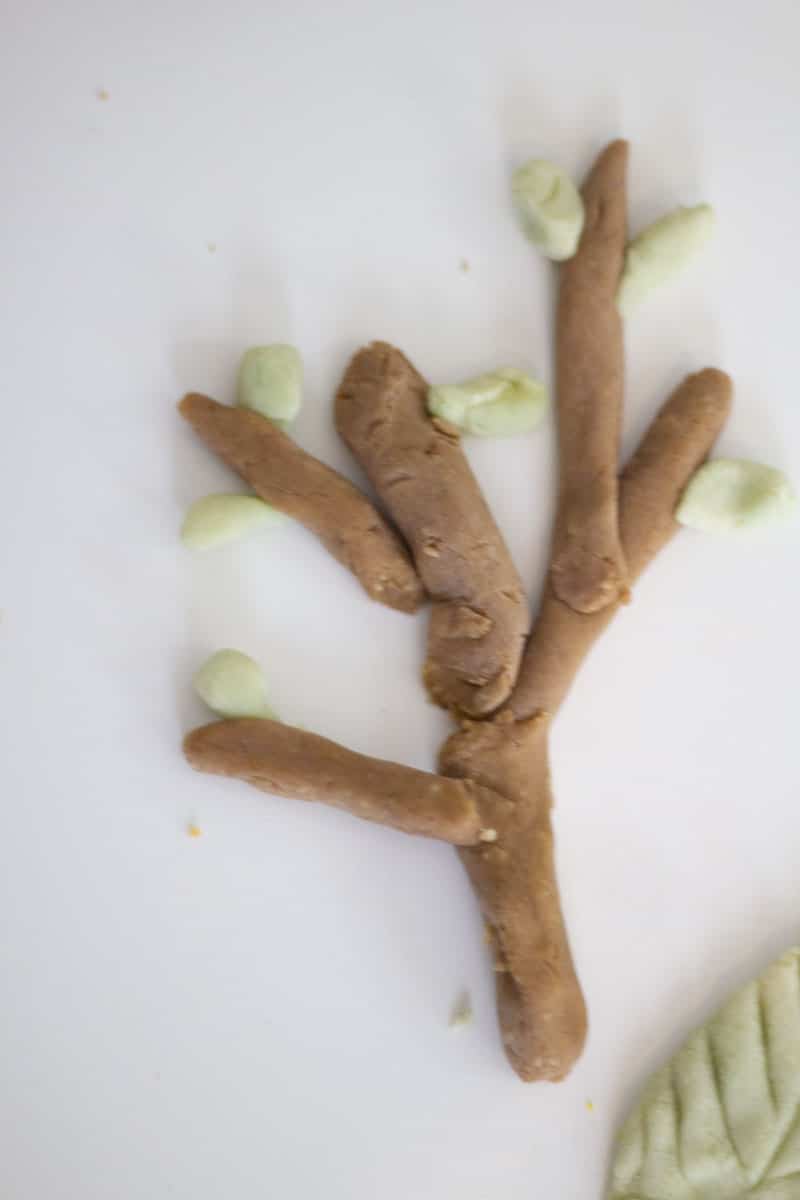
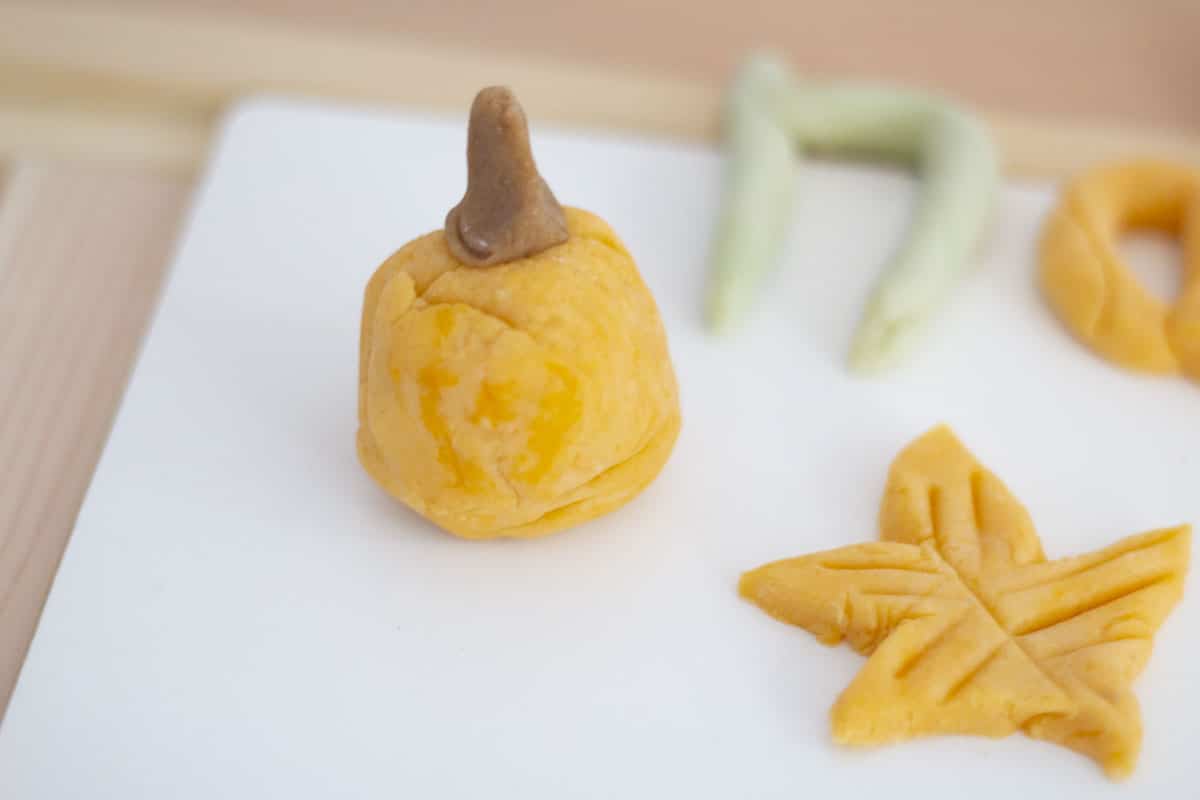
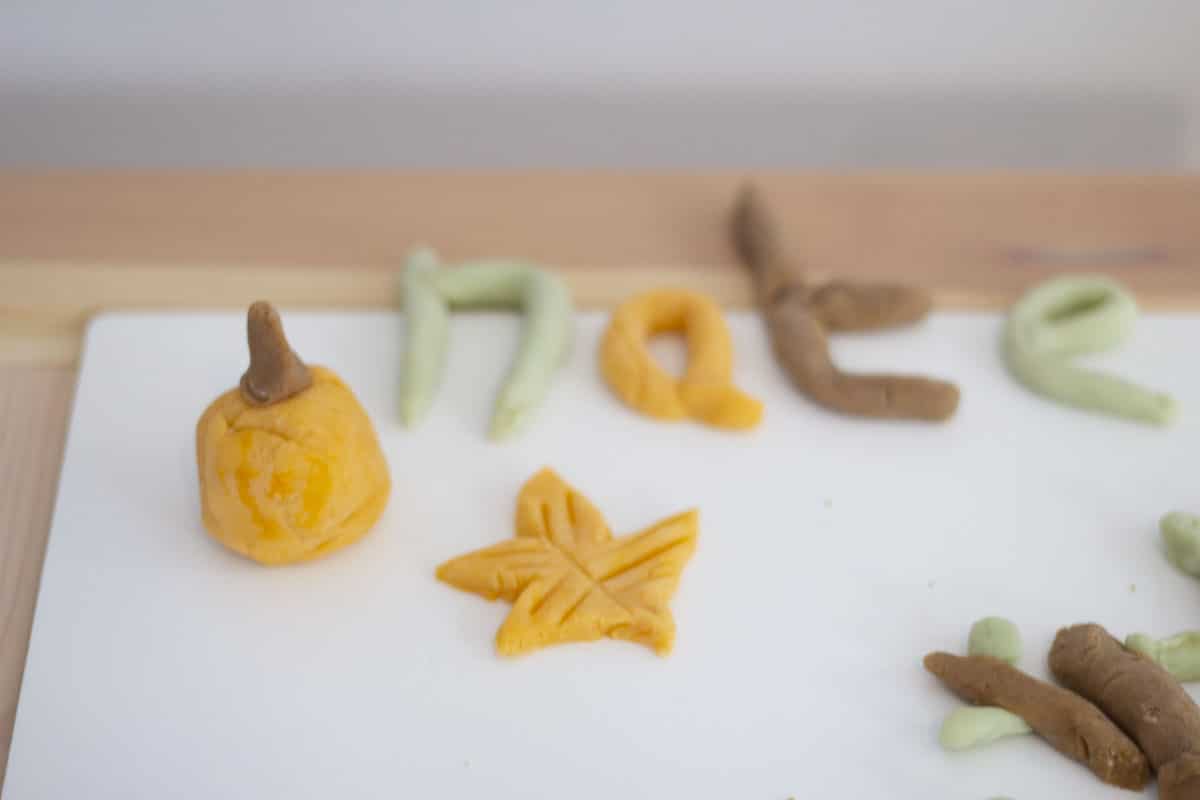
This batch of playdough I created to use as a seasonal playdough play session so I chose autumnal colours and we made autumnal themed things such as leaves, trees, pumpkins and woodland animals. Autumn playdough was a great way to reinforce learning seasonal information whilst still playing. You can do the same for other seasons - use whites / blues / blacks for winter playdough and embellish with glitter and scent with peppermint. Or use bright colours for spring playdough and add petals or dried flowers. Don't forget to add seasonal scents such as cinnamon for autumn and rose for summer.
Cream of tartar is used to make the playdough soft and pliable and keep for longer but it isn't strictly necessary, you can make this playdough without it.
Store it in a ziplock bag or airtight container in the fridge.
It keeps well in an airtight ziplock bag in the fridge for up to 3 months, however I usually keep it for three play sessions only. If you are using the playdough recipe for preschool or a playgroup with multiple children I would bin it after one use.
As this playdough is made from food stuff it is non toxic to eat, although the salt should give it a nasty taste and put little ones off putting it in their mouths.
You can add a little more flour and keep kneading until the stickiness has gone.
You can add a drop or two more oil / water very slowly and knead it back to life. If it is completely dried up it is probably a lost cause though!
Learning how to make your own playdough is a widely fun and experimental activity great for bonding activities and days at home. How else would you use your homemade playdough?
SHOP THIS POST
 Buy Now →
  Buy Now →
  Buy Now →
  Buy Now →
  Buy Now →
  Buy Now →
  Buy Now →
 If you liked this homemade playdough recipe you might also like...
Fun Activities For Animal Loving Kids!
How To Make Coloured Rice For Sensory Play


Leave a Reply