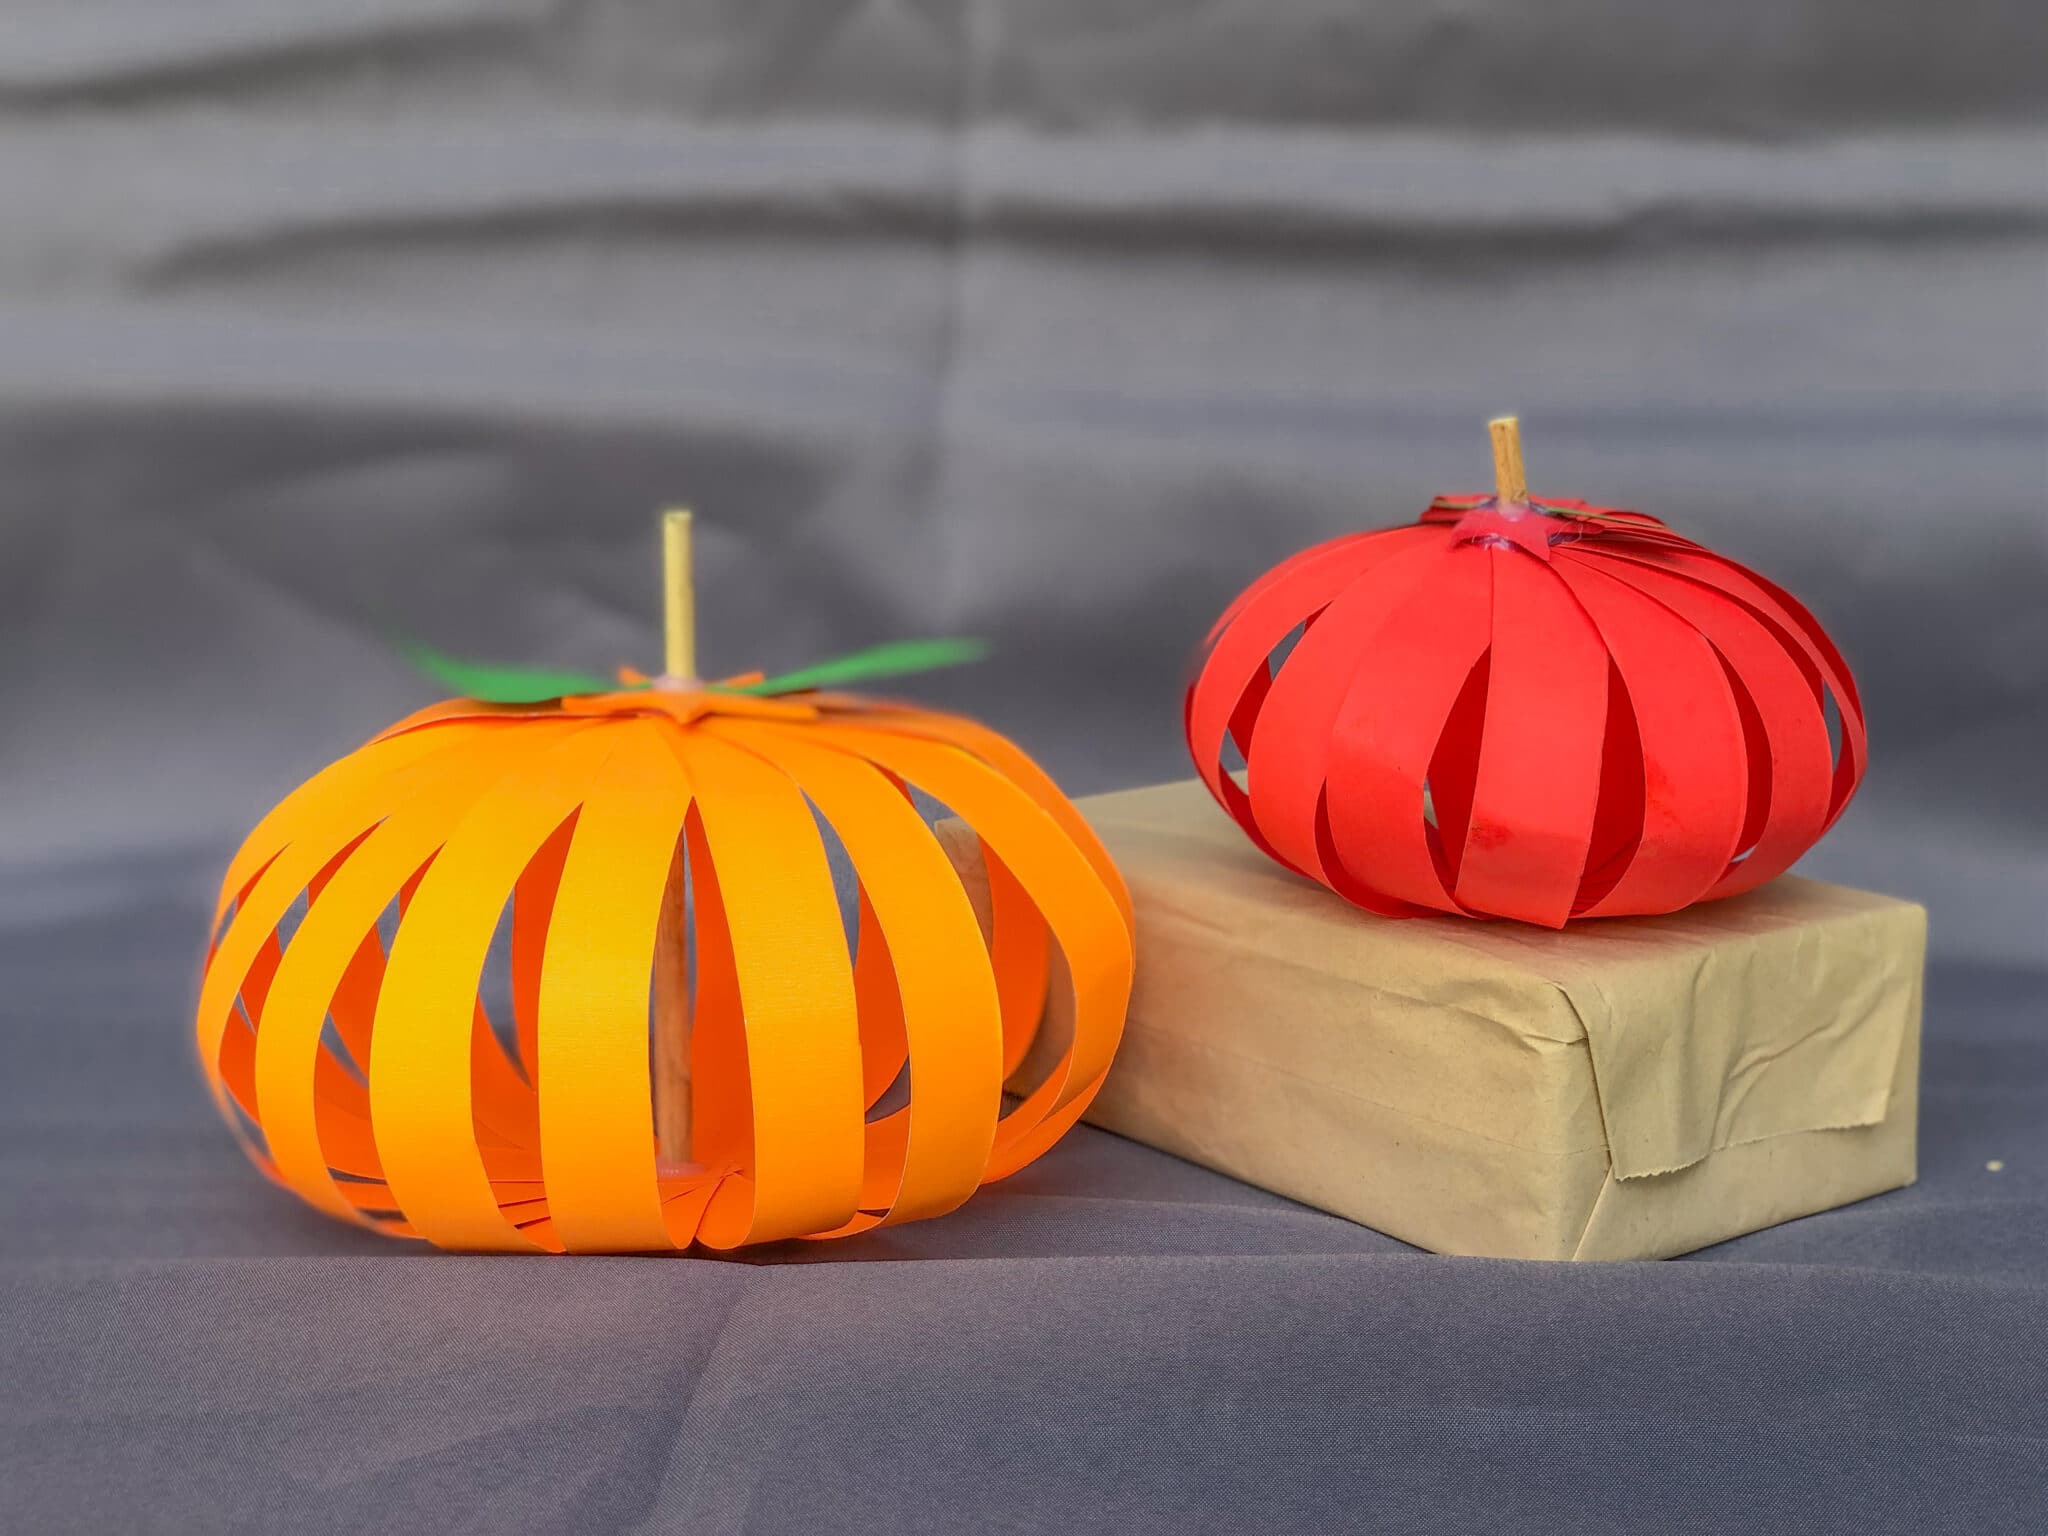
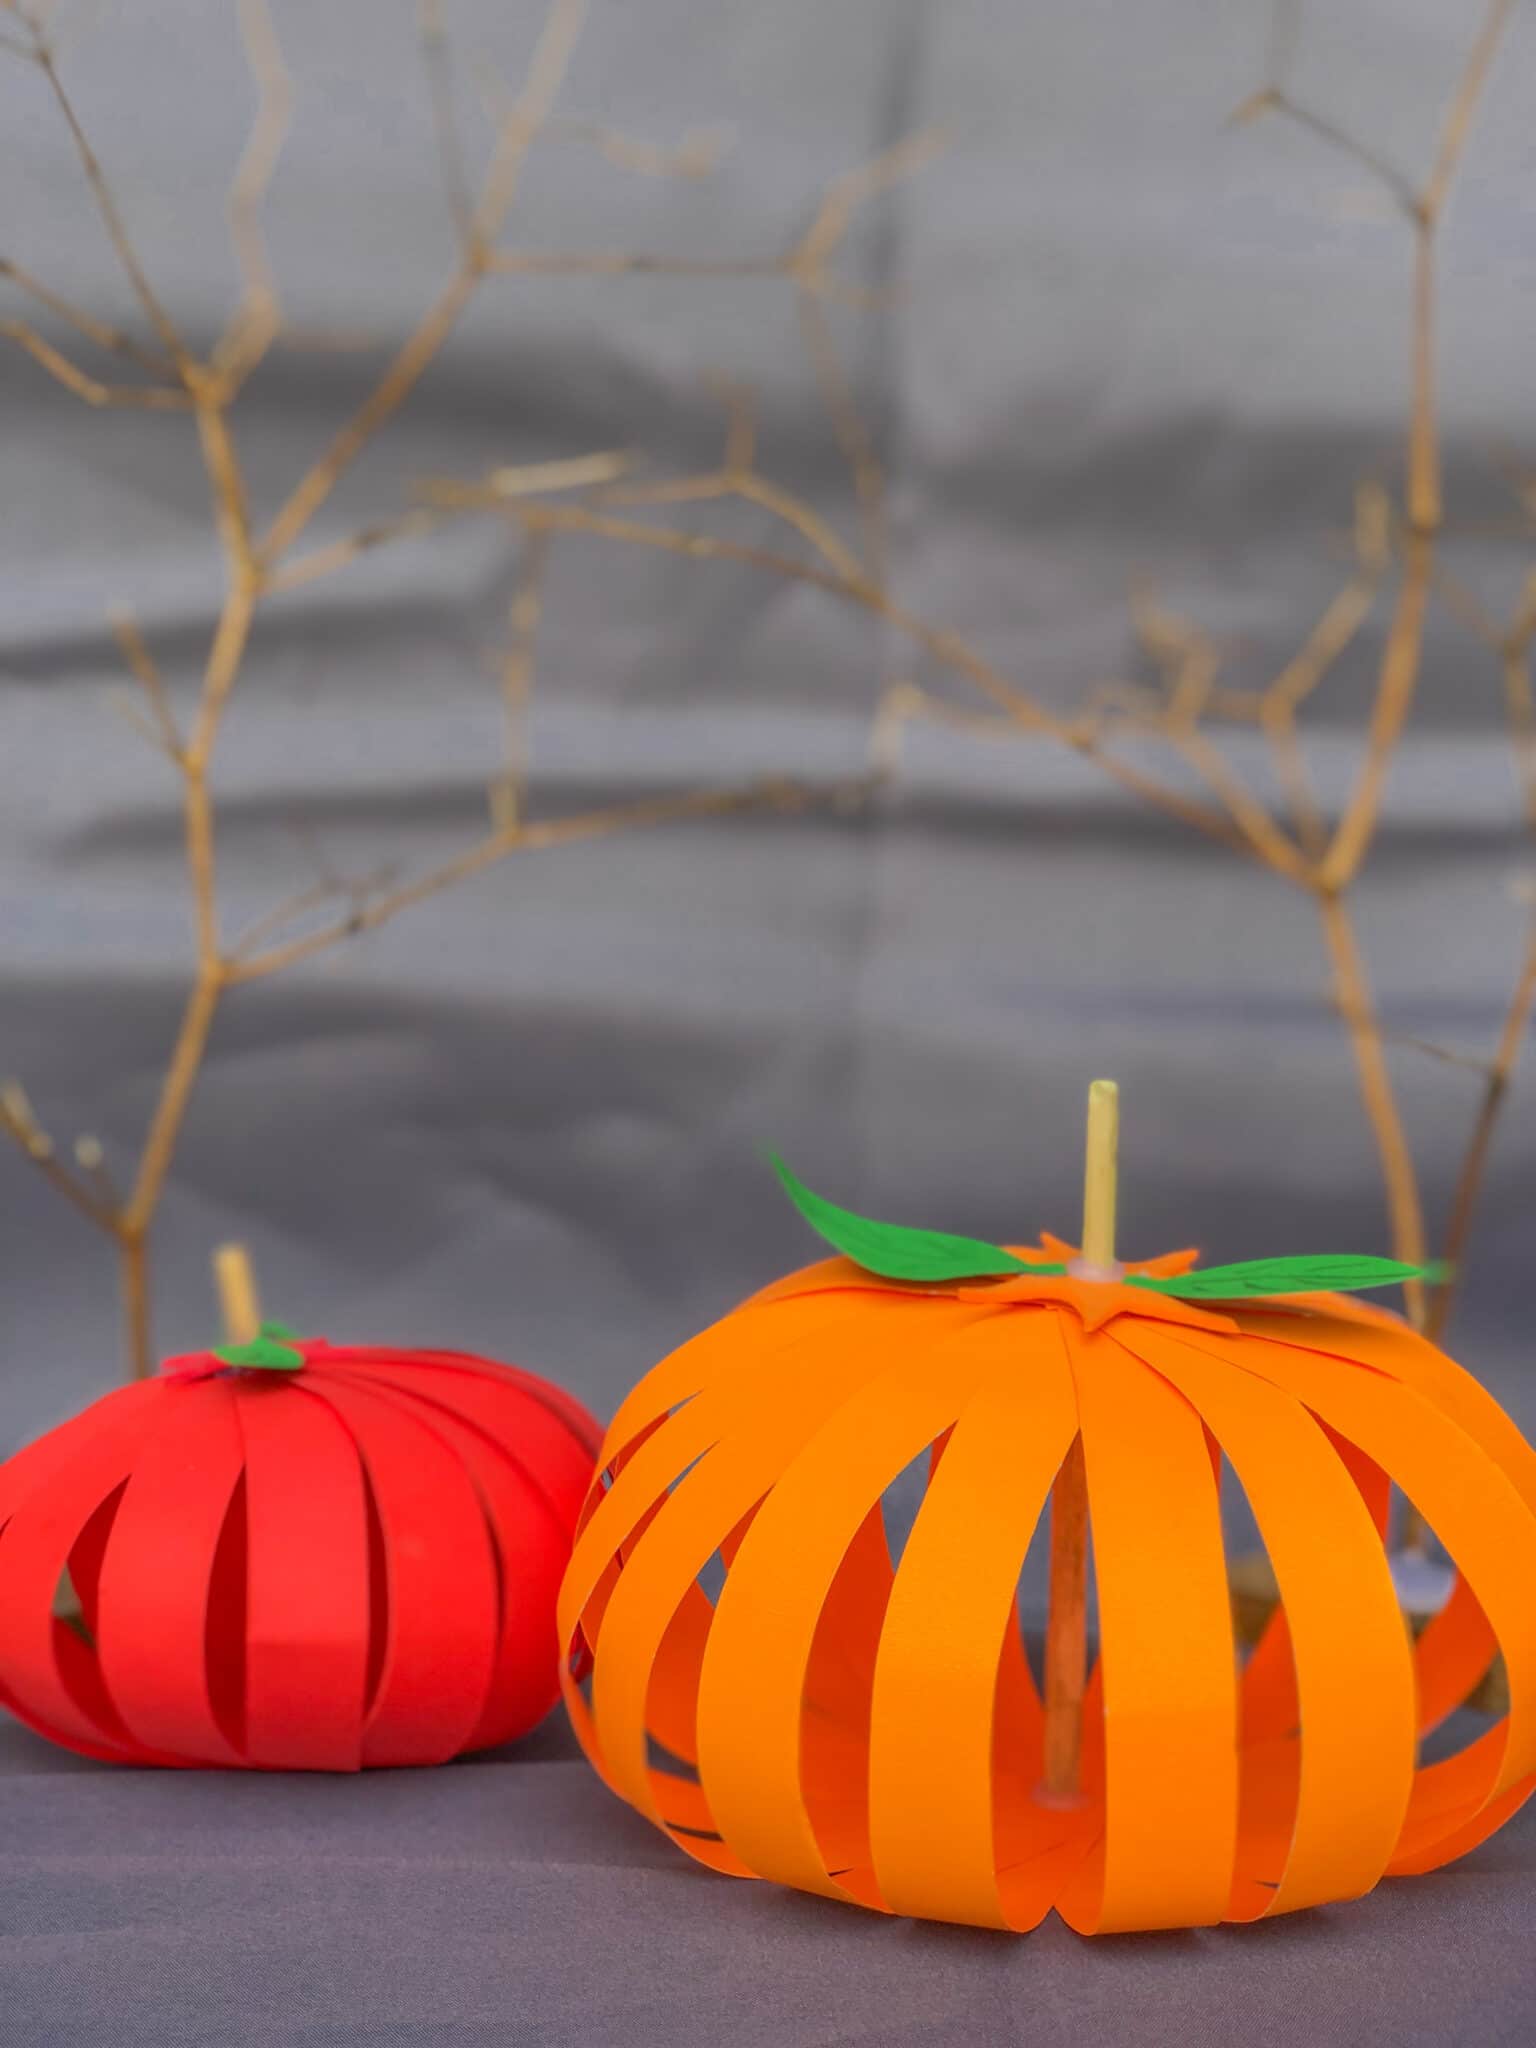
I love seasonal crafts and this paper pumpkin papercraft tutorial is perfect for a fall activity with your children. It is an inexpensive craft and at the end you will have a fabulous paper pumpkin to decorate your house with. Read on to find out how to make a paper pumpkin.
This post contains affiliate links and I may receive a small commission if you visit a link and buy something. Purchasing via an affiliate link doesn’t cost you any extra, and I only recommend products and services I trust. I may have been sent some of the products in this post free of charge or paid to feature them here. Thank you for supporting this blog.
Materials
The matierials for this craft are easy to get hold of and would be available in most craft stores or even the dollar store.
- Coloured paper (orange and green paper)
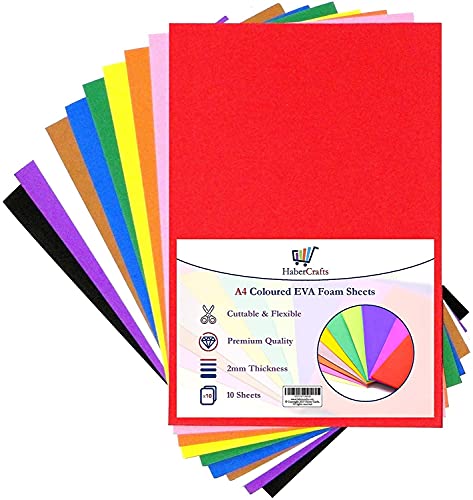
- Foam sheet paper (orange)
- Glue gun & stick
- PVA Glue
- Scissors / paper cutter
- Twigs

Instructions
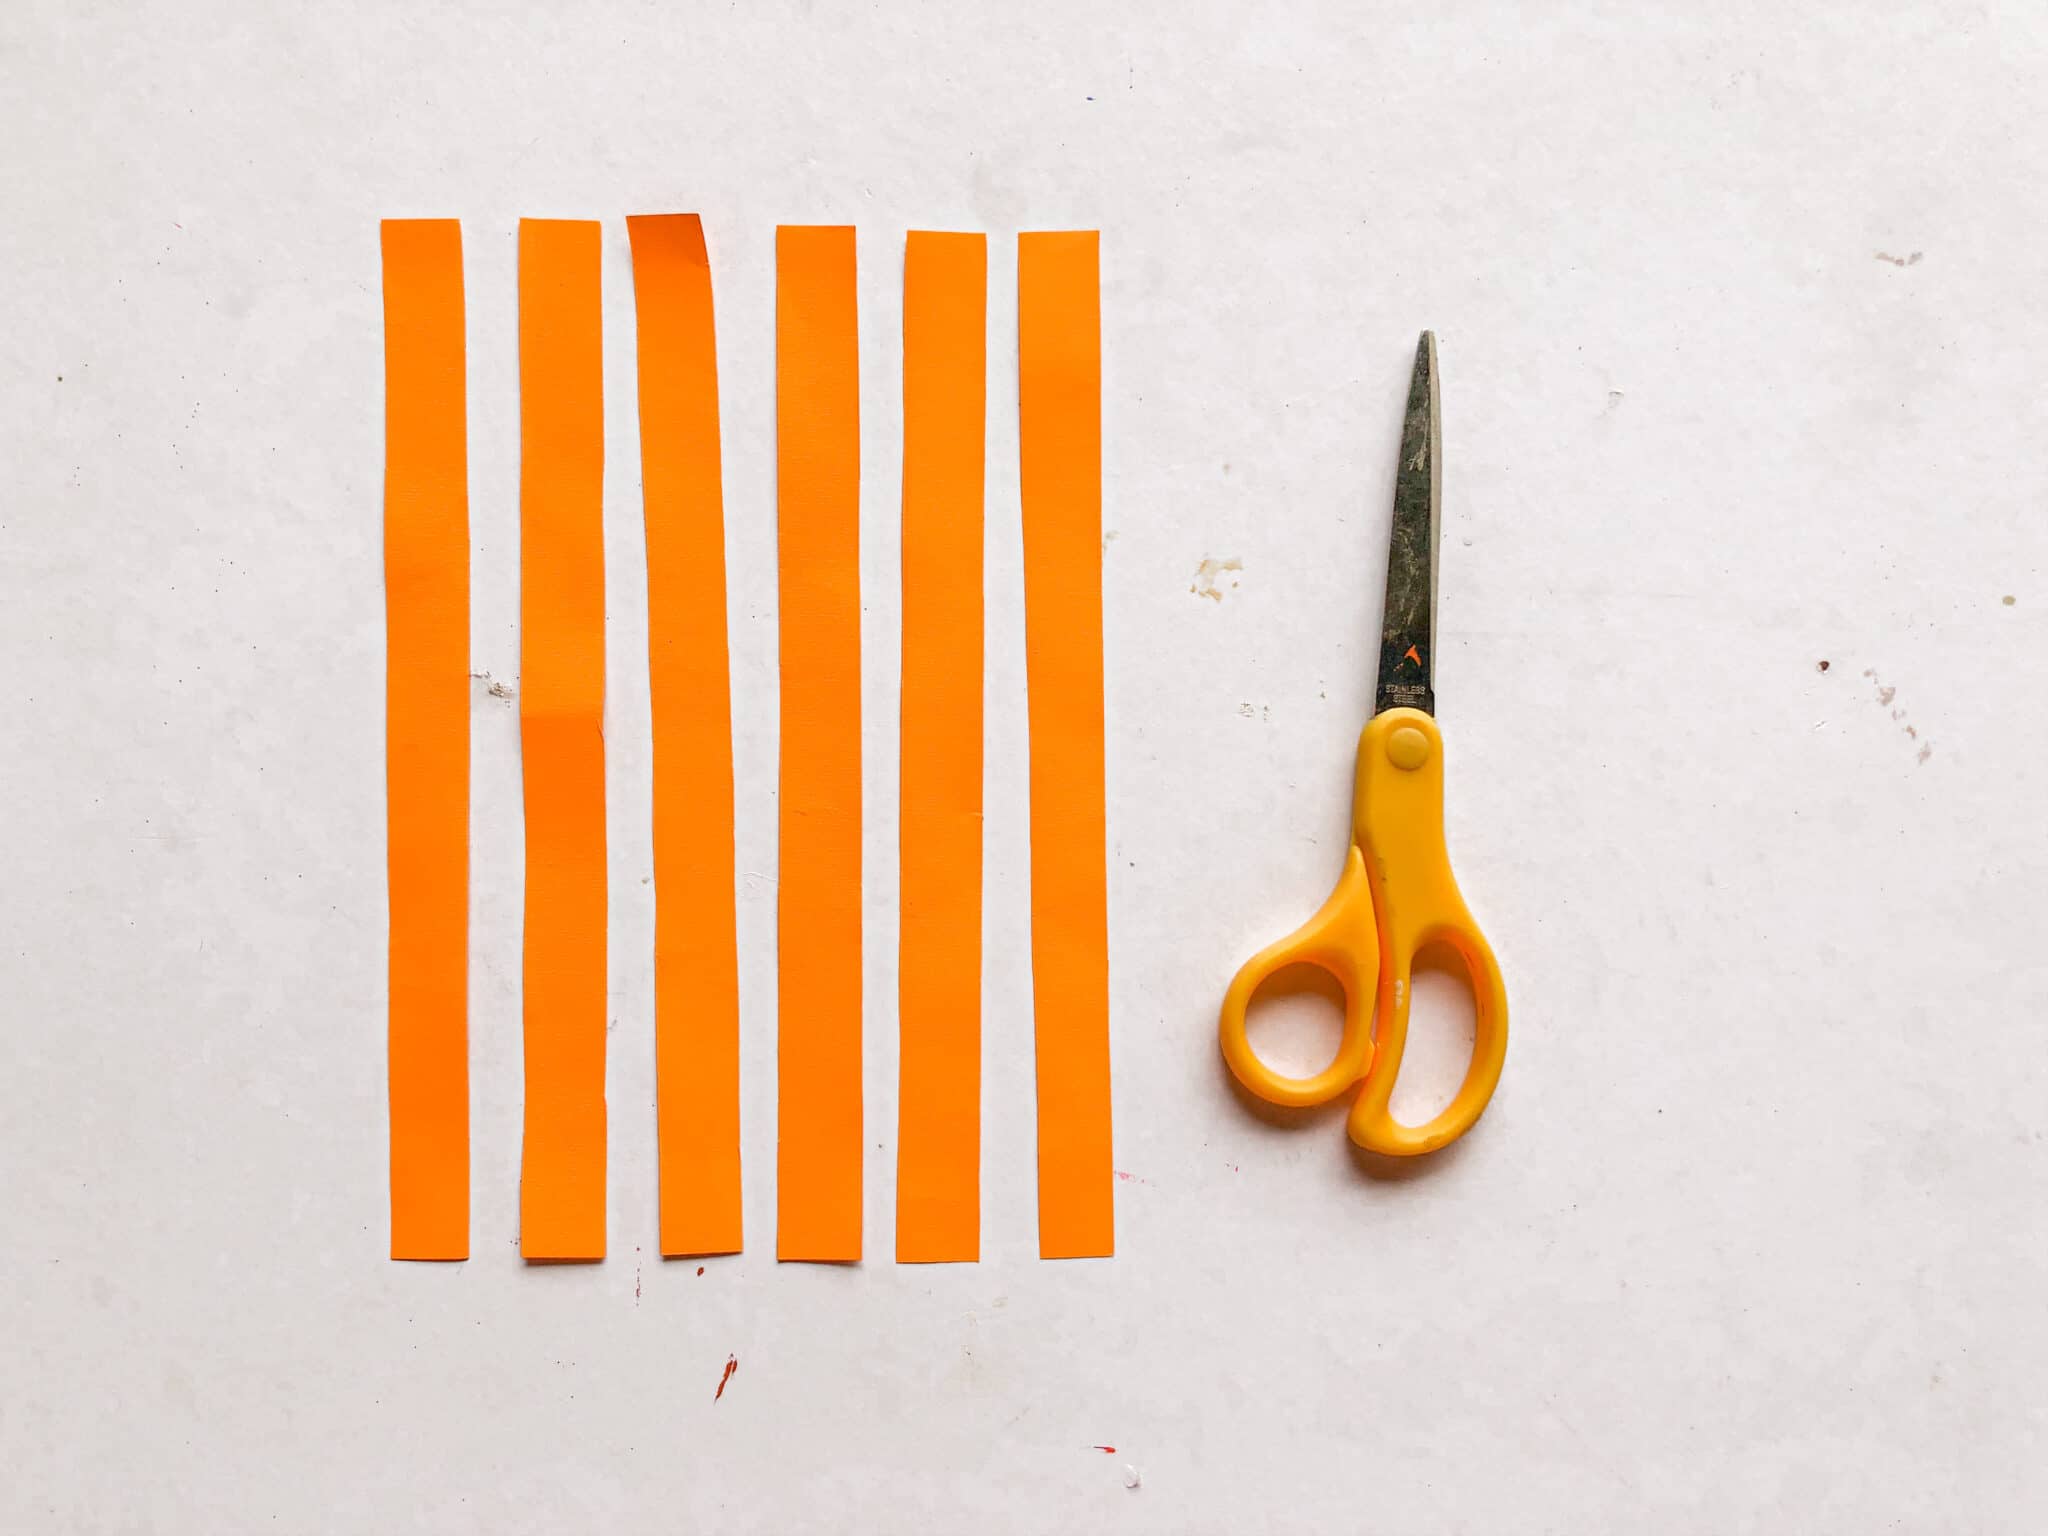
Step 1: Cut the orange-coloured paper into strips, roughly 1x17 cm.
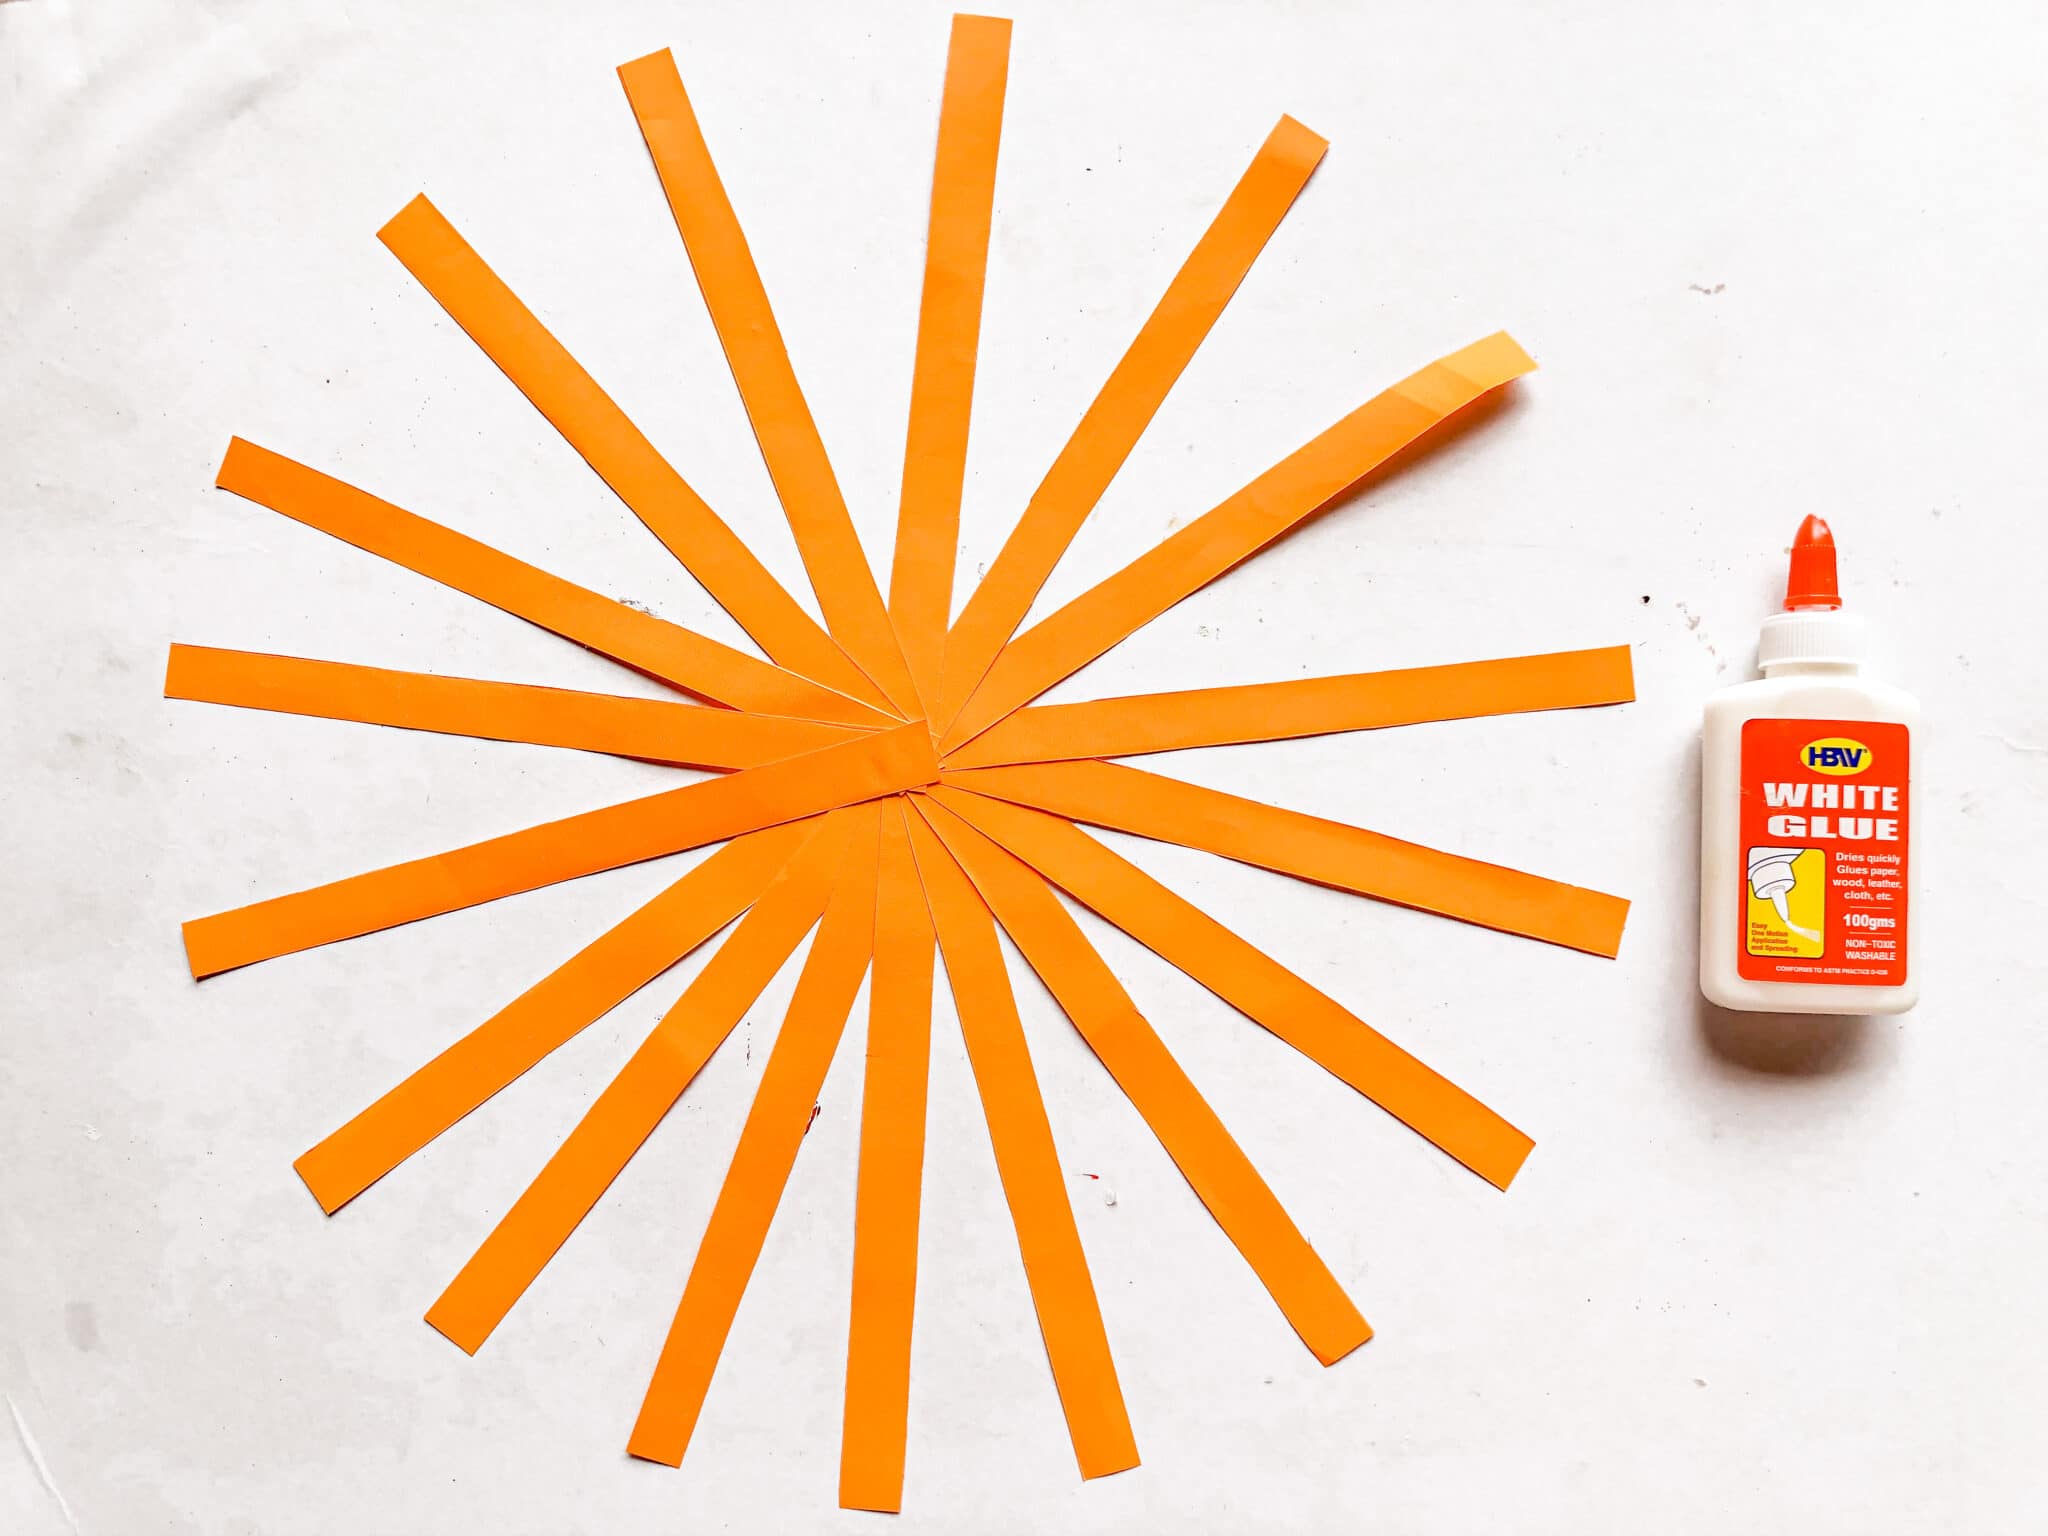
Step 2: Collect the ends of the coloured paper strips and spread them until they form a circle, then use the glue to stick the ends of the coloured paper on top of each other. I prefer to use PVA glue on the end of the strip but you could use a glue stick too. Use paper fasteners if needed to hold in place while the glue sets.
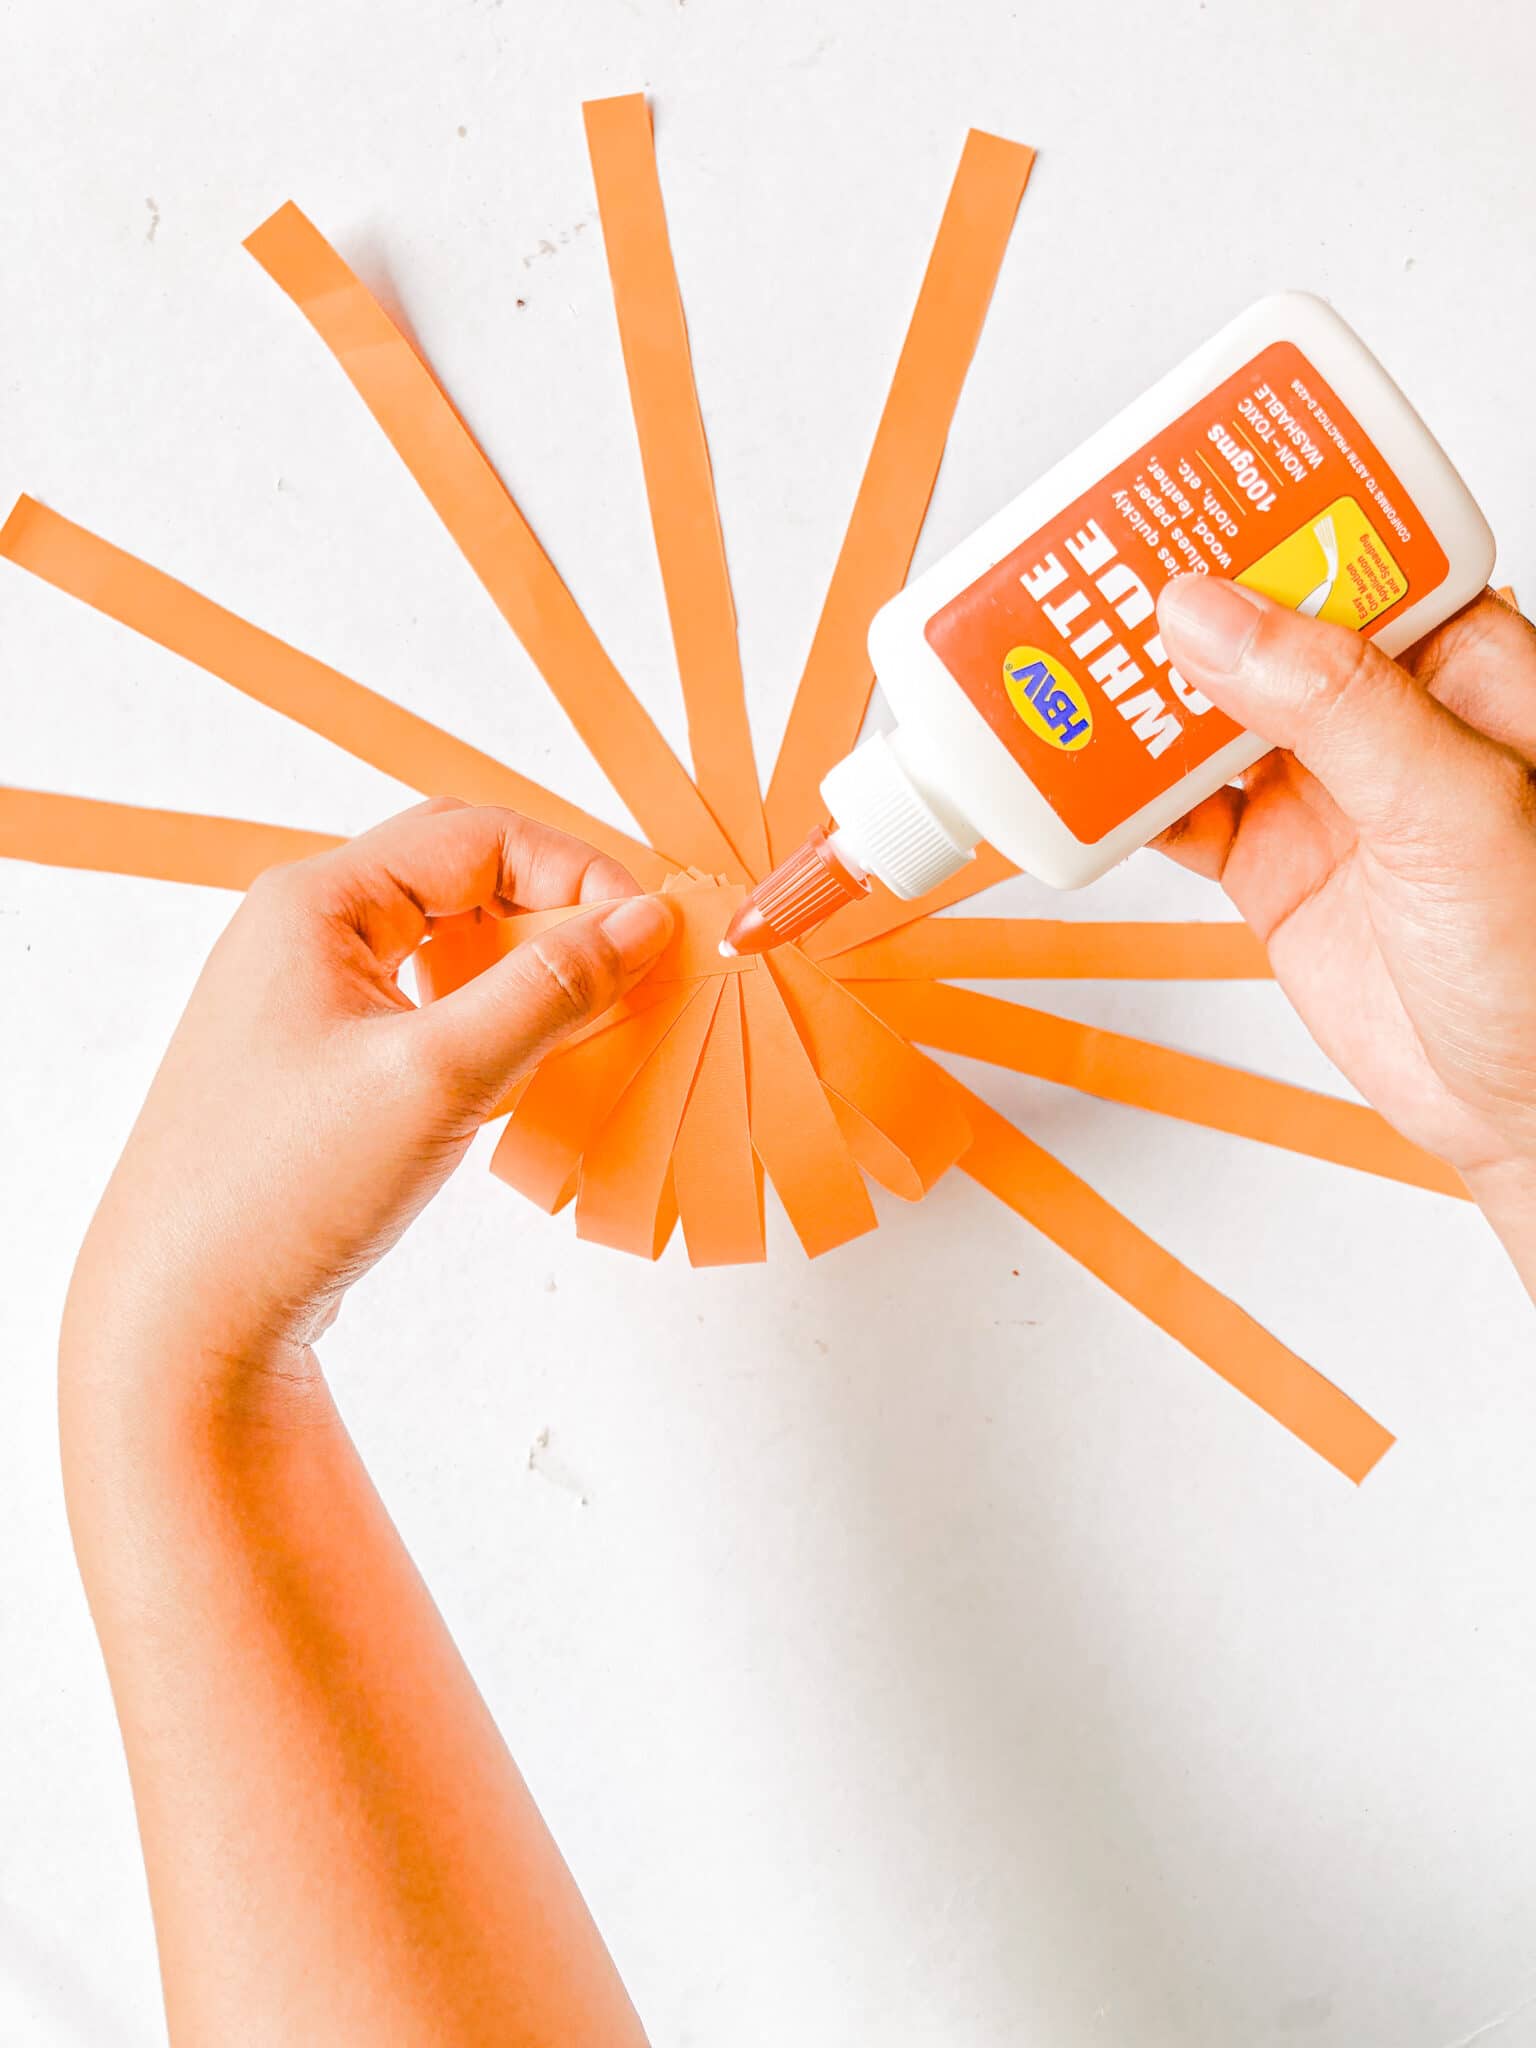
Step 3: Repeat the process to the other ends of the coloured paper; collect the ends of the coloured paper and stick them all together, creating a round pumpkin shape.
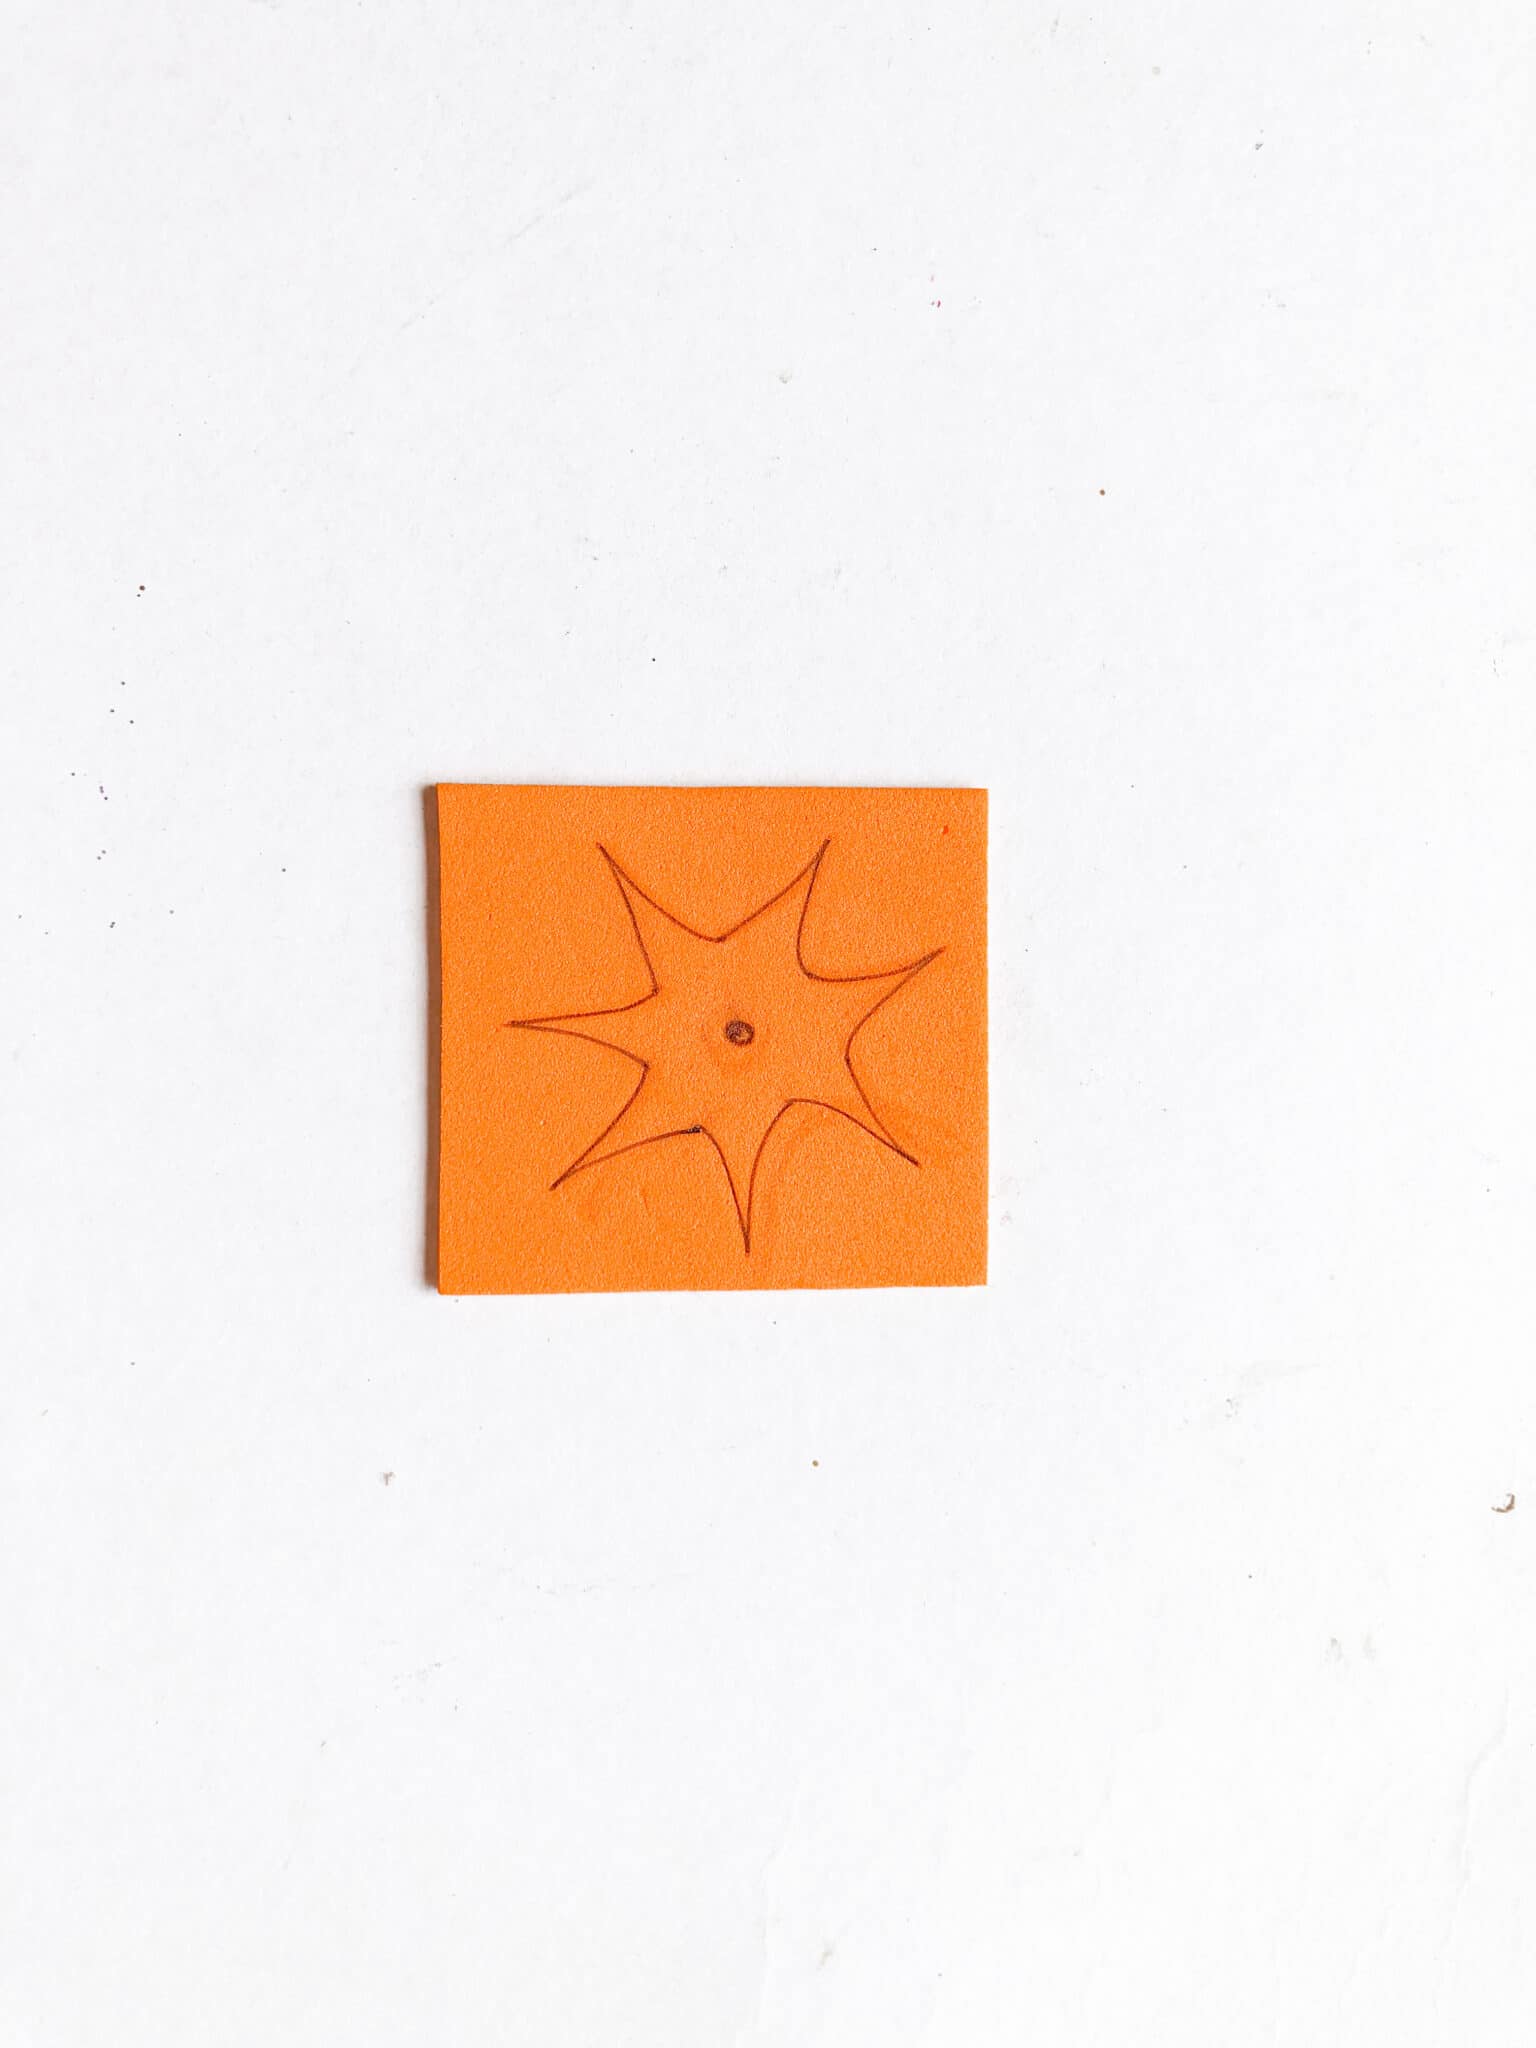
Step 4: Then draw a flower shape to the foam sheet paper and cut. Make a hole at the centre of it.
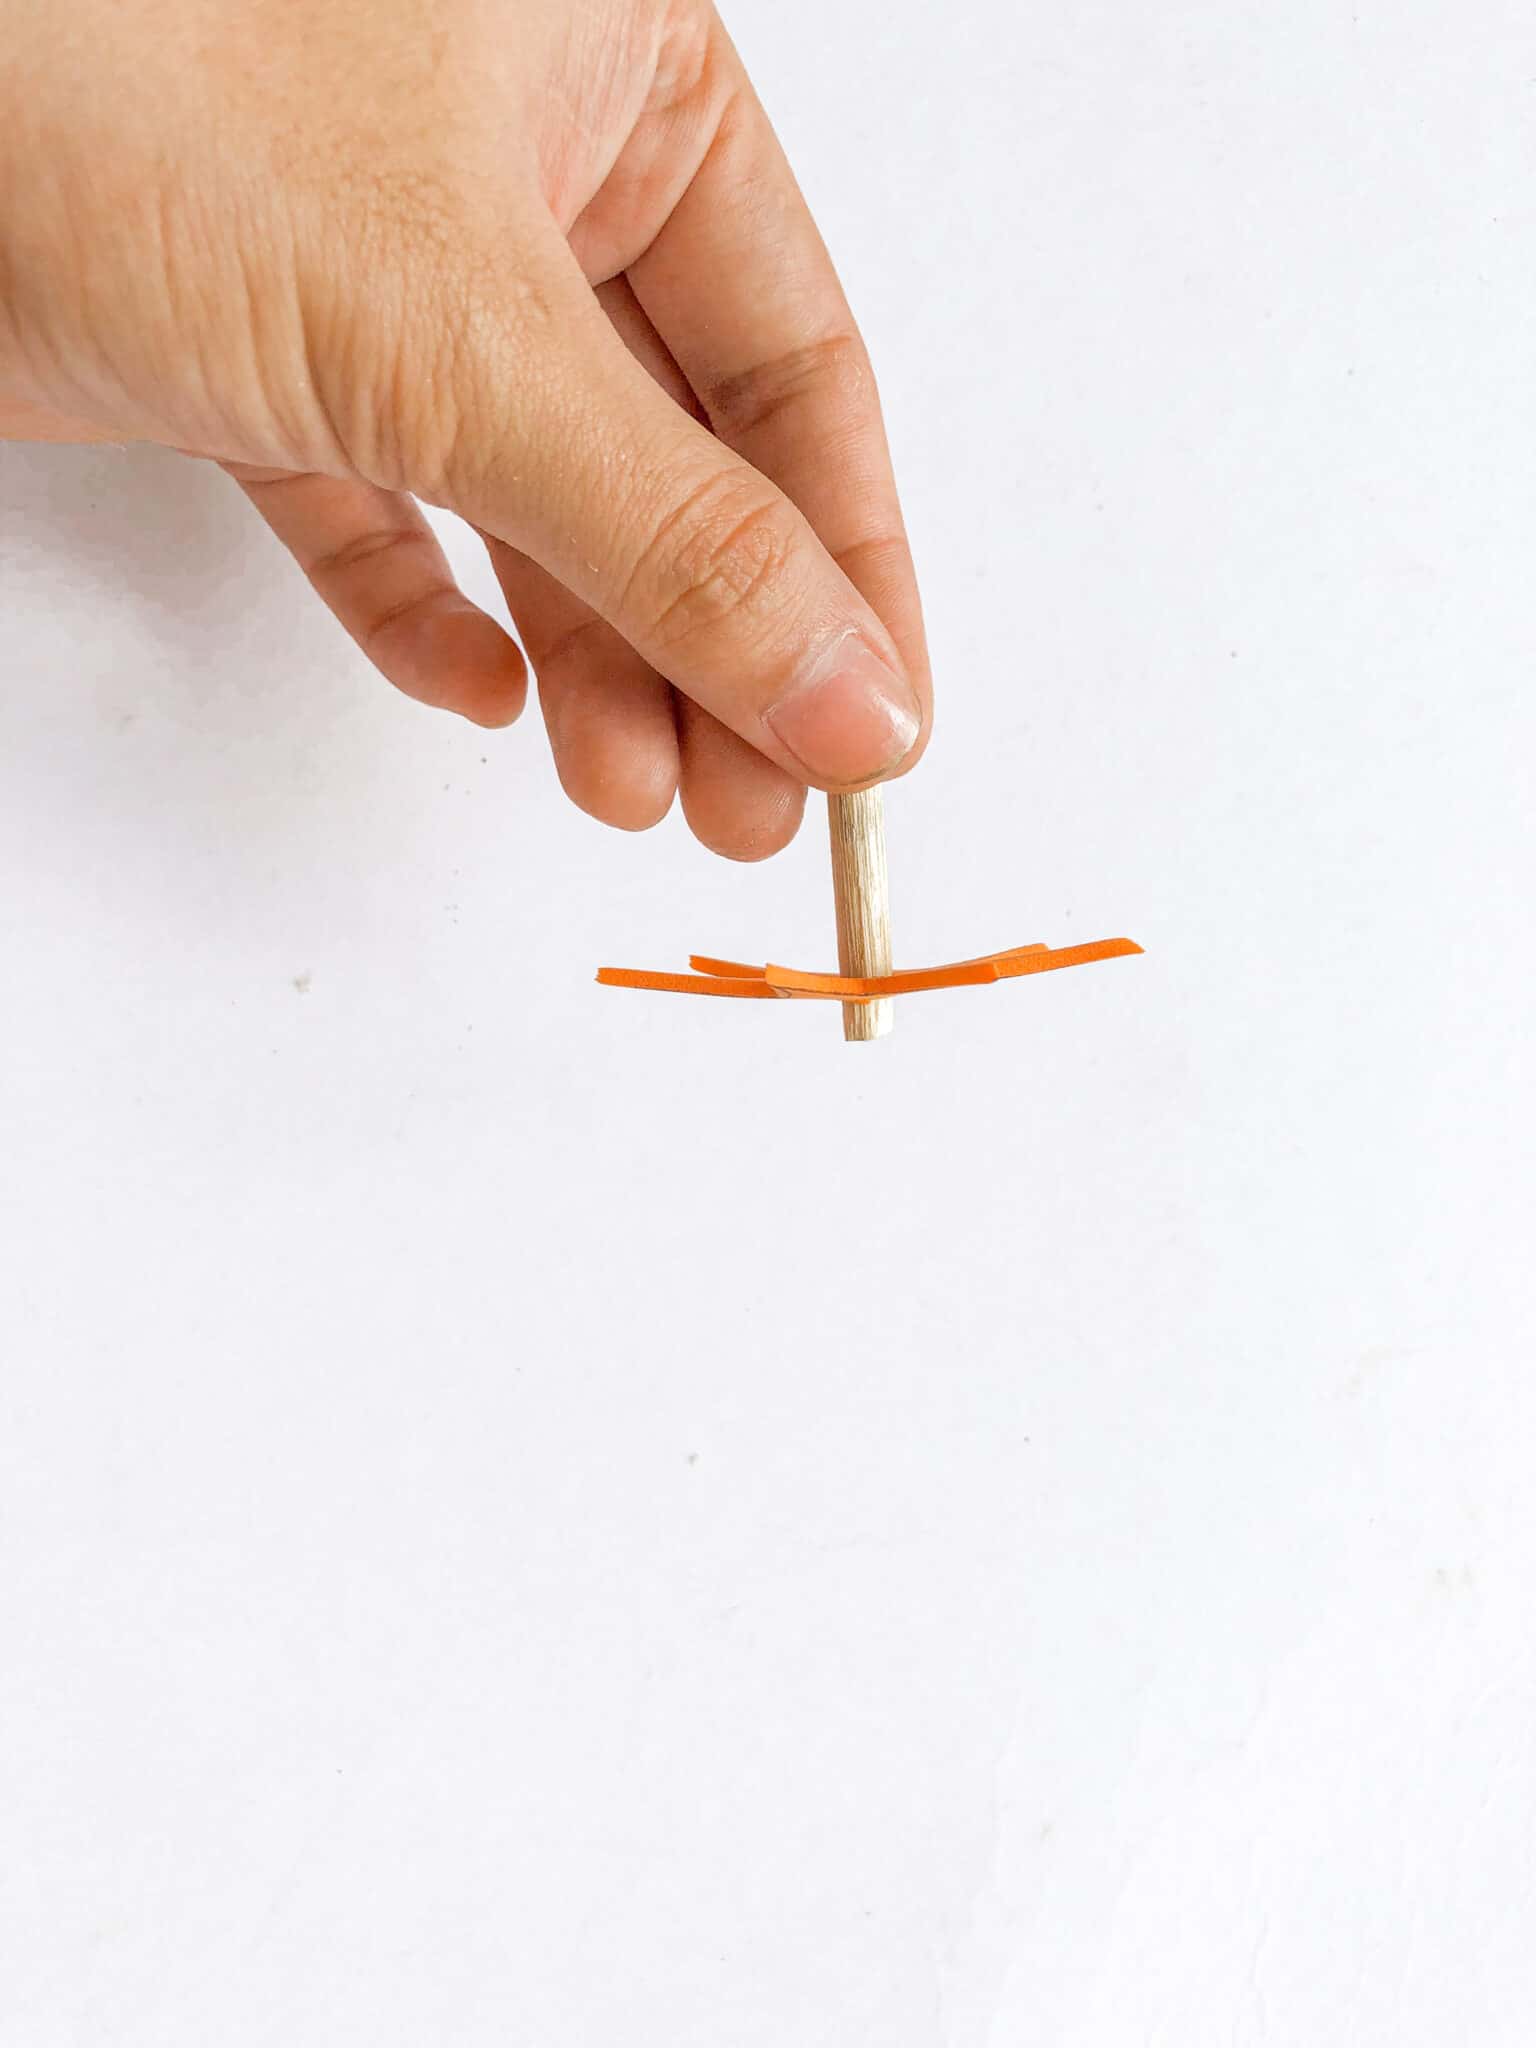
Step 5: Cut the twig into a small size, 2 cm is enough. Insert the twig inside the hole of the foam sheet paper. If you can't find a twig you could also use a green pipe cleaner cut to size.
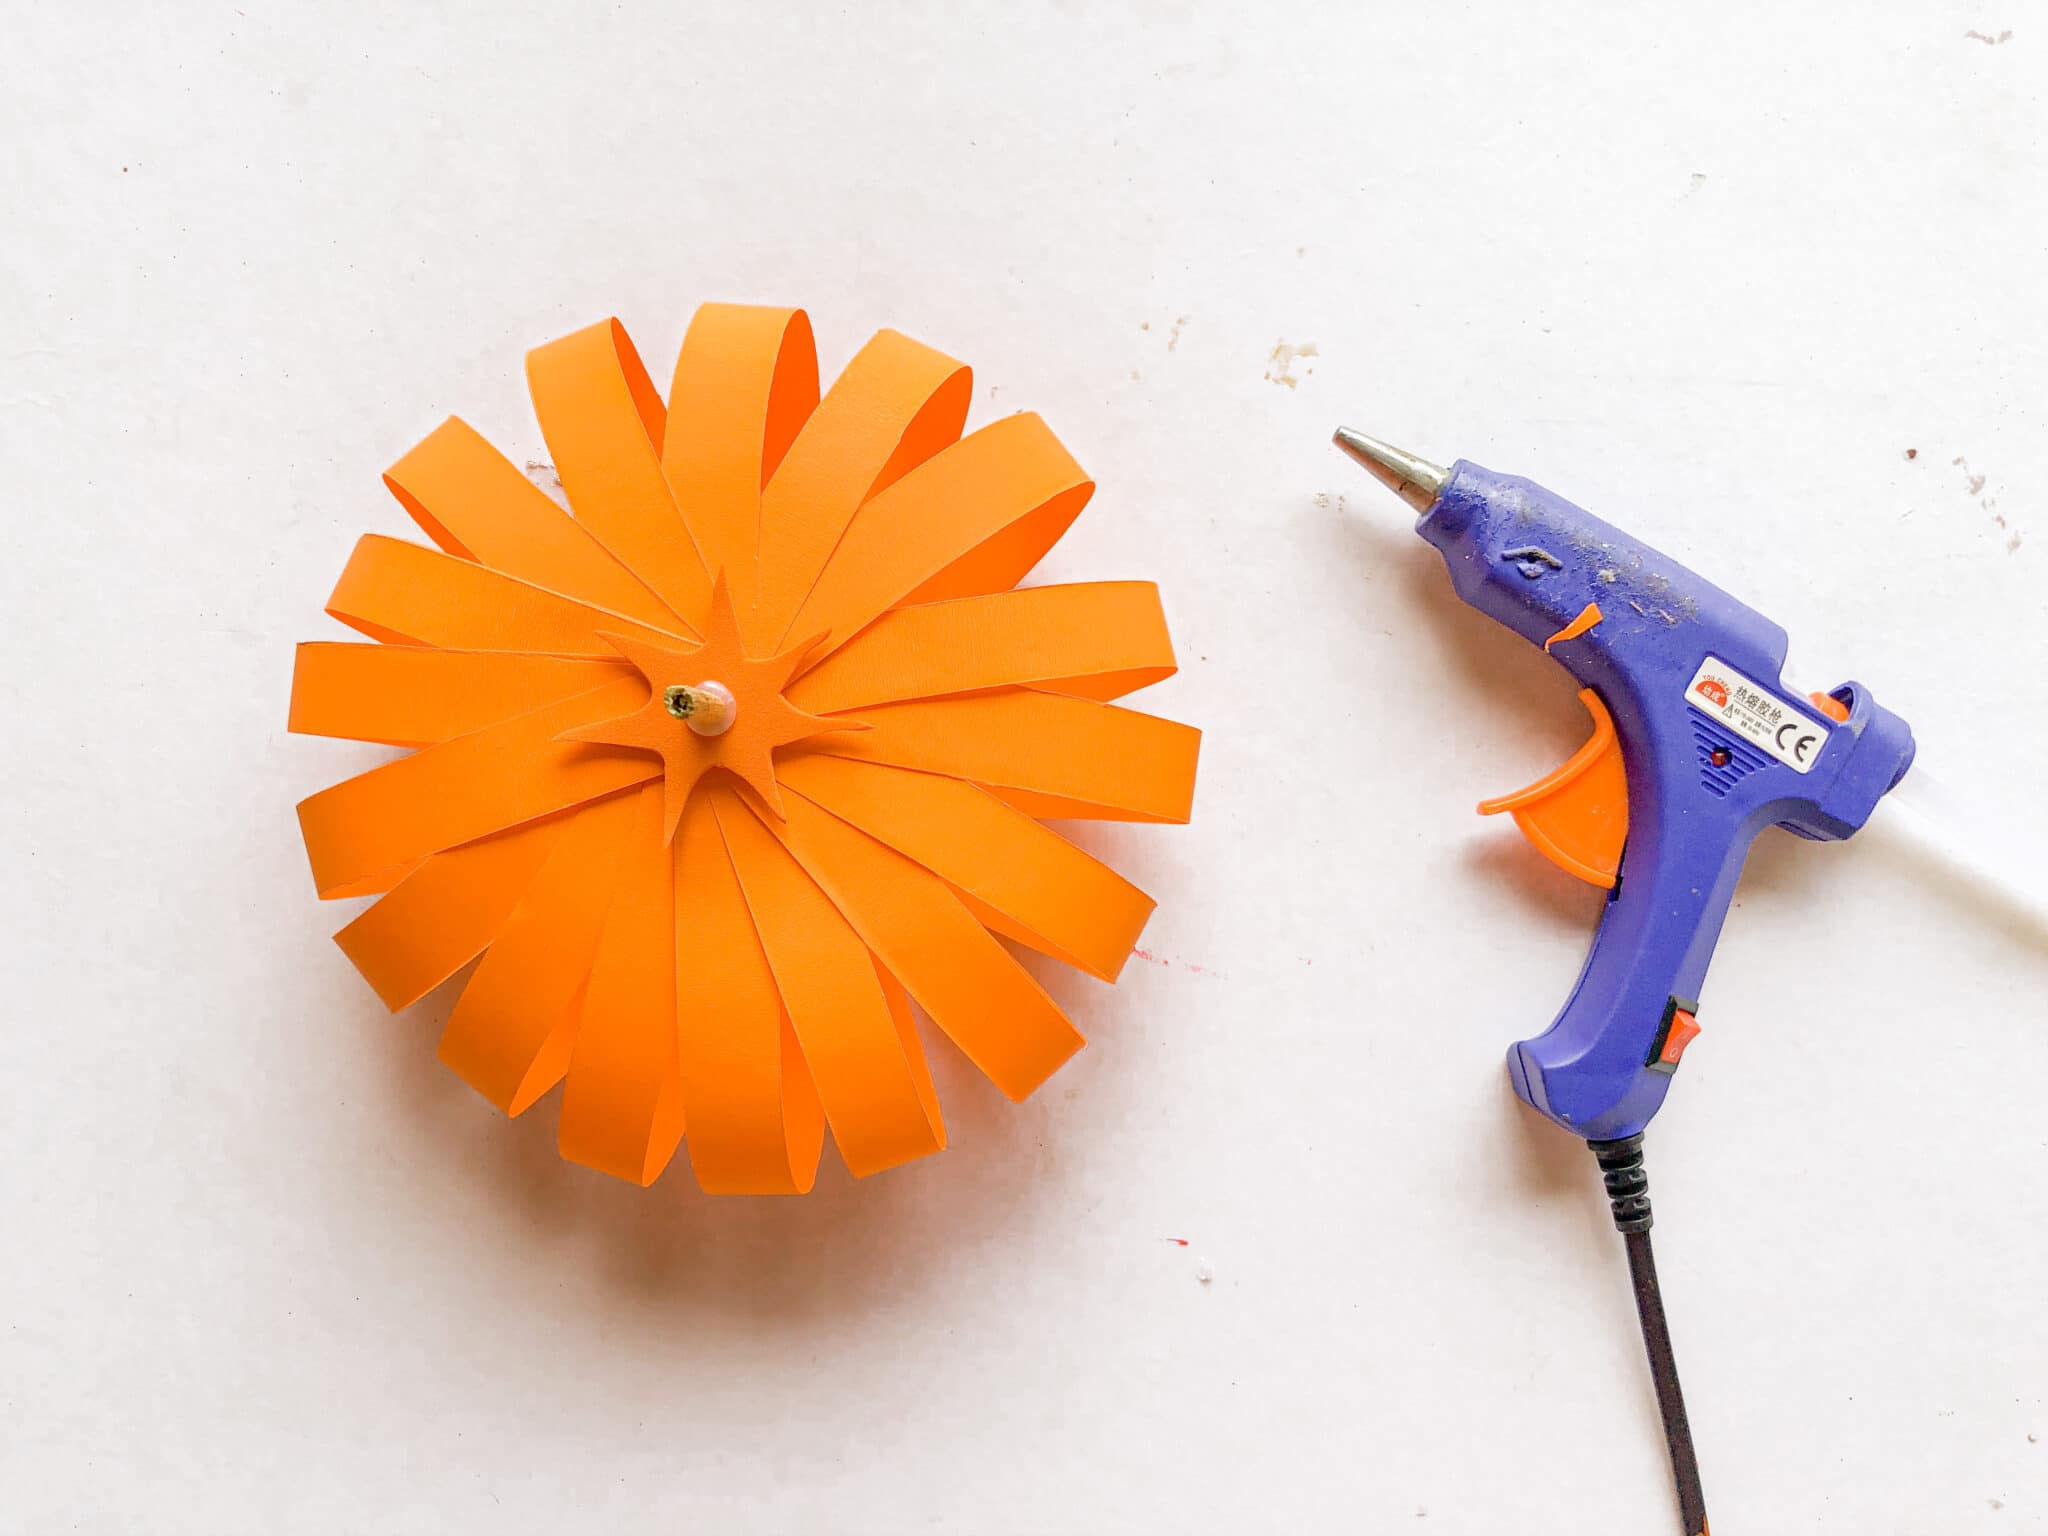
Step 6: Use the hot glue gun to stick the glued twig and foam sheet paper at the top of the pumpkin.
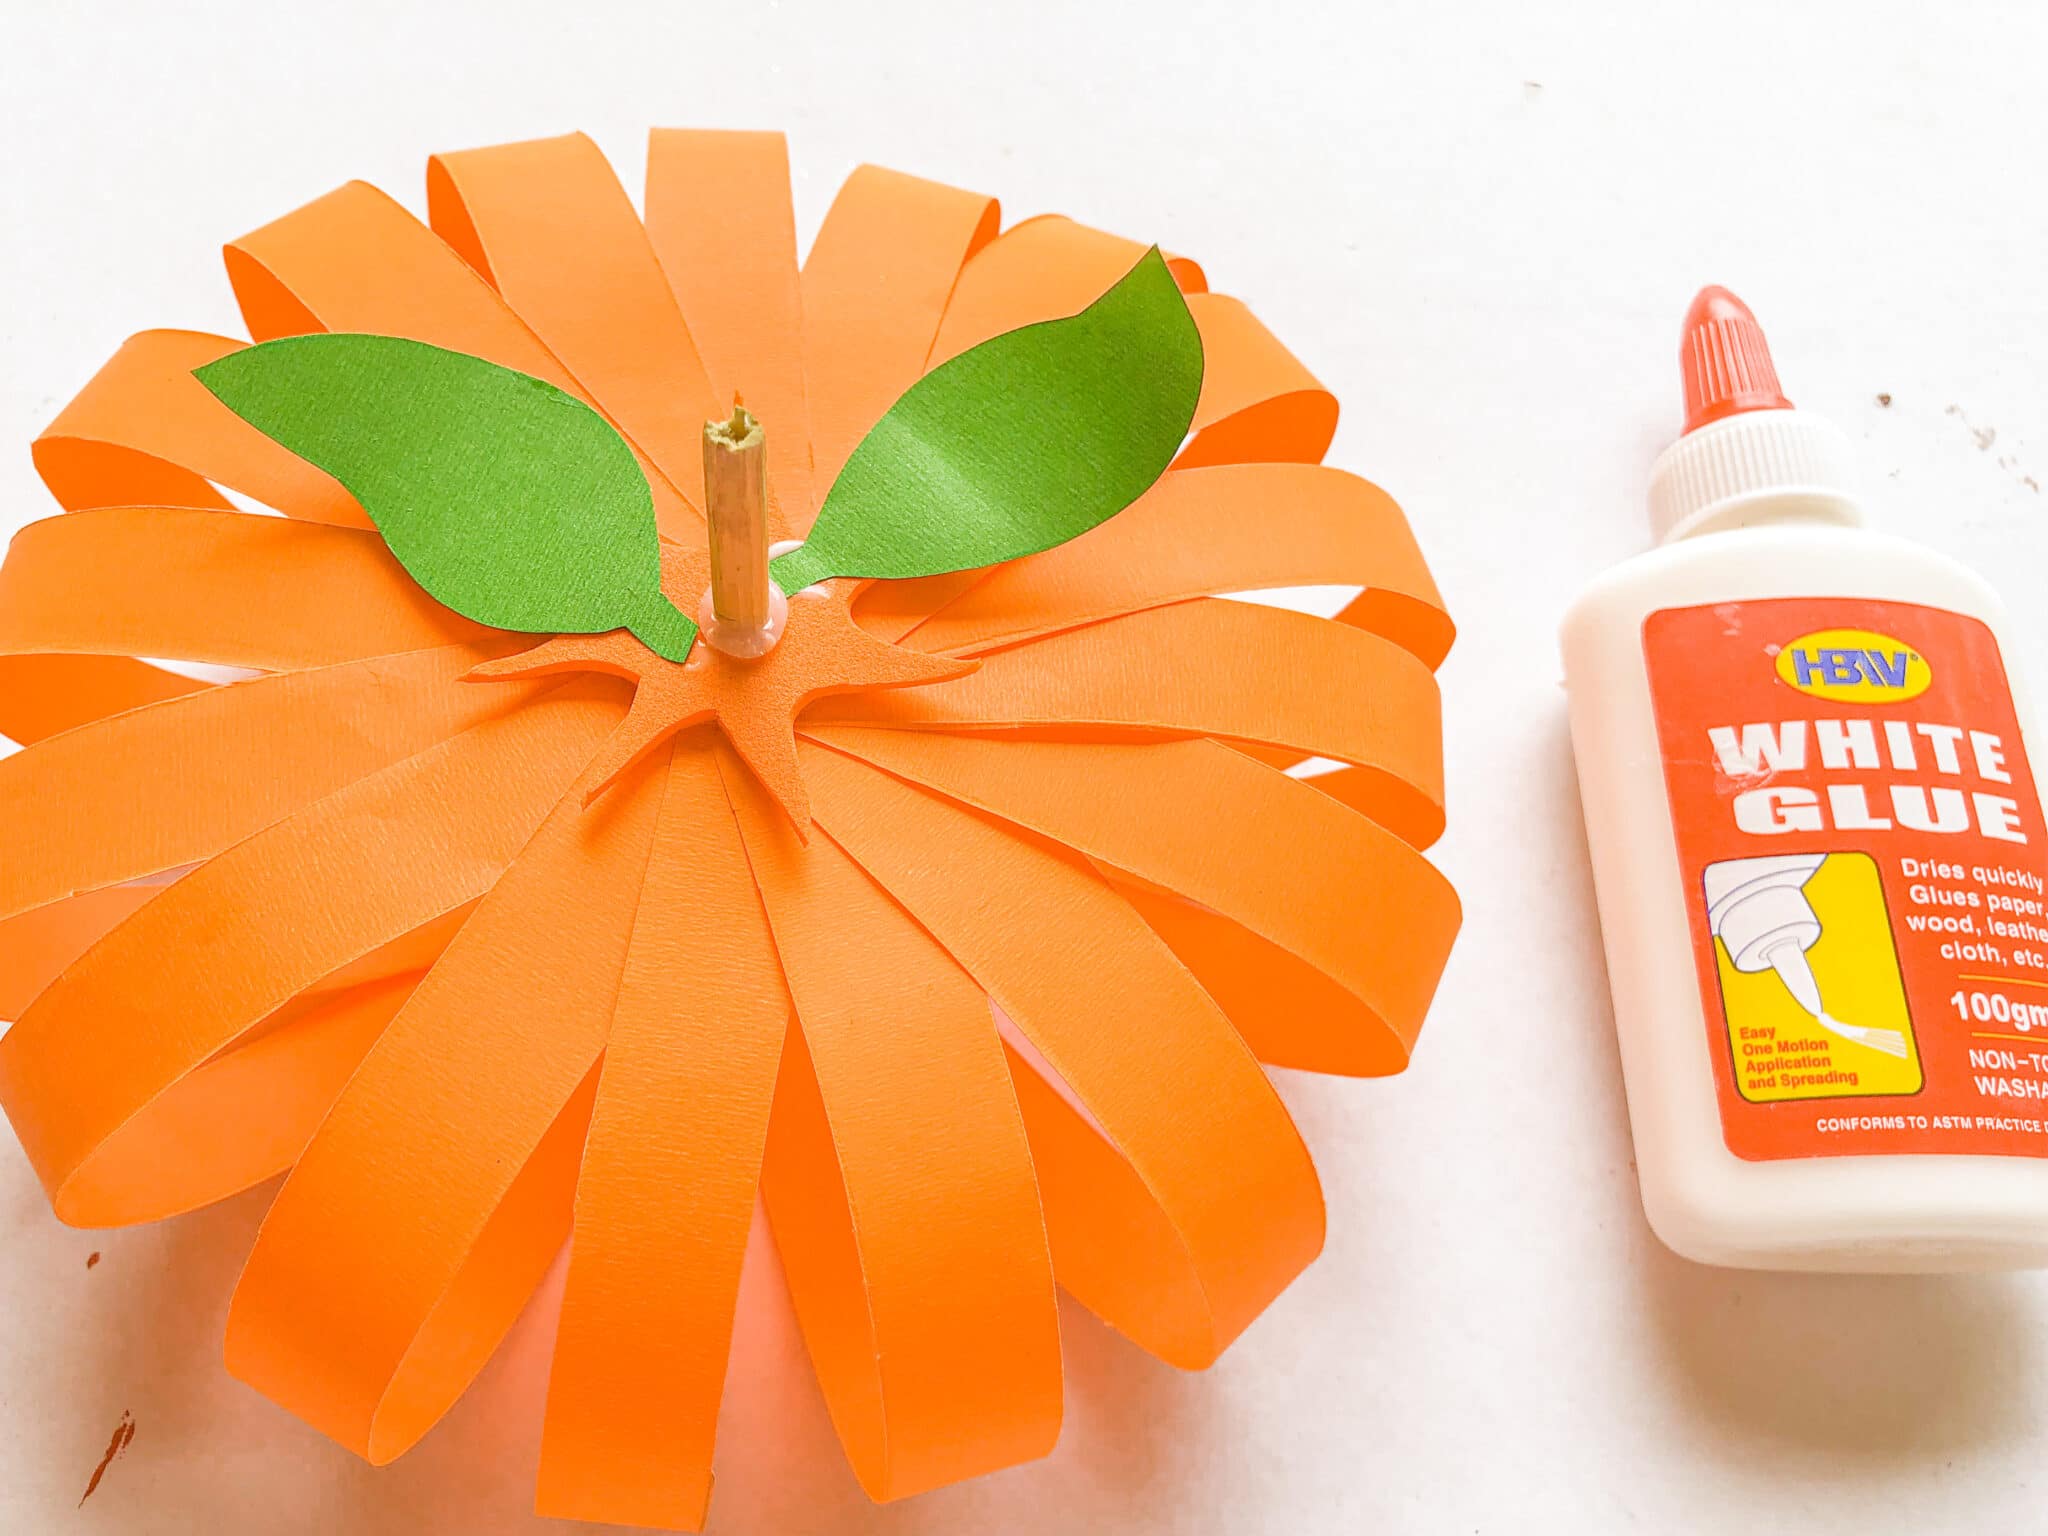
Step 7: Now, draw and cut 2 pieces of leaves on the green-coloured paper, and paste them also on top of the complete product.
Step 8: There you have your PUMPKIN PAPERCRAFT, you did great!
Tips
Be careful when using the scissors and the glue gun.
Choose the proper materials to achieve the aspired outcome.
Let your creativity flow in your work - don't be afraid to embellish your pumpkin or make artistic changes!
Variations
You can make lots of variations to this fun craft.
- use a pipe cleaner instead of a stick for the pumpkin stem
- use scrapbook paper or glitter papers instead of orange paper for a different look
- change up the size - you can make a smaller pumpkin or even mini pumpkins. Just cut your strips to different sizes.
What to do with your paper pumpkins
This easy paper pumpkin craft produces fabulous little pumpkins which make the perfect fall decor at this time of year. It's a fun fall craft but the best part is that you can display your handiwork as a table decoration at thanksgiving dinner or on the coffee table. Try placing your pumpkins in sets of three - a larger pumpkin accompanied by a medium and a small pumpkin.
If you liked this pumpkin papercraft, share it with your friends and Pin it for later along with your other DIY projects and simple paper crafts...
Shop this post
 Buy Now →
  Buy Now →
  Buy Now →
  Buy Now →
  Buy Now →
  Buy Now →
  Buy Now →
 You might also like these other halloween crafts...
Paper Mache Pumpkin Tutorial - Halloween Craft




Leave a Reply